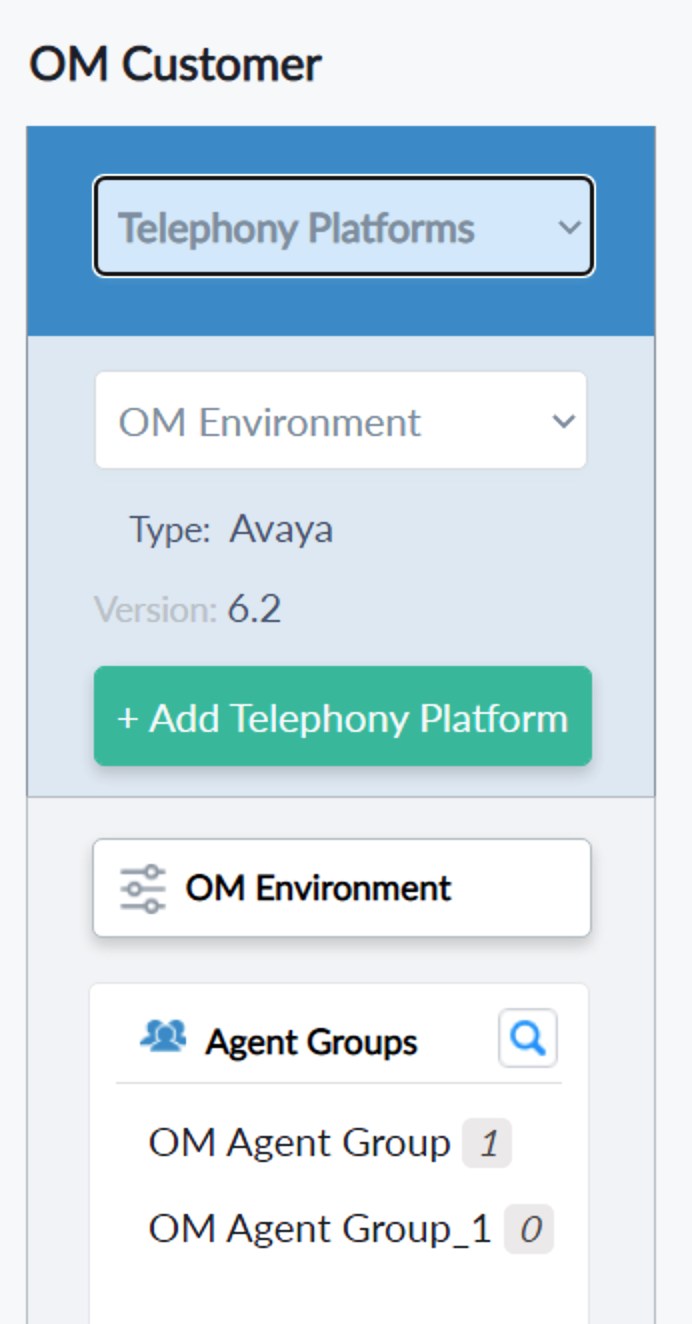
CRM Instances stores and manages the data for Customer's CRM Instance
| Left Side Panel | The right-side panel |
|---|---|
 |
 |
Select CRM Instances From the Left pane dropdown.
 |
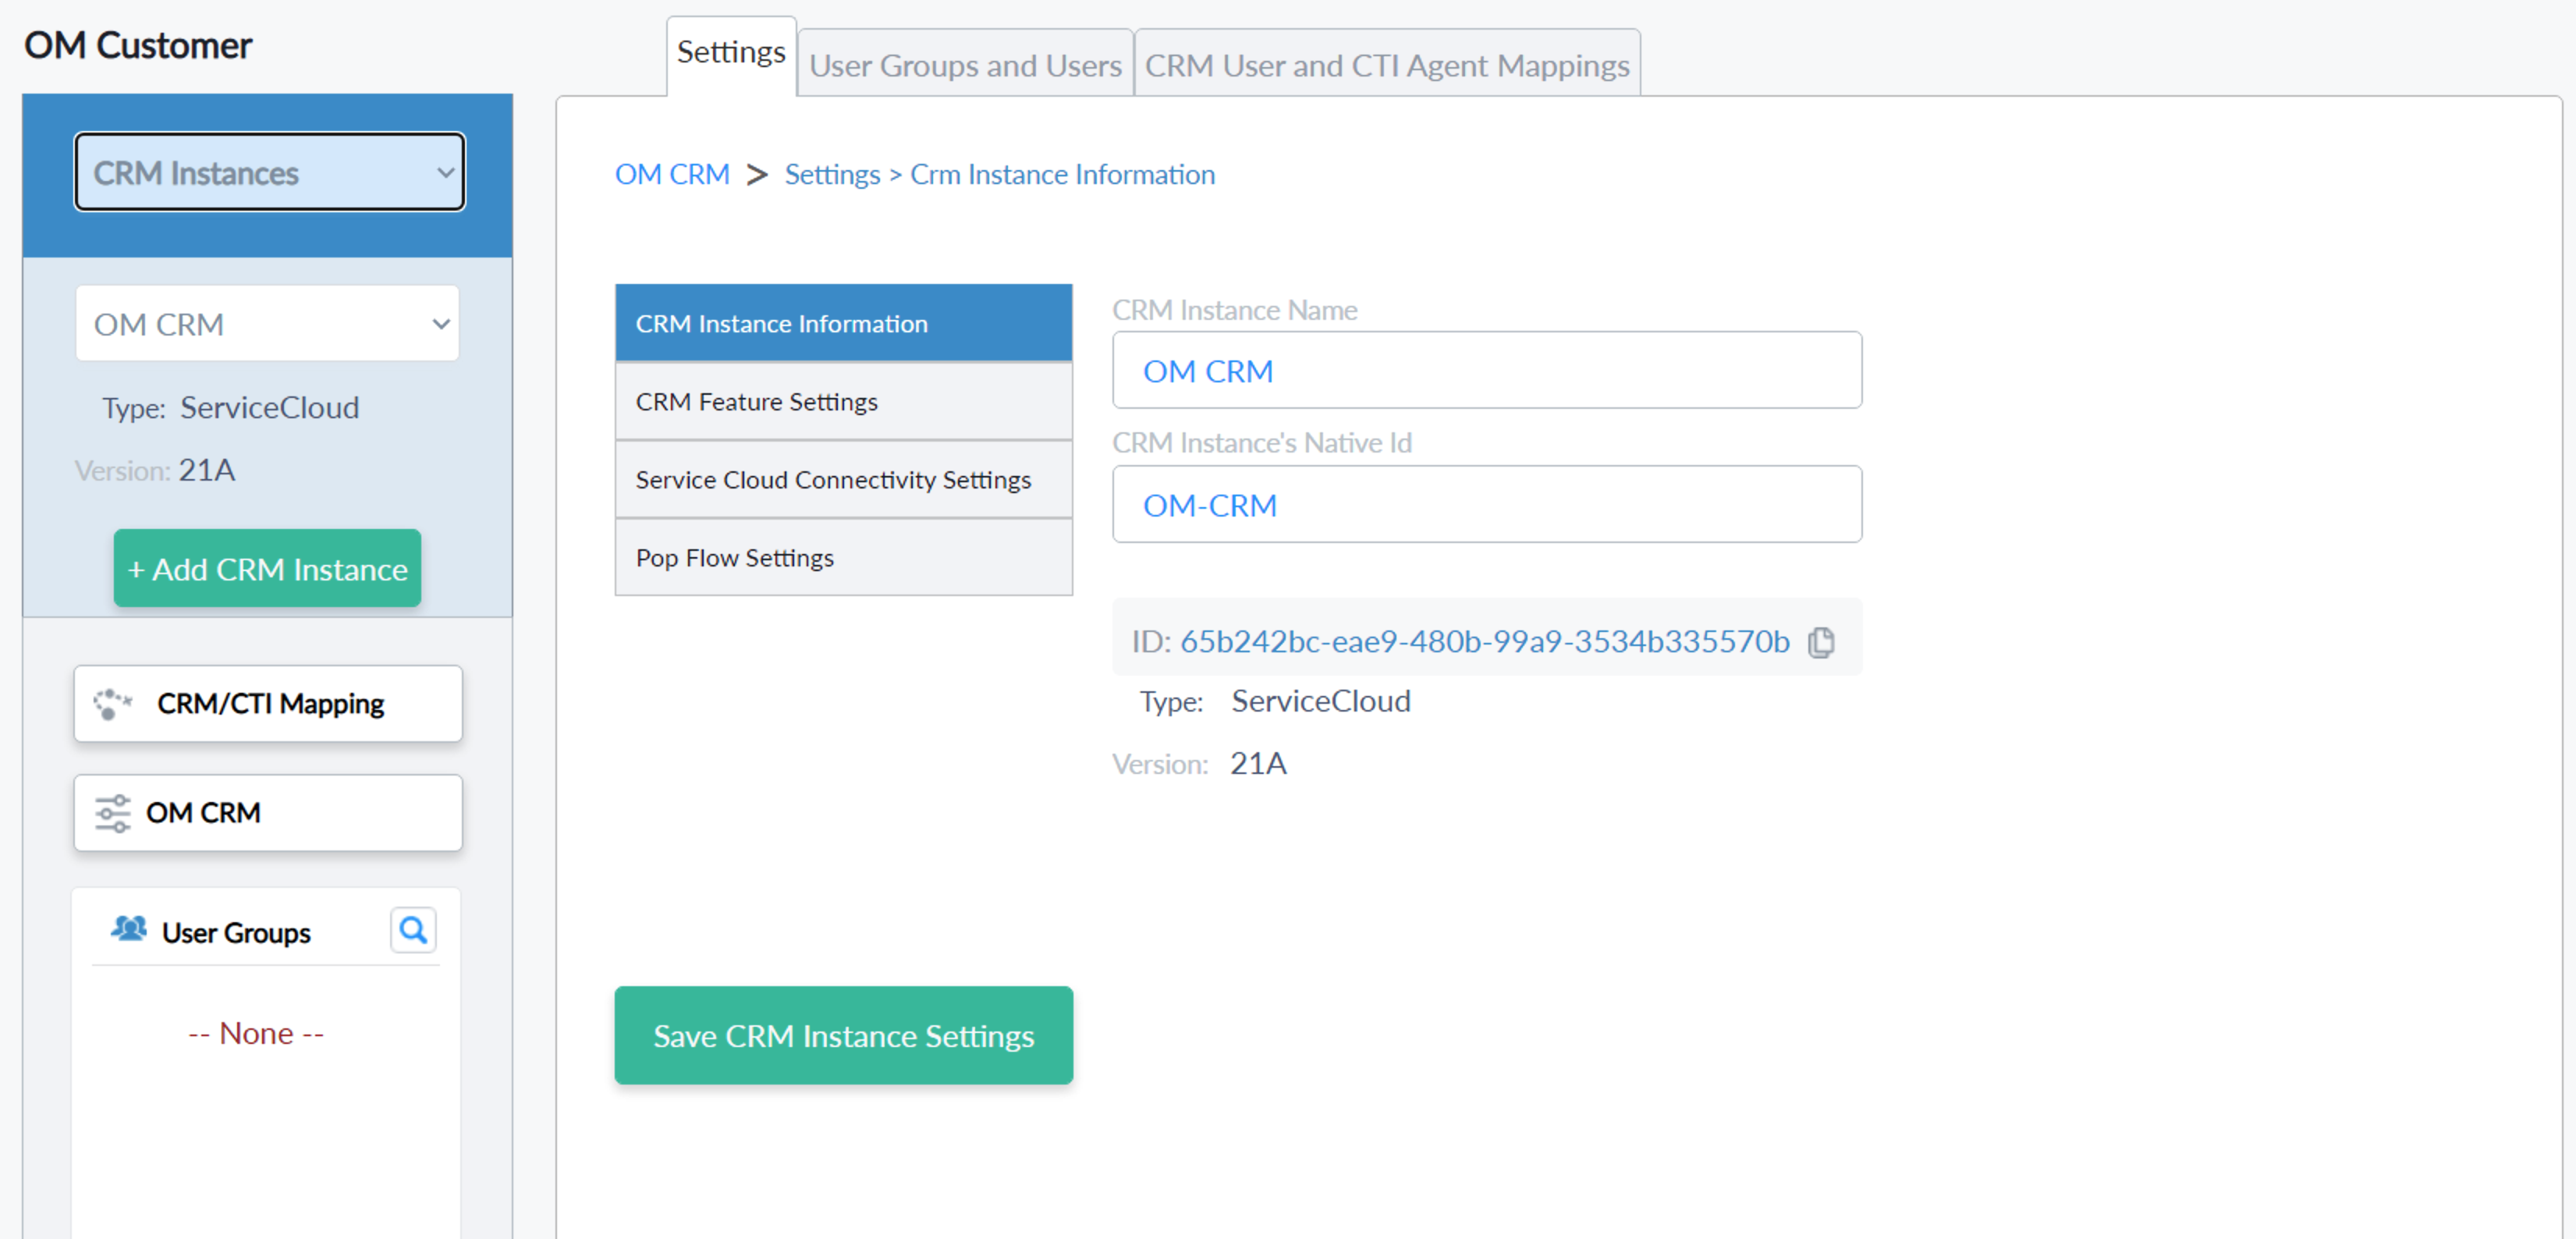 |
- Settings - CRM Instance Information
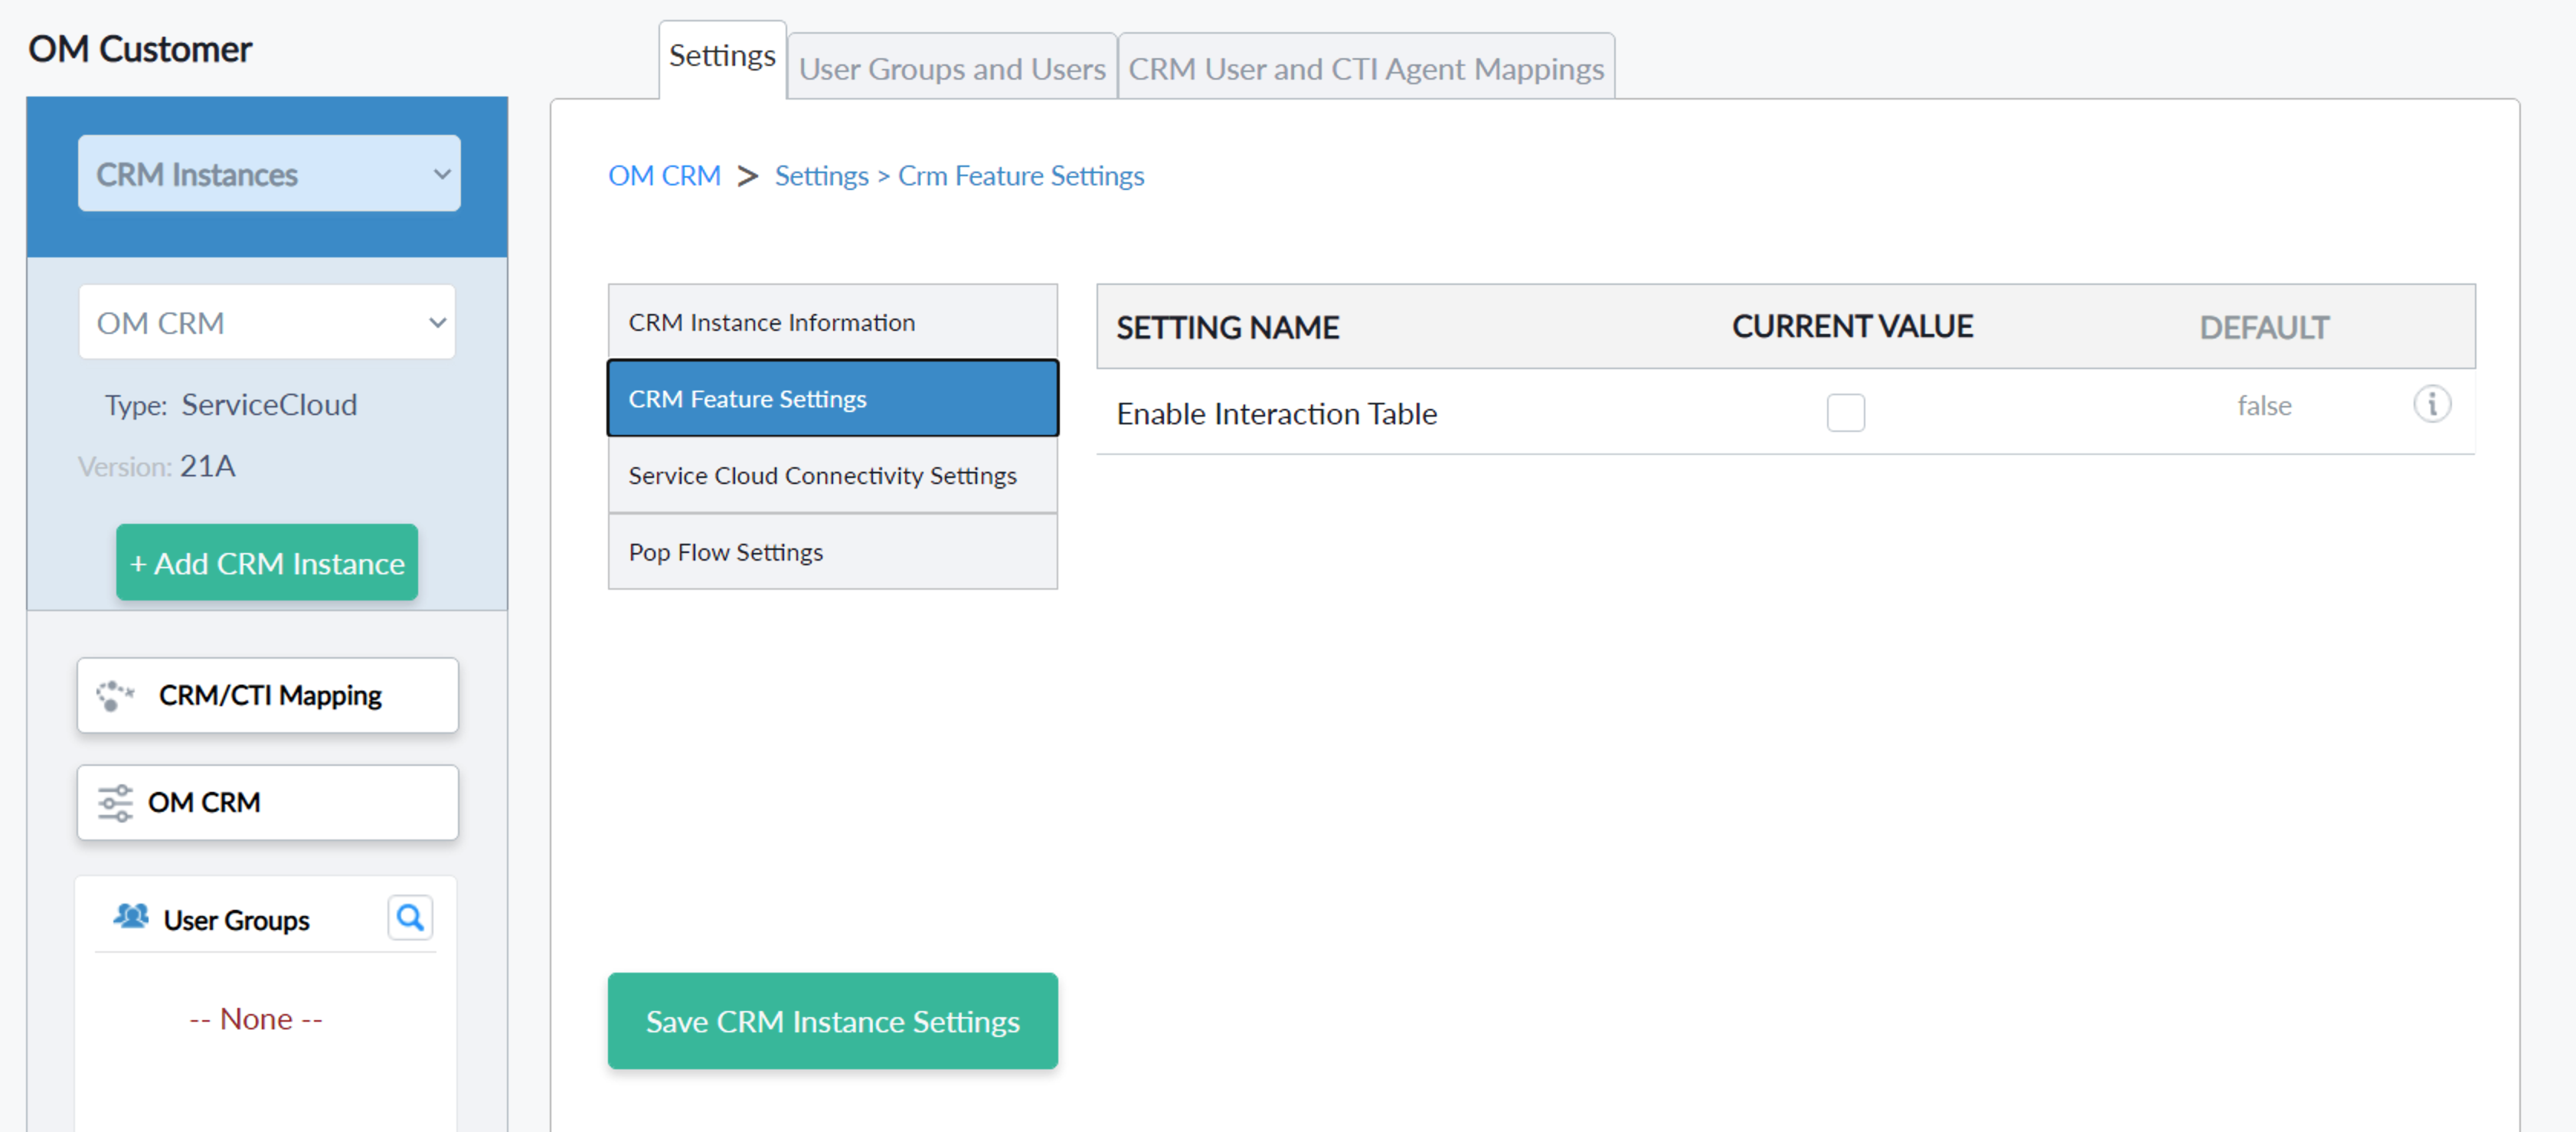
- CRM Feature Settings
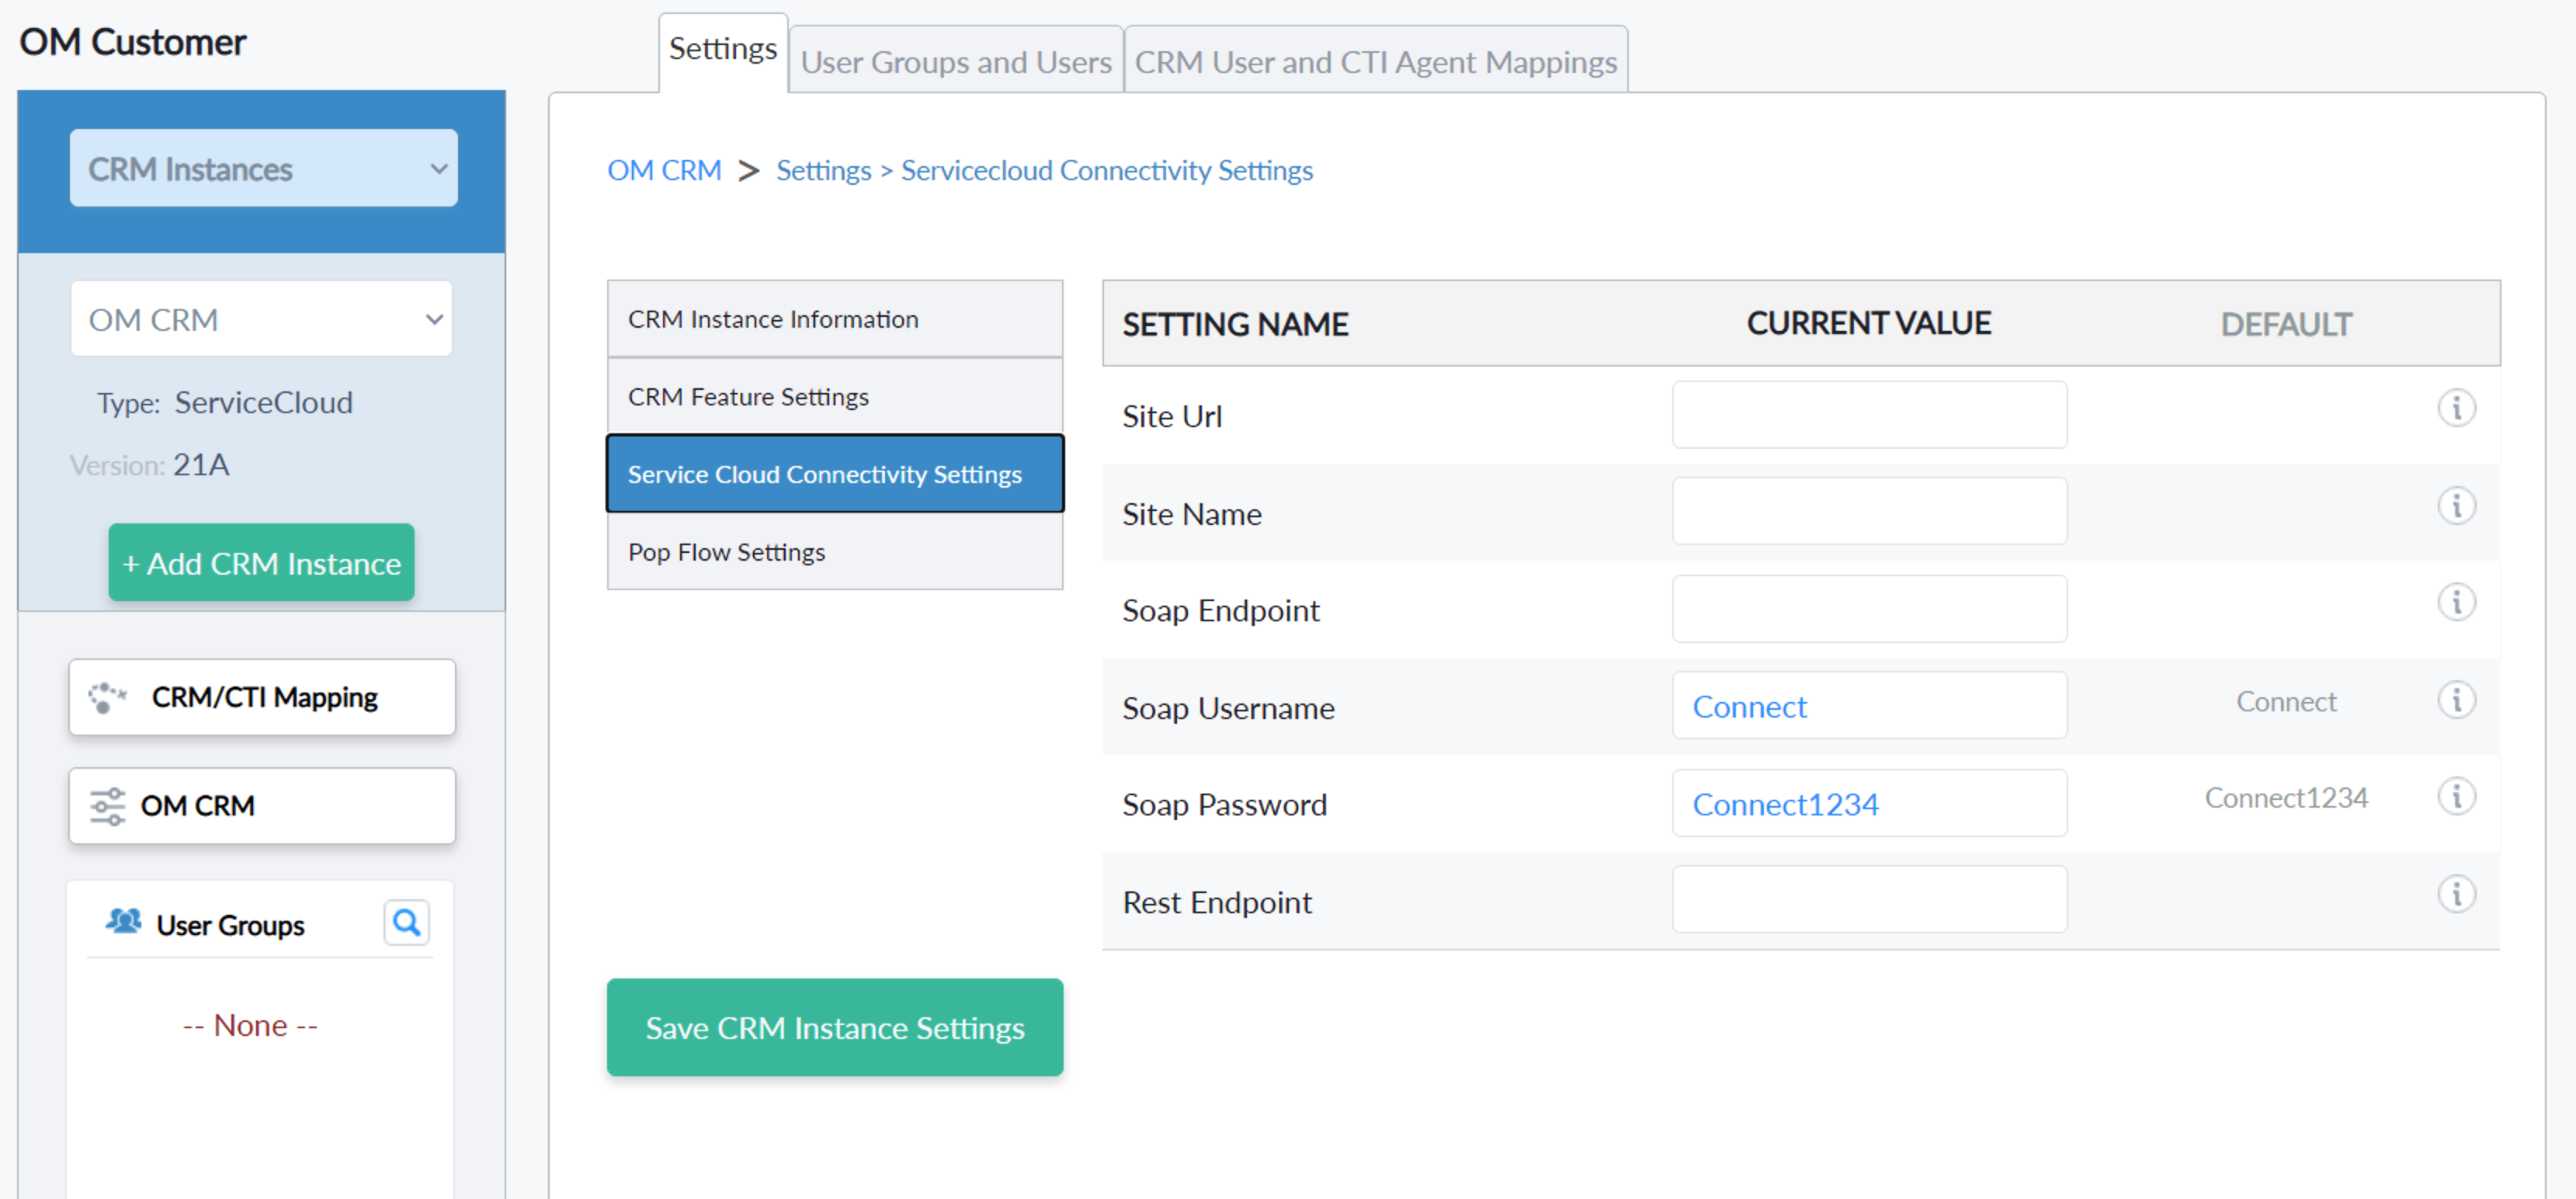
- Service Cloud Connectivity Settings
- Pop Flow Settings

- Click the “Save CRM Instance Settings” button to save changes permanently.
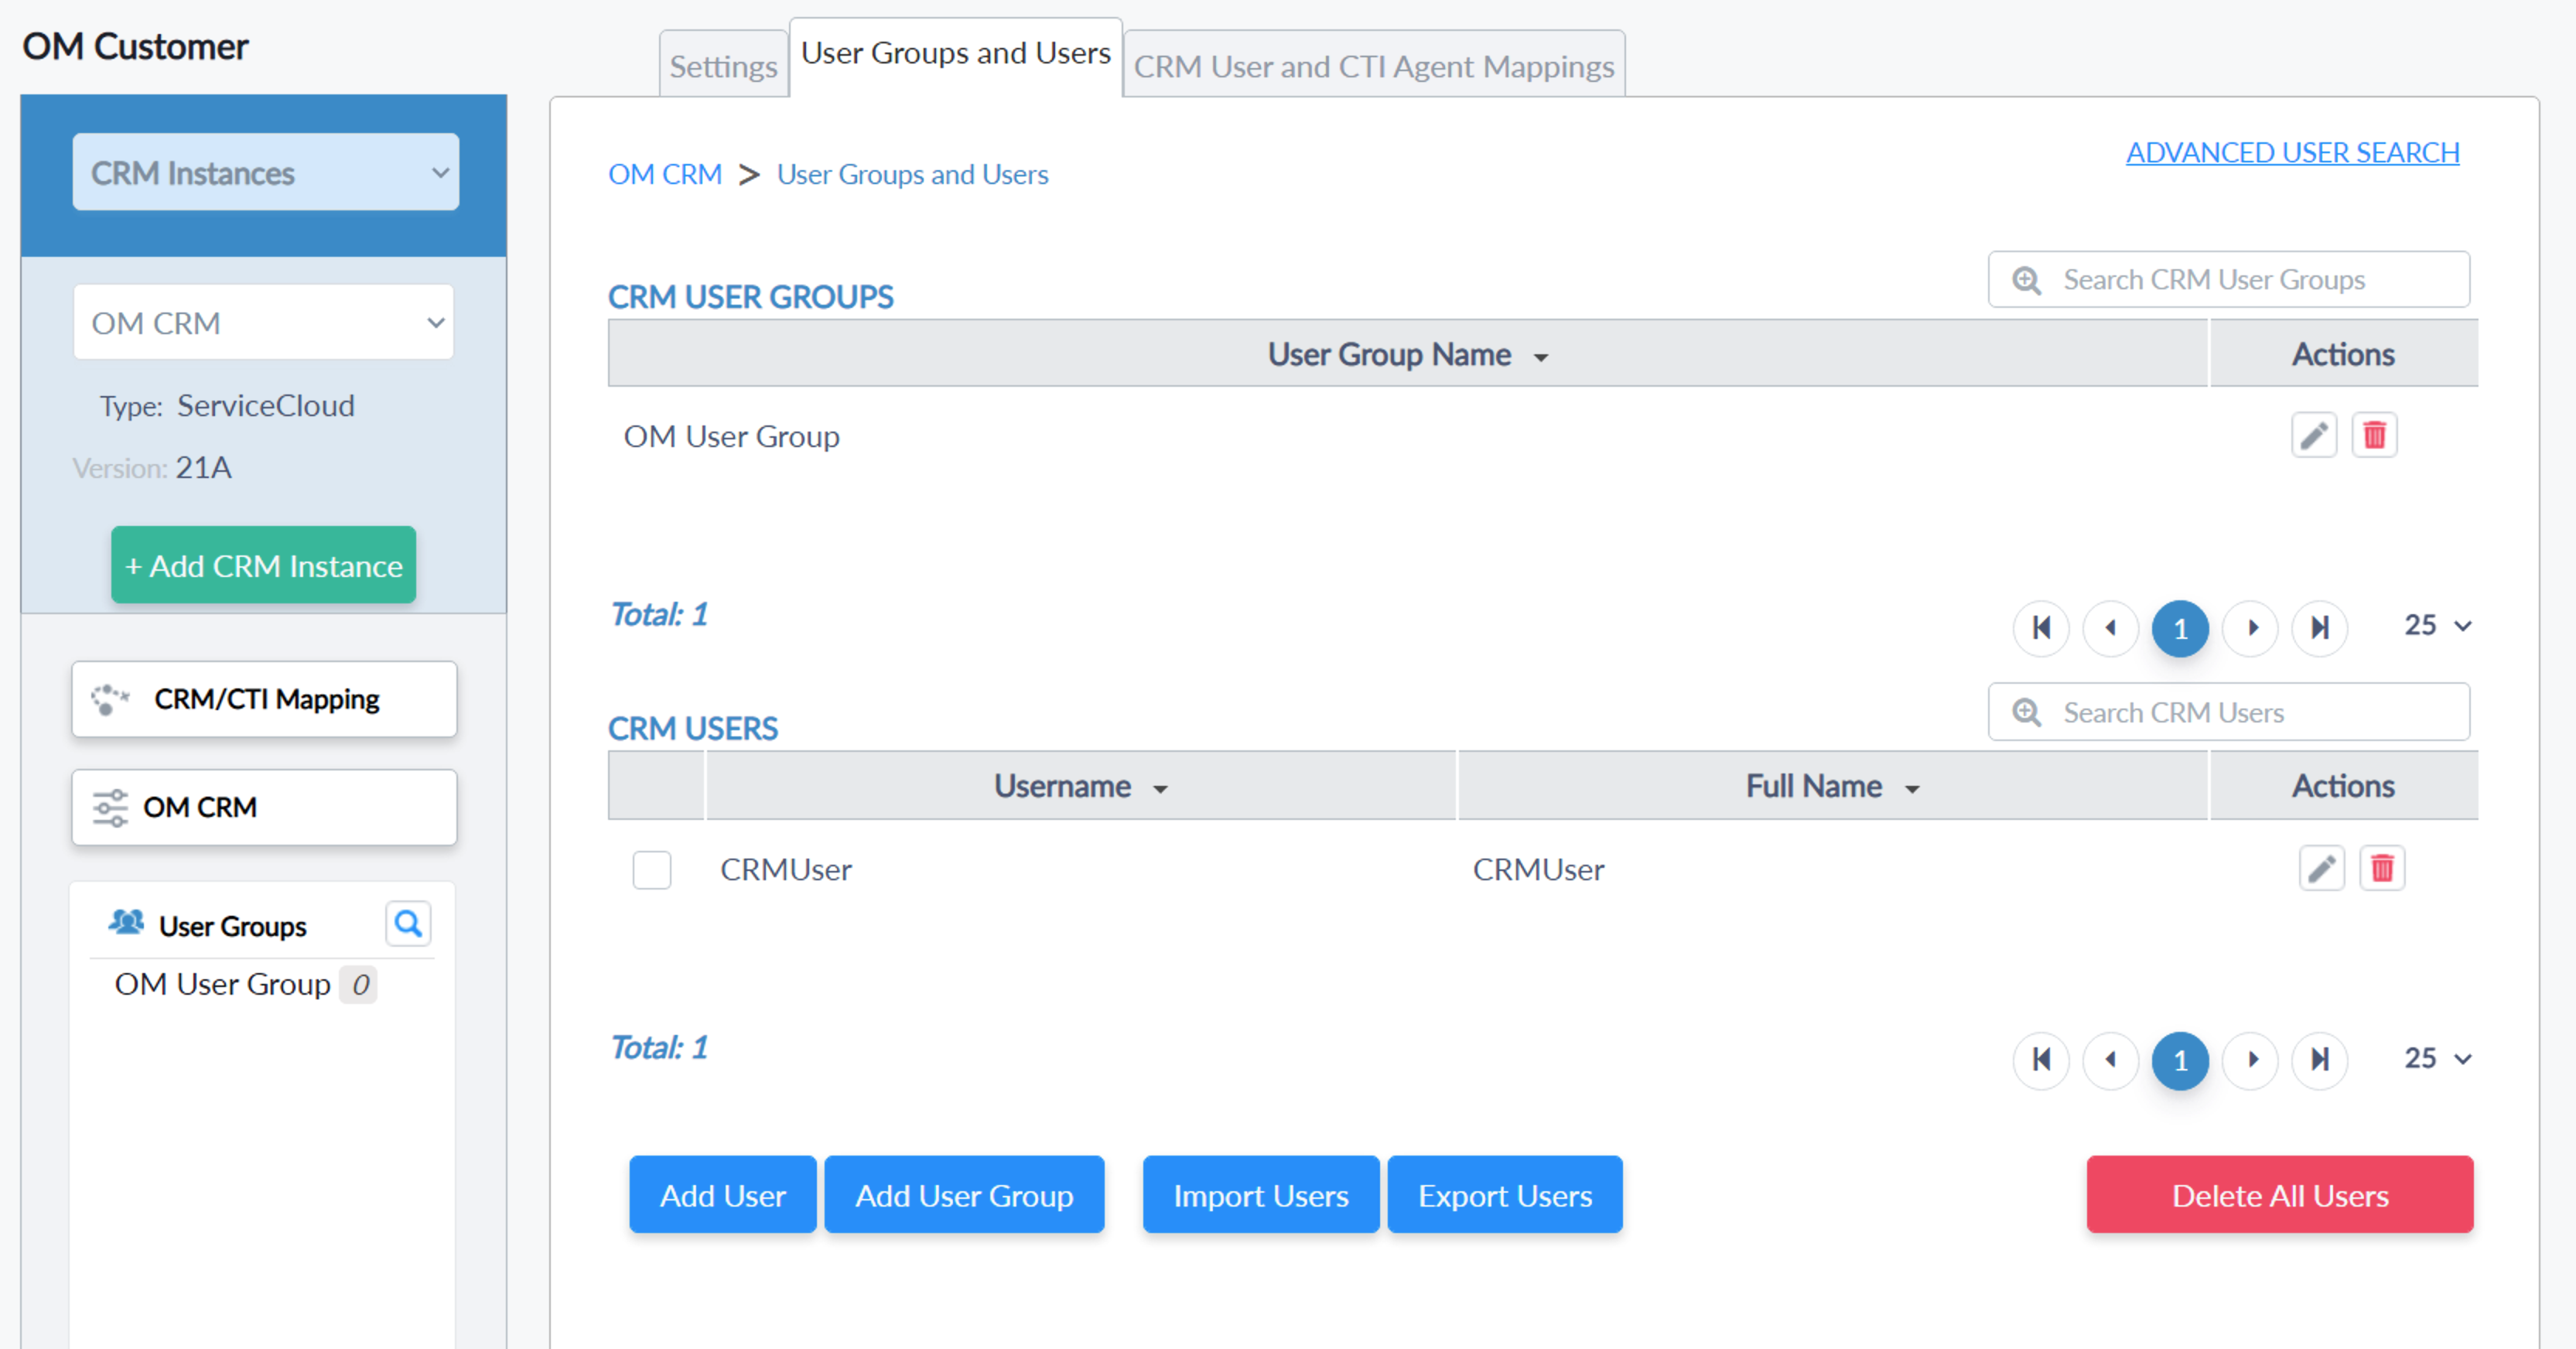
User Groups and Users
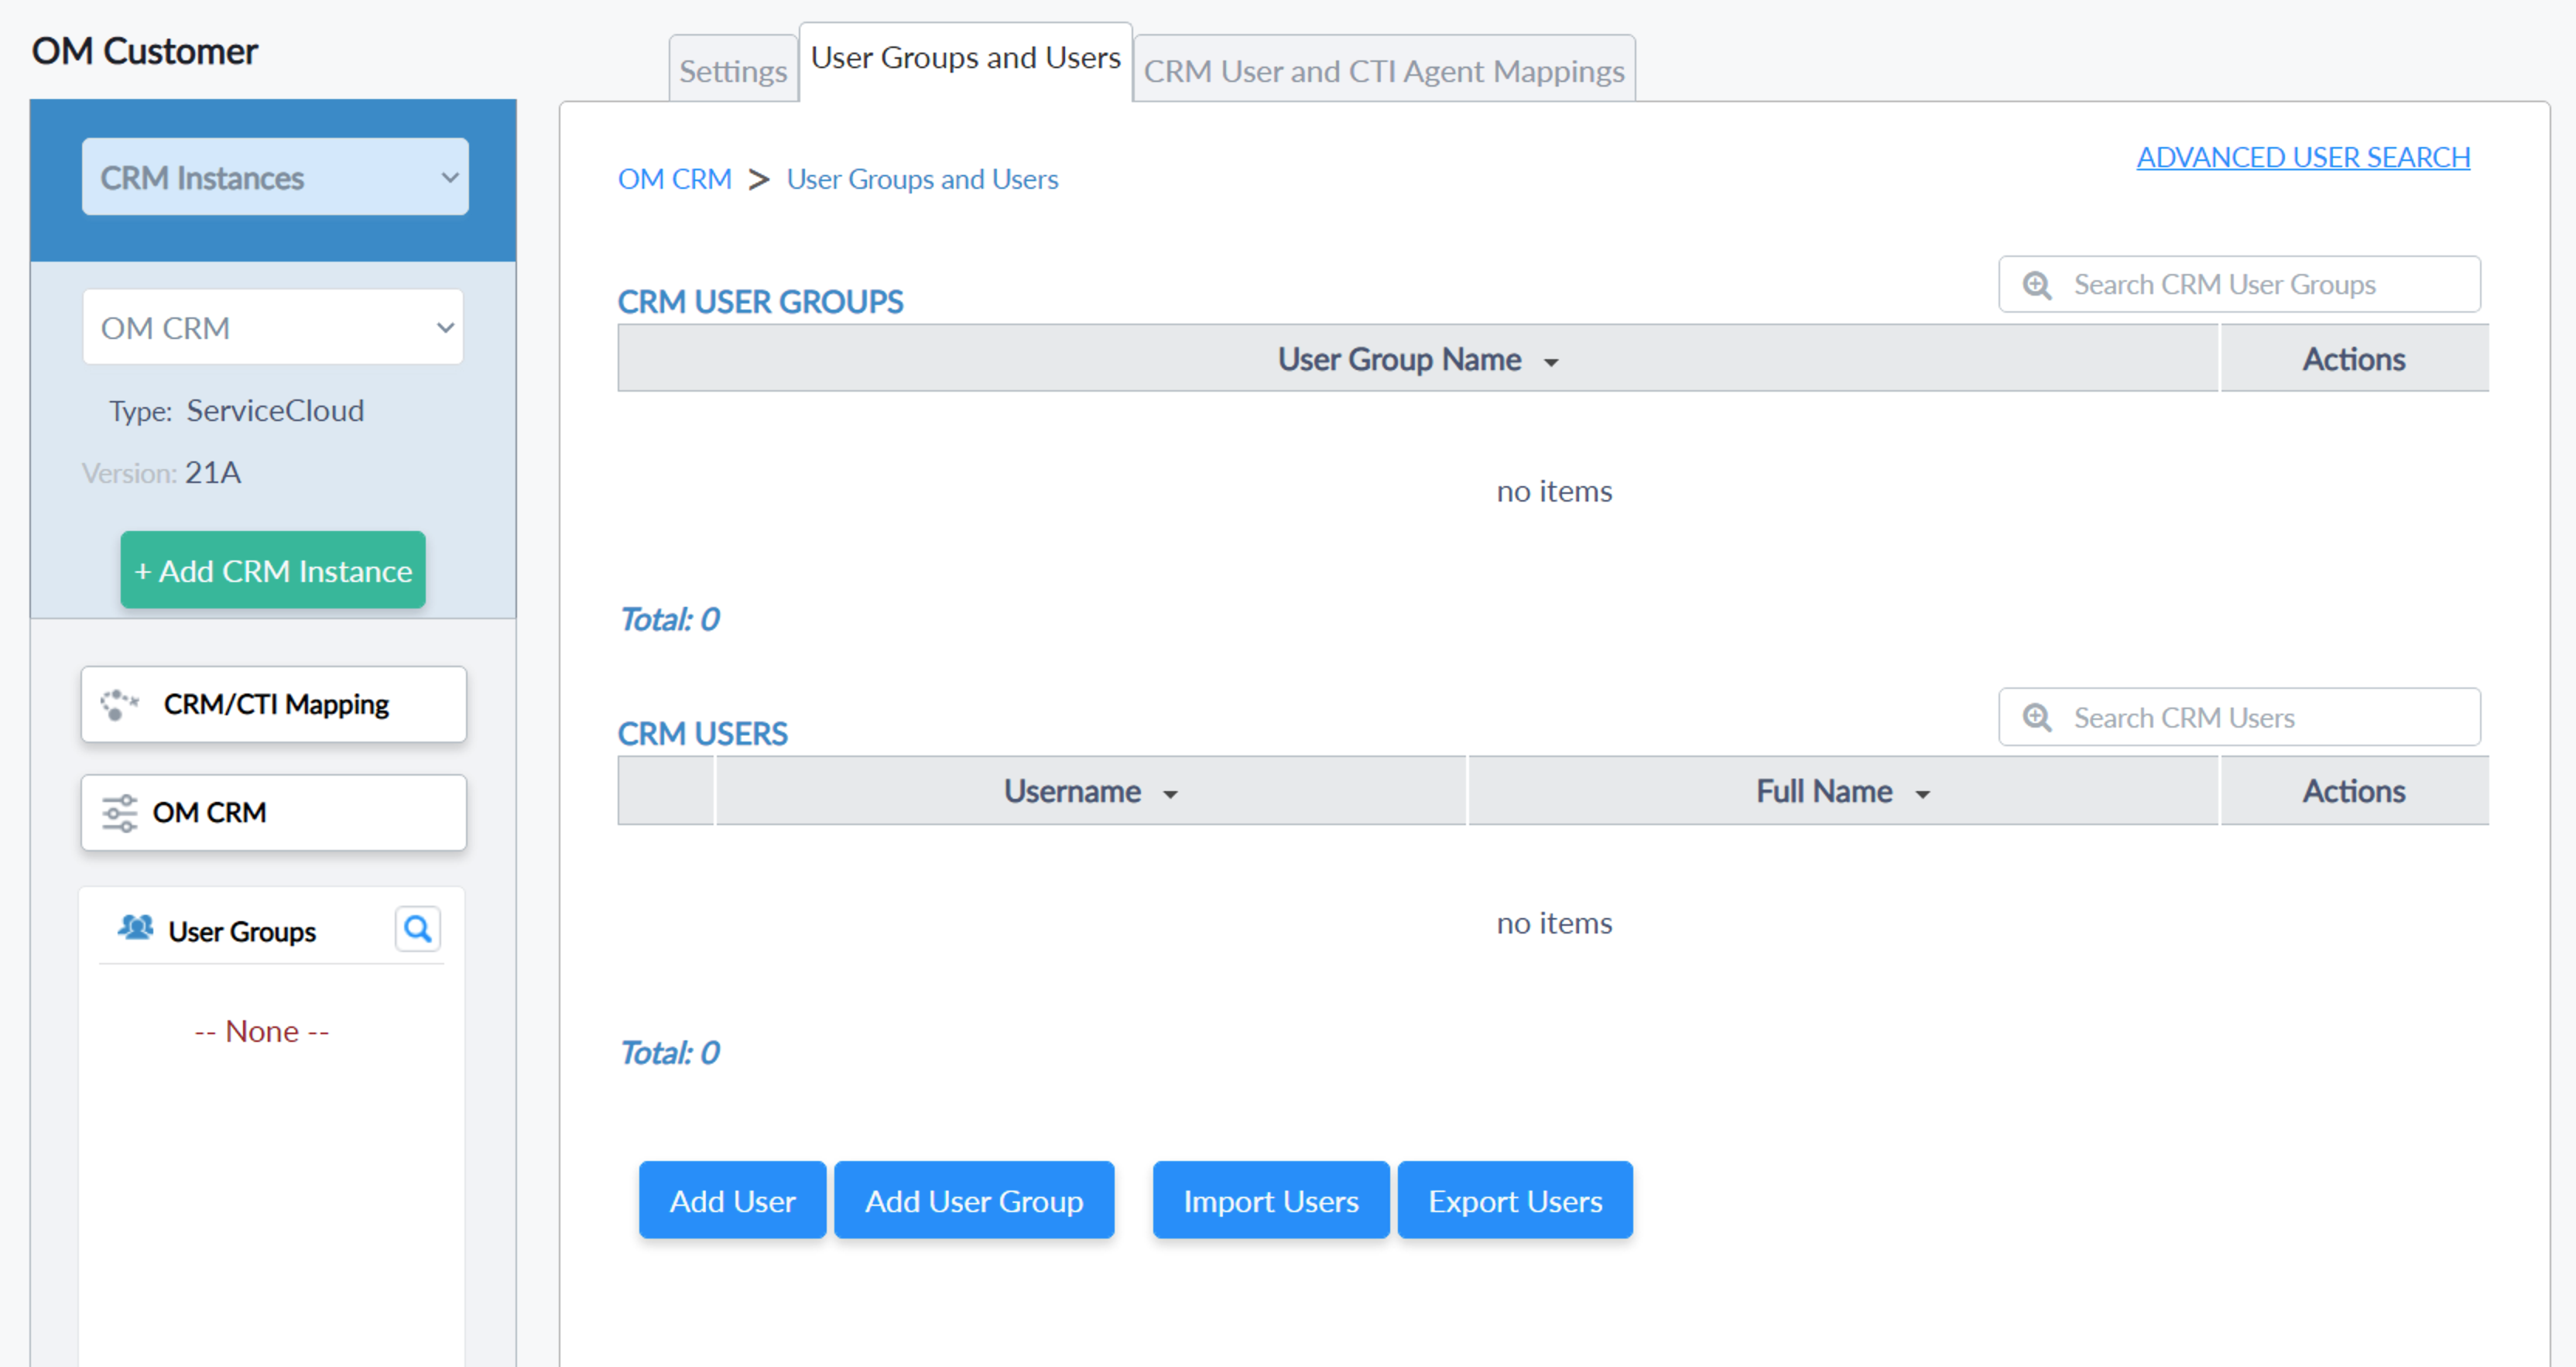
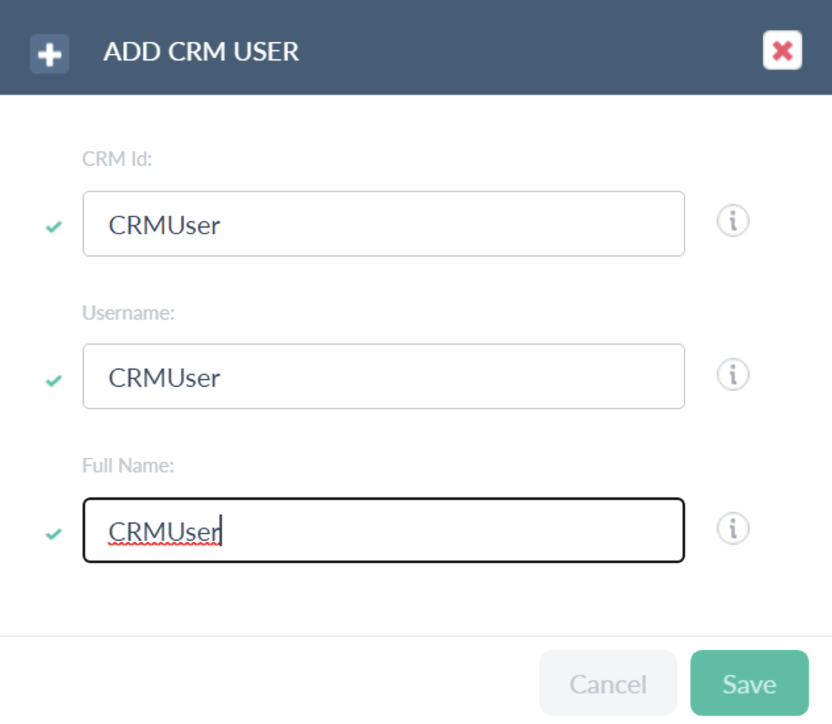
- Add User - the below window will pop up to add an Agent by providing its CRM Id, Username, and Full Name.
- Username - should be unique and case-sensitive for the application.
- Add User Group - The below window will pop up to add a user Group by providing its Name [Unique name]
| Add a new CRM User | Add a new CRM User Group |
|---|---|
 |
 |
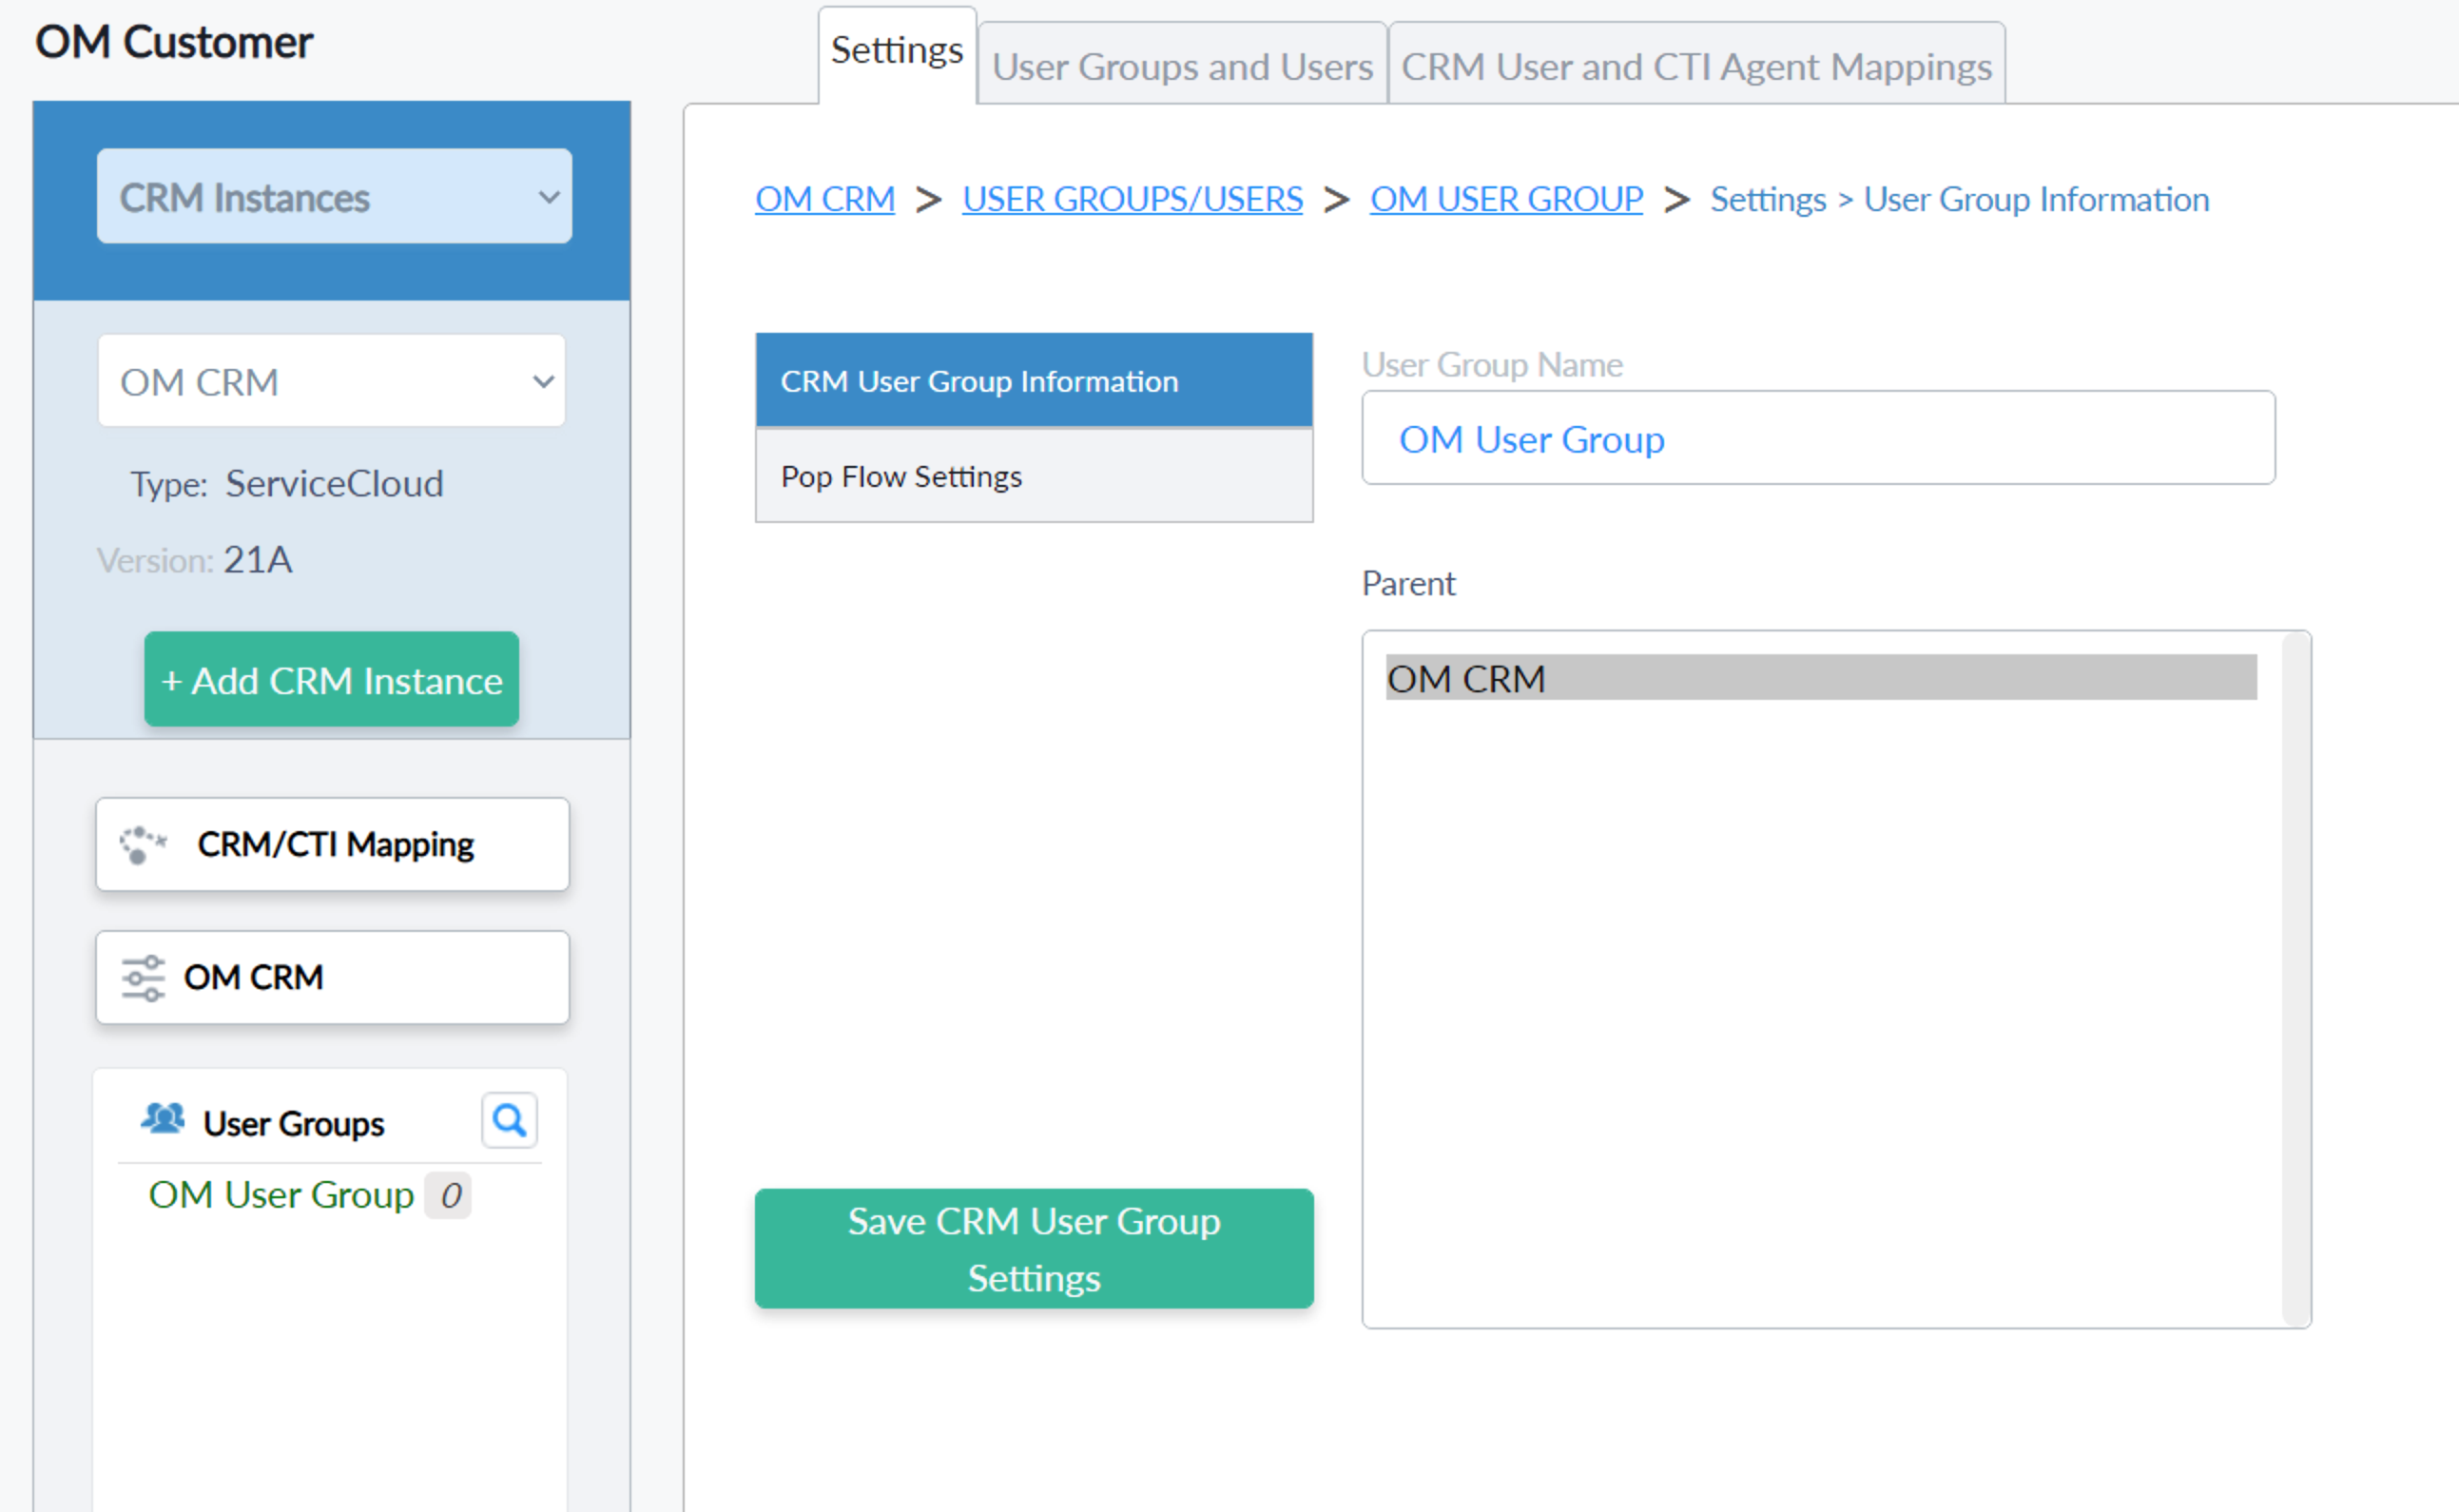
CRM User Group
| CRM User Group Information | PopFlow Settings |
|---|---|
 |
 |
- CRM User Group and Users [Under CRM User Group]

CRM User
| CRM User Information | PopFlow Settings |
|---|---|
 |
 |
Importing CRM Users
- The supported file format to import is CSV.
- The following details can be added to the file to import.
- User Group, Username, Native Id, Full Name, Environment, Agent Id, Update Mapping
- Username is mandatory
- Duplicate usernames are not allowed.
- Environment and Agent Id are used for mapping CTI Agent.
- Mapping will be imported only if the "Update Mapping" is TRUE
- If we have value in the Environment and Agent Id, please make sure those are already added under the Telephony Platform.
- If the username in the CSV contains mapping CTI Agent please make sure the CTI environment and CTI agent are already entered in the Telephony Platform section under the Telephony Platform section.
- ImportCrmUser_SampleFile.csv
- You can use this sample file and populate values and use it to import.

Exporting CRM Users
- We can export the CRM users list and make any modifications,
- if there is any change in the current user,
- add new users in the file and import it
CRM User and CTI Mapping
- CRM User and CTI Mapping - Agent - Override.

- CRM User and CTI Agent Mapping - Override.- Edit Mapping
- Select the agent name listed in the tree view to assign the CTI agent to the selected CRM user.
- Uncheck the check box to remove the mapping.
- Change the Environment dropdown box to get the Agents list from another environment.

- CRM User and CTI Mapping - Agent - Inherit.
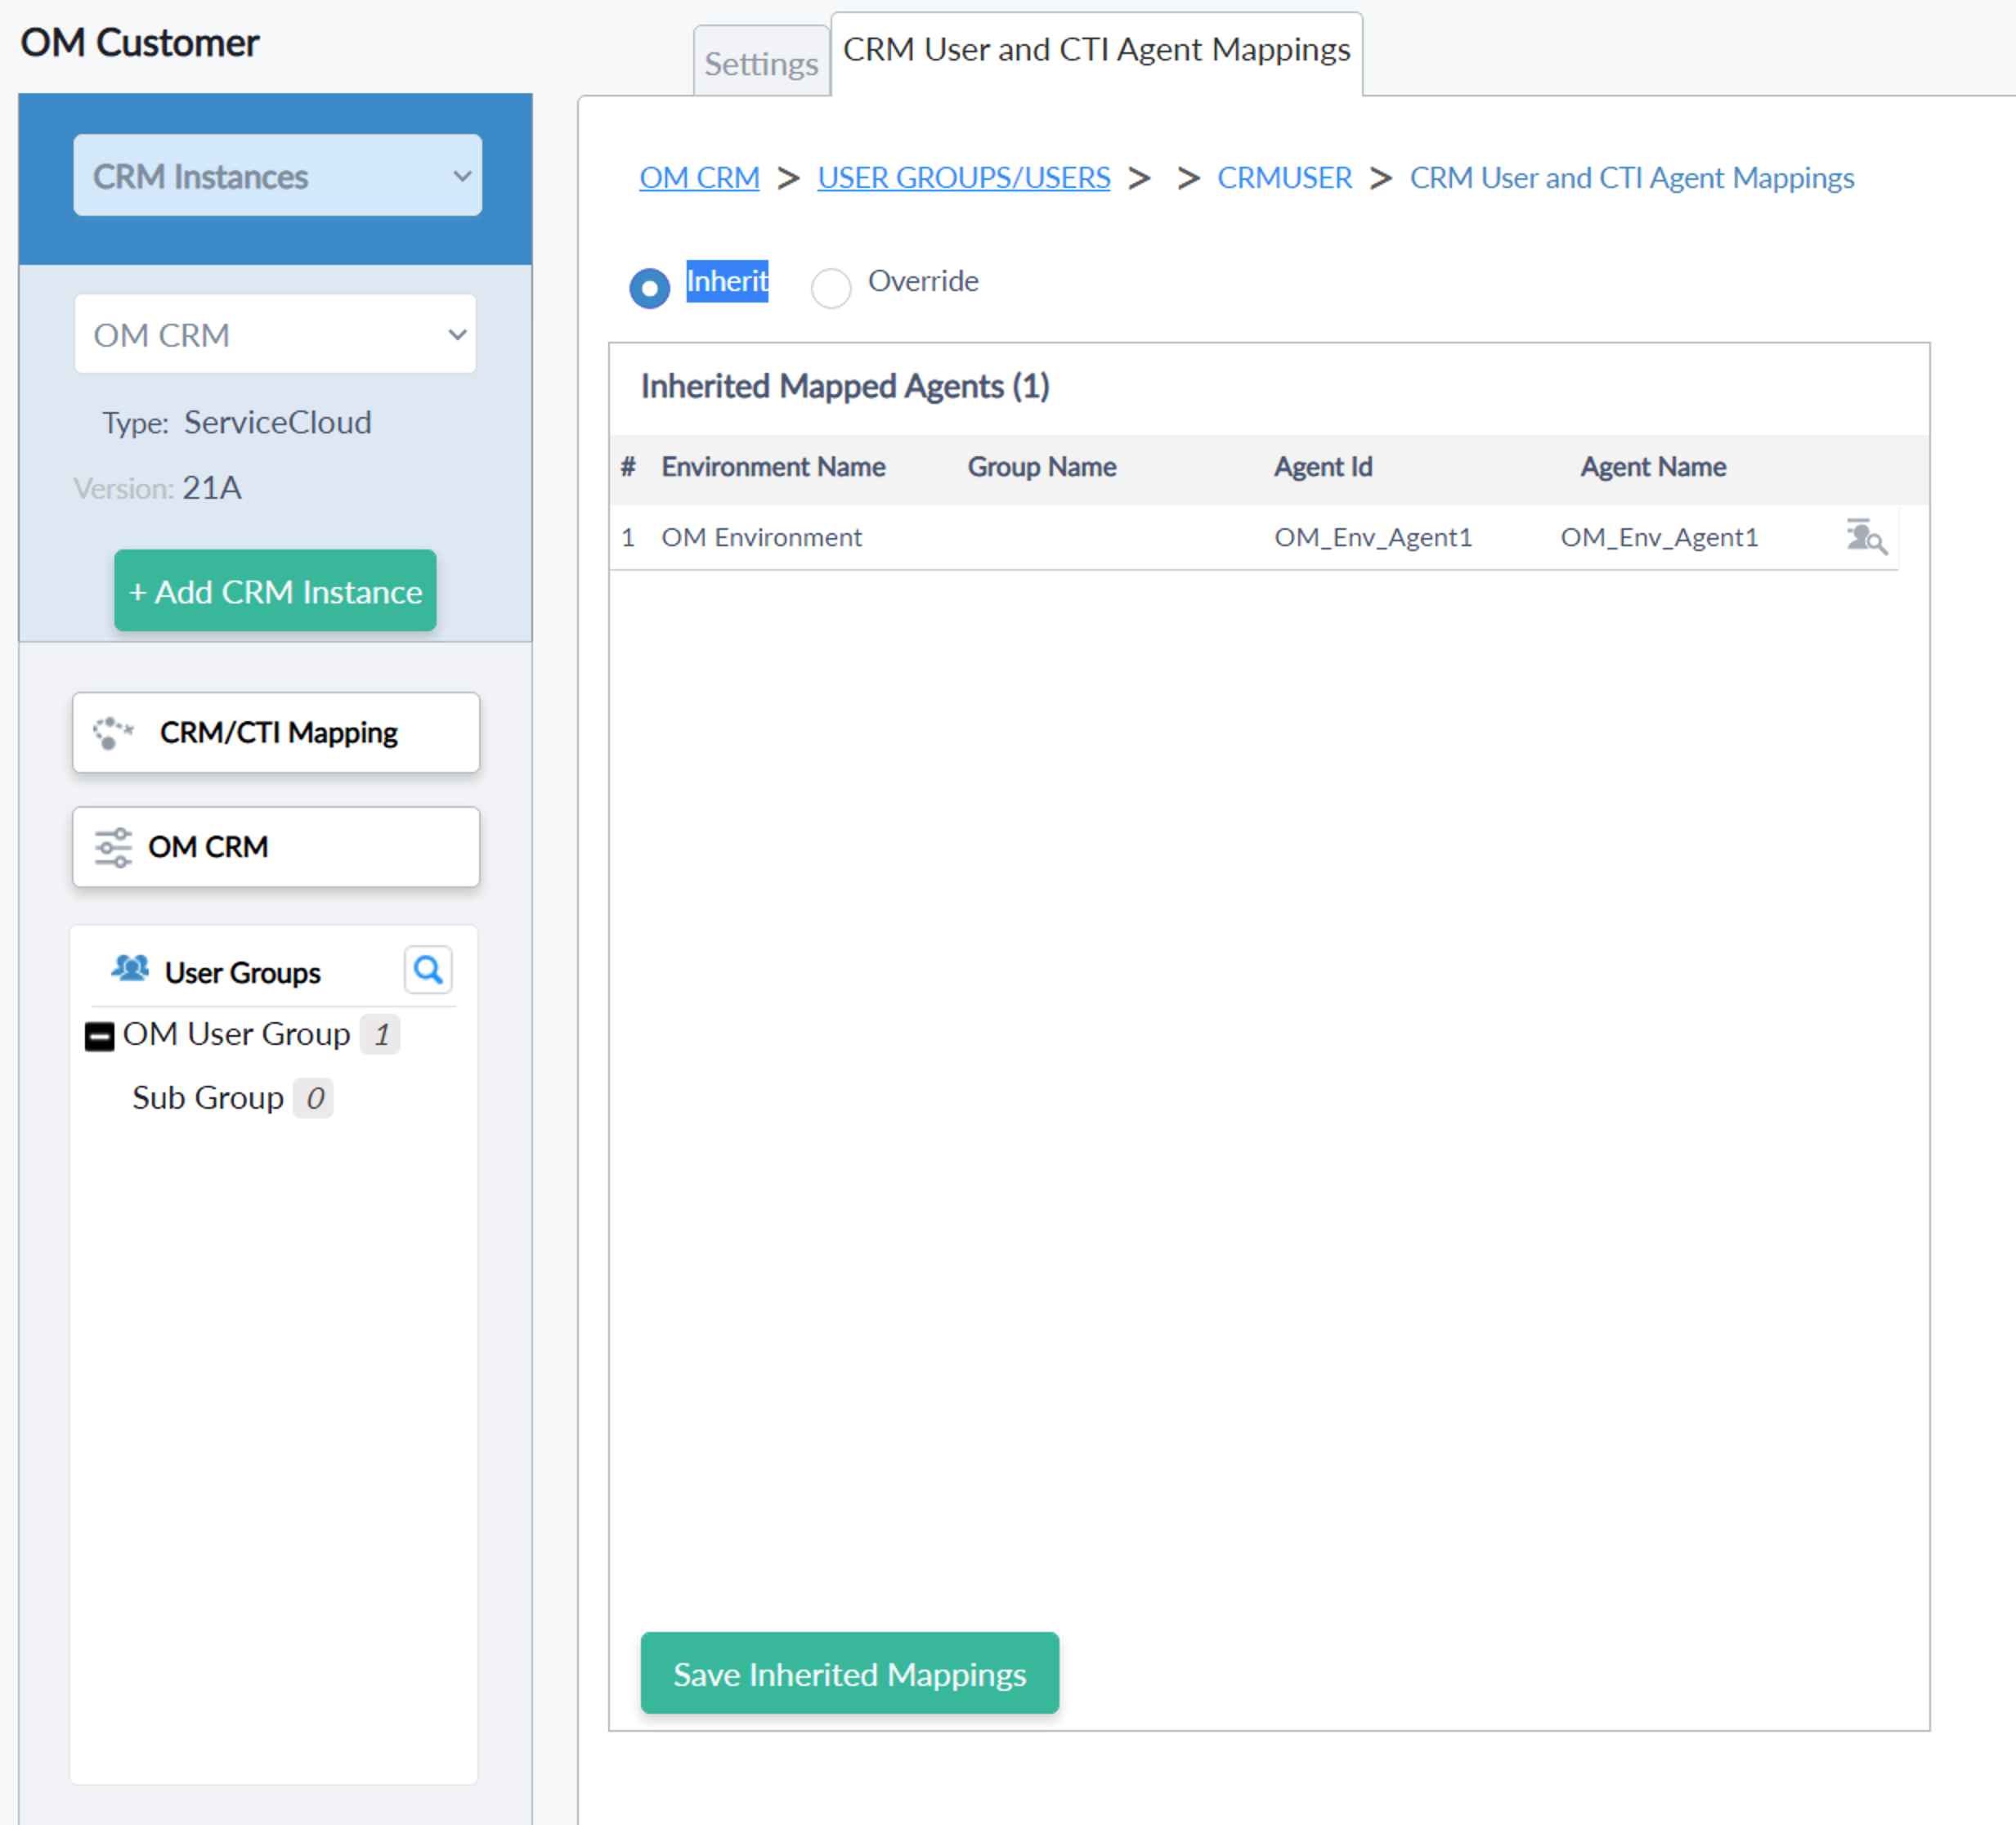
CTI Agent View
- Click the
 Agent view icon from the Mapping list and tree view [above two screens]. will display the agent's details

- When clicking on the Goto Edit button it will redirect the page to the Agents' page from the Telephony platform.
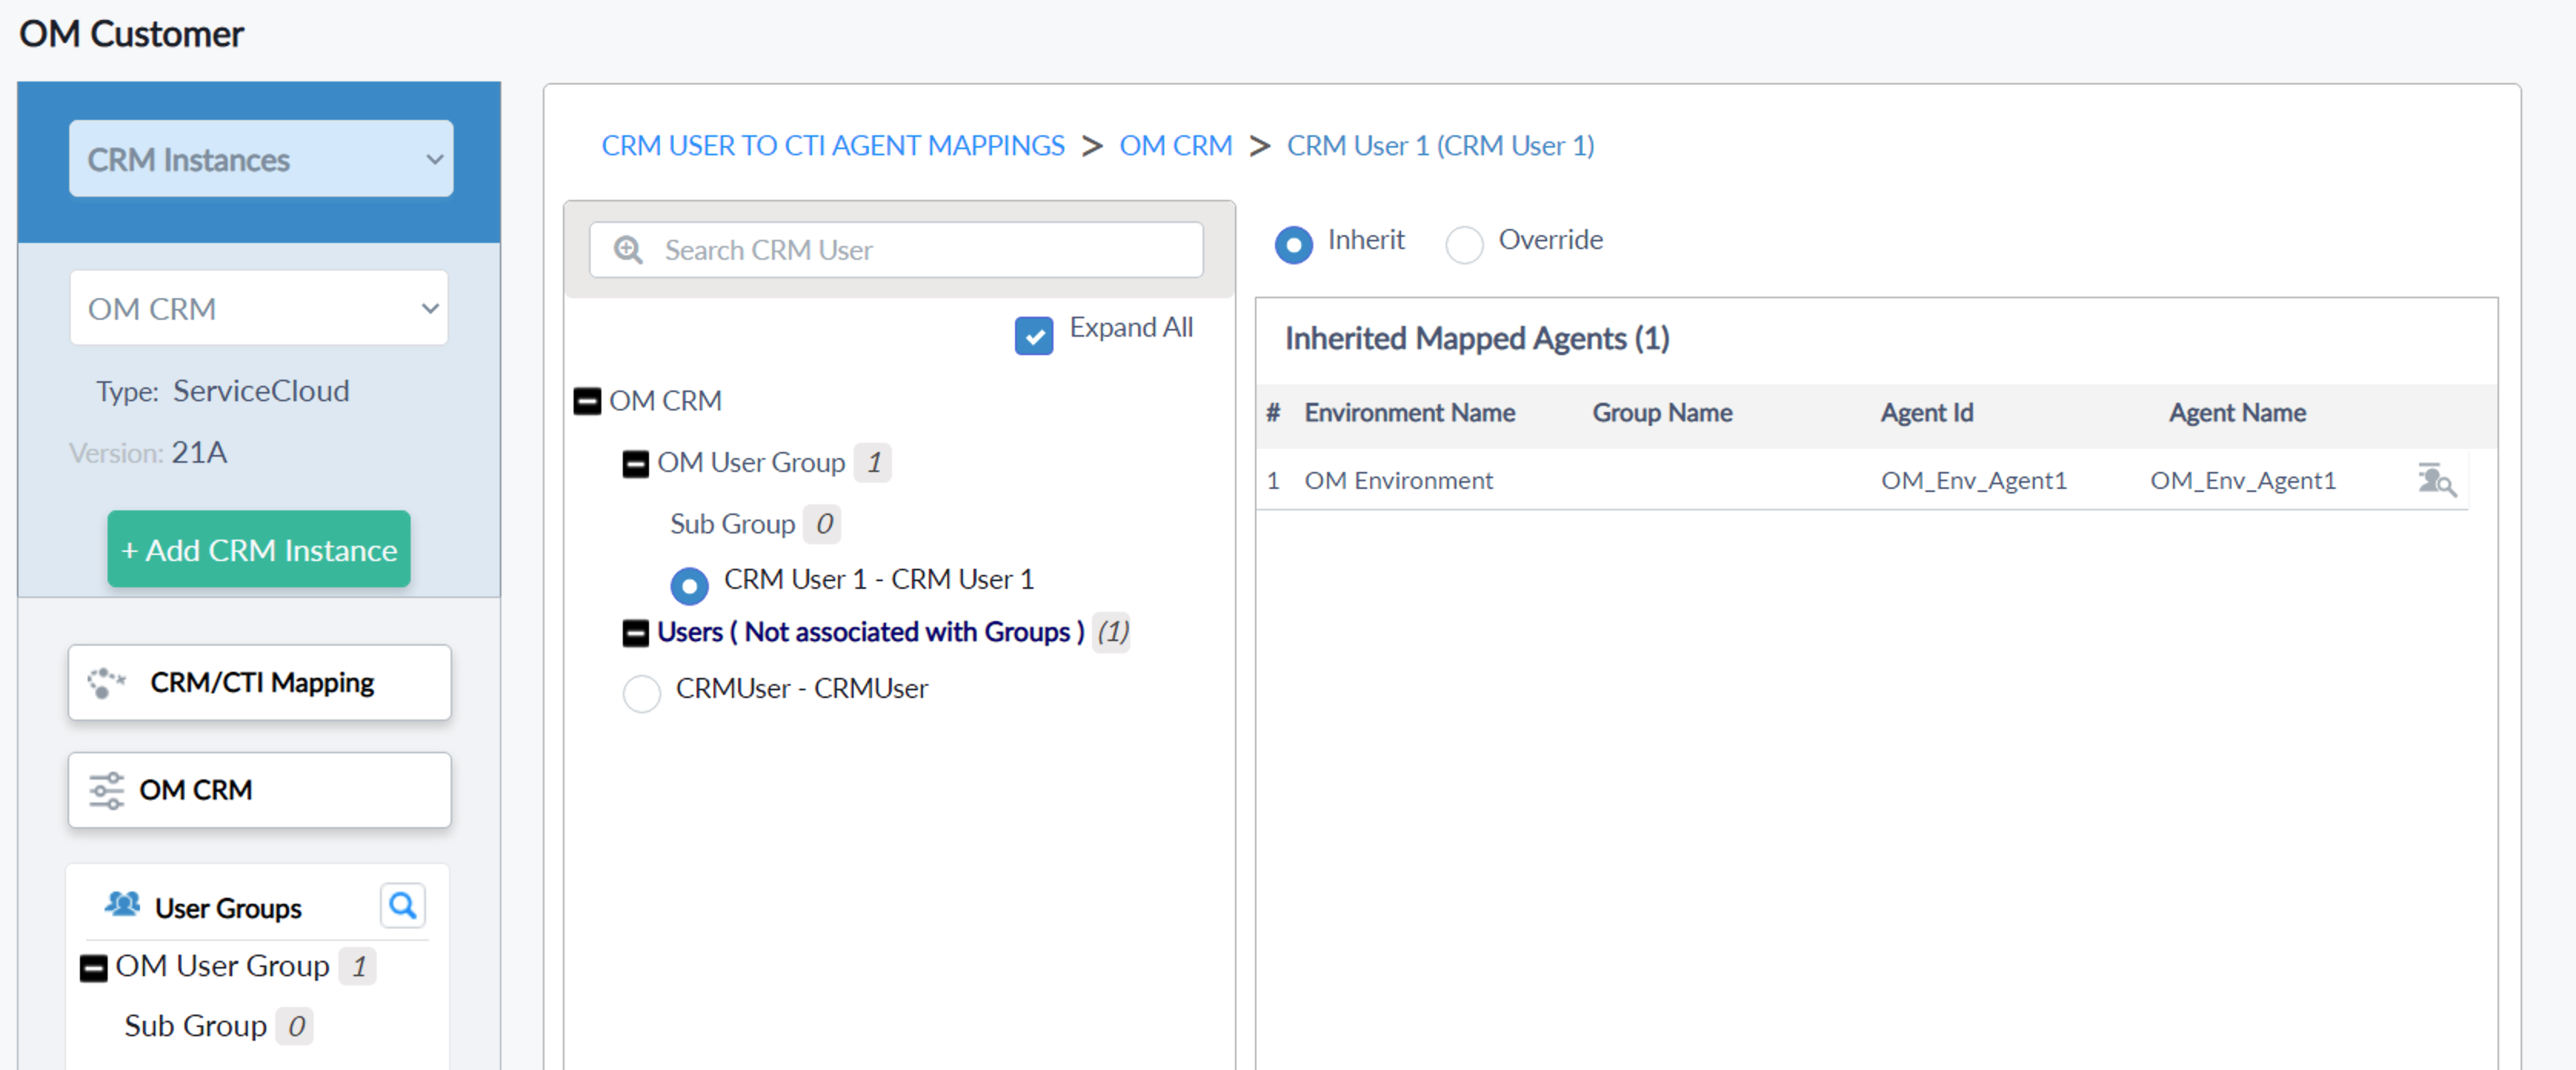
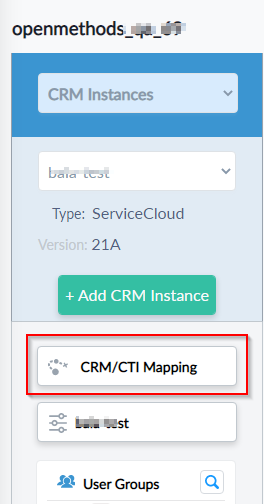
CRM/CTI Mapping
- CRM/CTI Mapping - From Left Panel
- Select the User radio button to view the mapping for the selected user and we can update the mapping here as well.
 |
CRM User to CTI Agent Mapping
- Mapping can be done in 2 ways.
- Edit a user and click the "CRM User and CTI Agent Mappings" tab.
- Click the "CRM/CTI Mapping" button.
- Select the override button -> Edit Mapping -> Select Environment -> Uncheck Show Mapped then select an agent to be mapped to the CRM User.
* Please avoid mapping more than 10 CTI agents.
 |
 |