The first step in getting started with the Config Server is setting up your deployment. This article explains the Deployment screen and settings, and how to configure them.
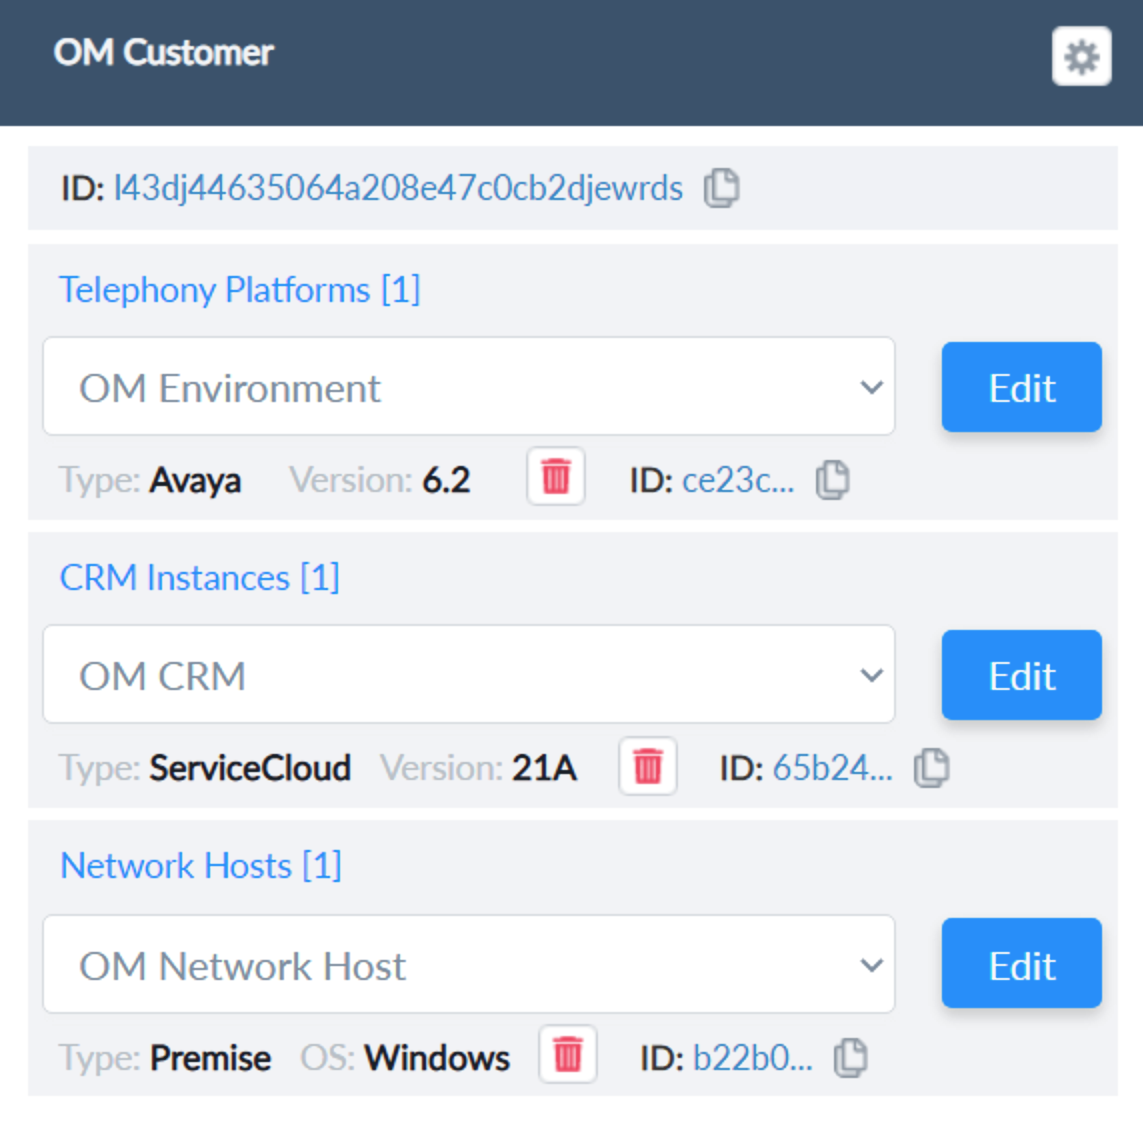
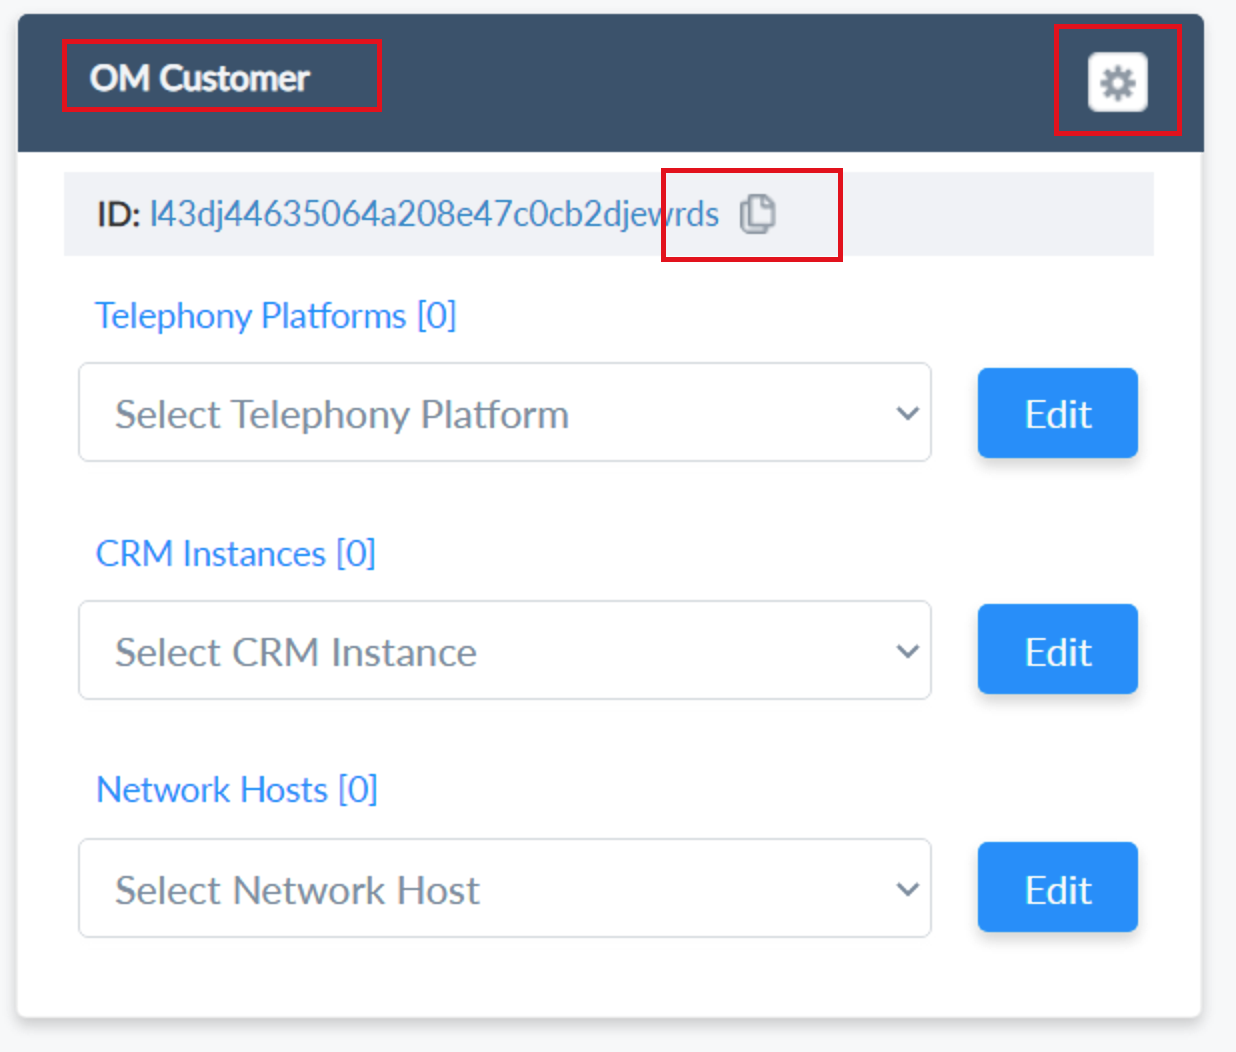
Below is the config Server home screen - Deployment.
- The Deployment Name will be displayed on the top.
- Click the copy icon to copy the Customer Deployment Id into the clipboard.
- There are 3 sections in the Deployment:
- Telephony Platform
- CRM Instance
- Network Host
- To configure network systems used for the Server component deployments.
- This section is not used for PopFlow only clients.
- Please click on the setting
 icon to add the Telephony platform, CRM Instances, and Network Hosts.
- We have to add at least one Telephony Platform, CRM Instance, or Network Host before moving to the next page.
| Deployments | Deployment Settings |
|---|---|
 |
 |
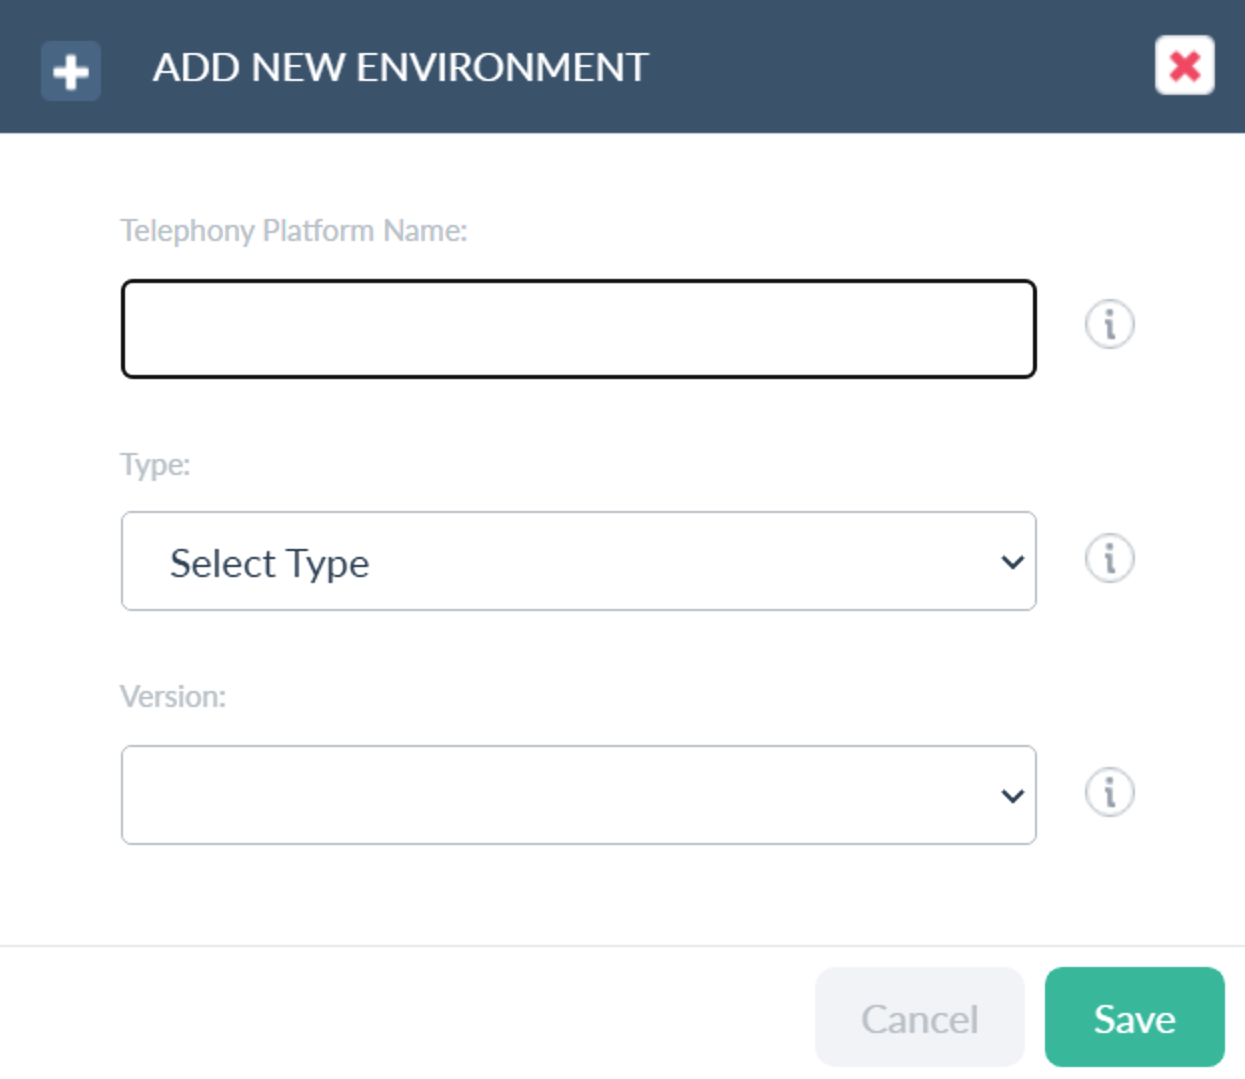
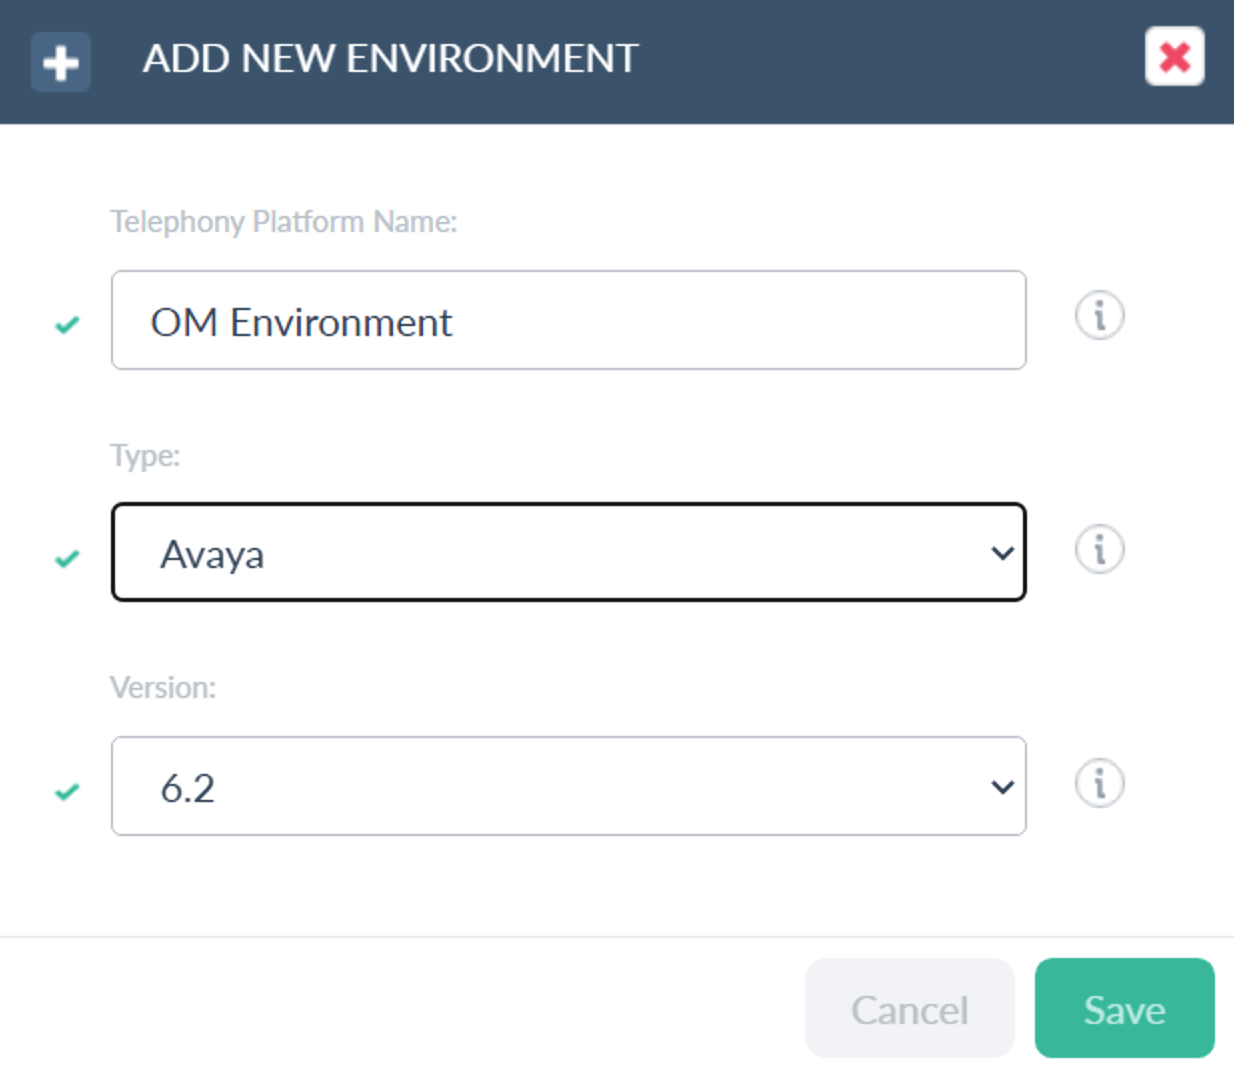
Adding a Telephony Platform
- Telephony Platform Name - Provide a unique name.
- Type - Select the type of Telephony Platform from the given list.
- Version - Select the version for the selected type.
| Add a new Telephony Platform | Select Platform Type | Select Version |
|---|---|---|
 |
 |
 |
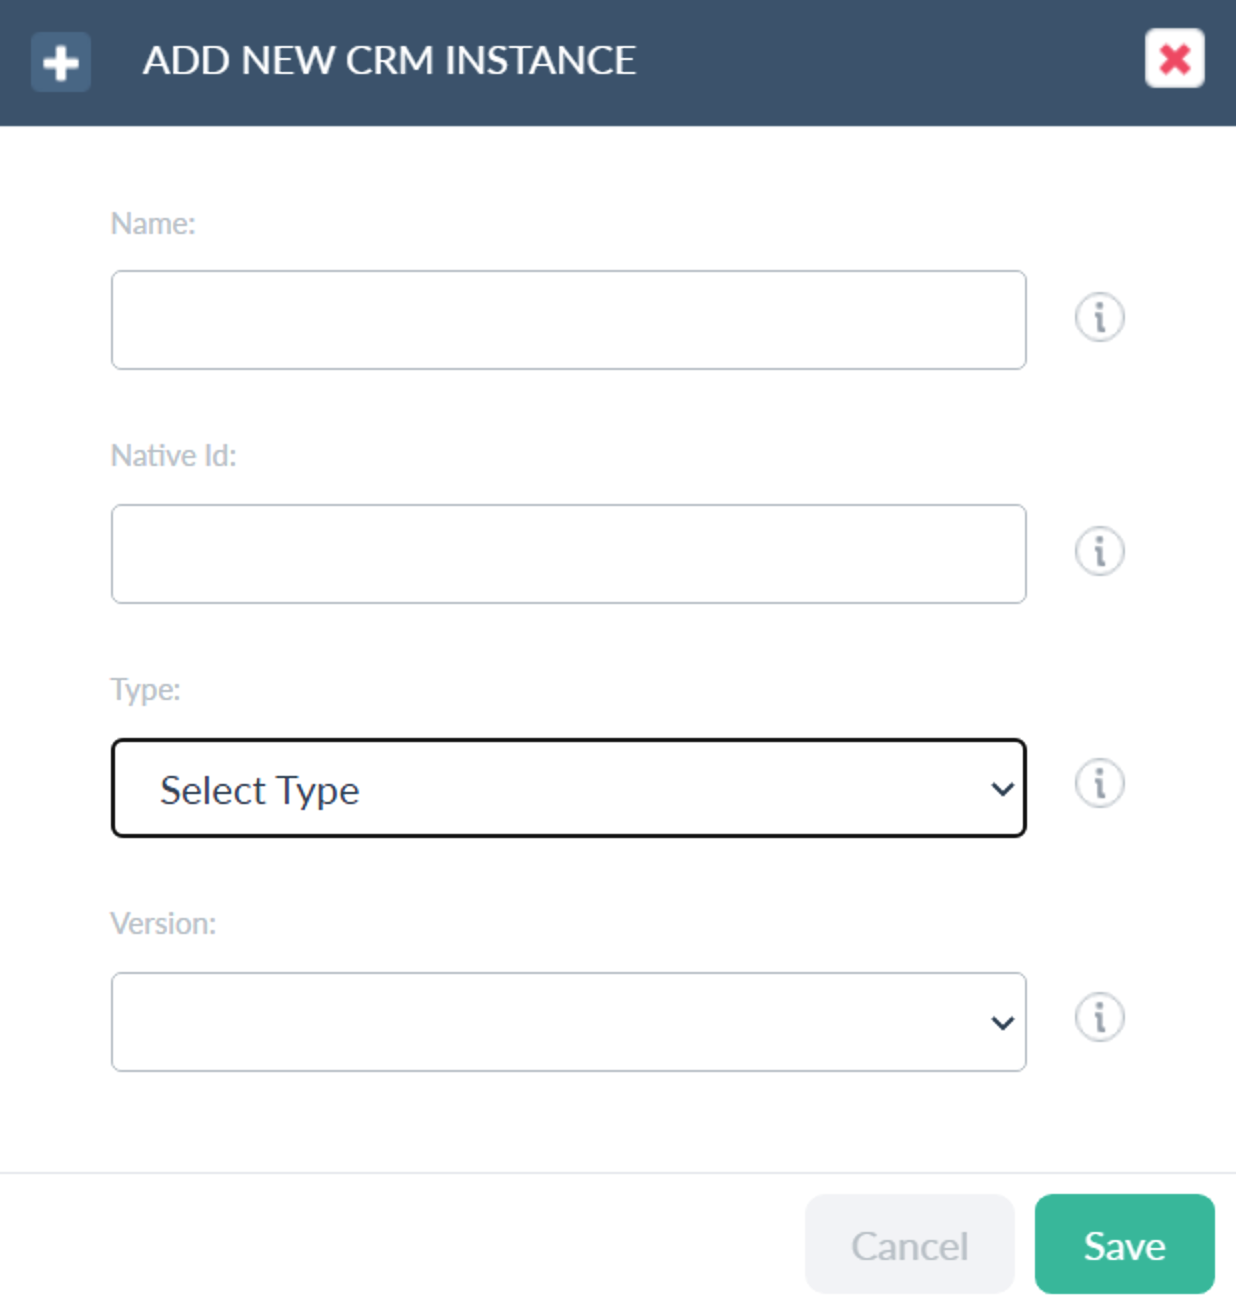
Adding a CRM Instance
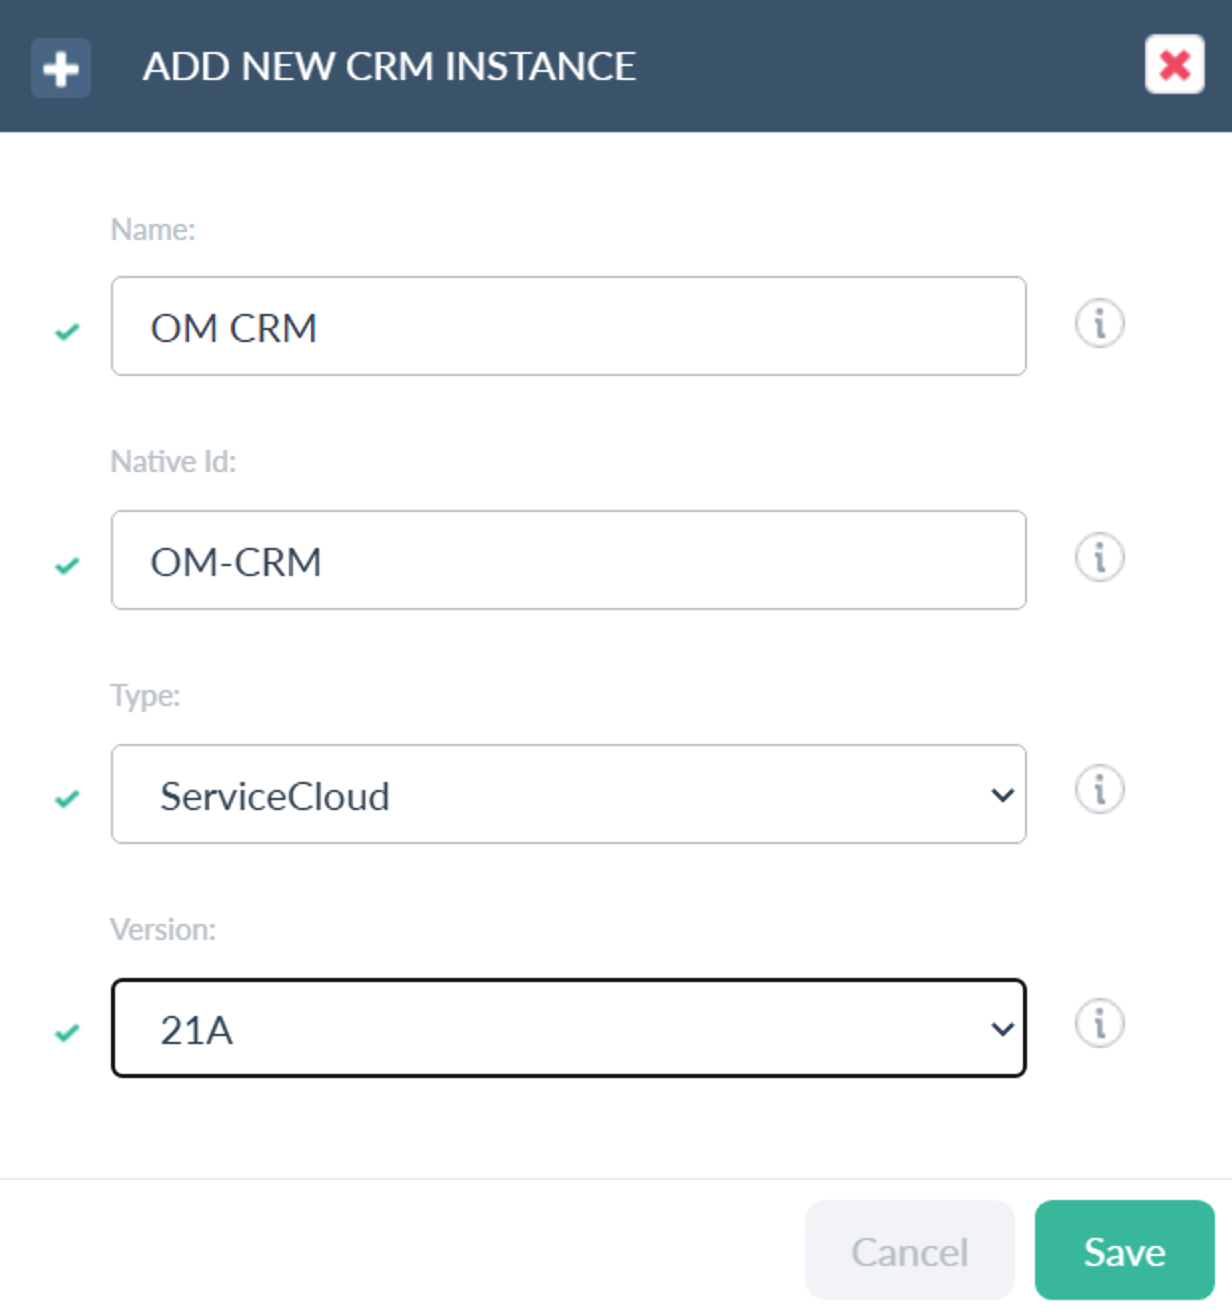
- Name - Provide a unique name.
- Native Id - provide a native id without spaces.
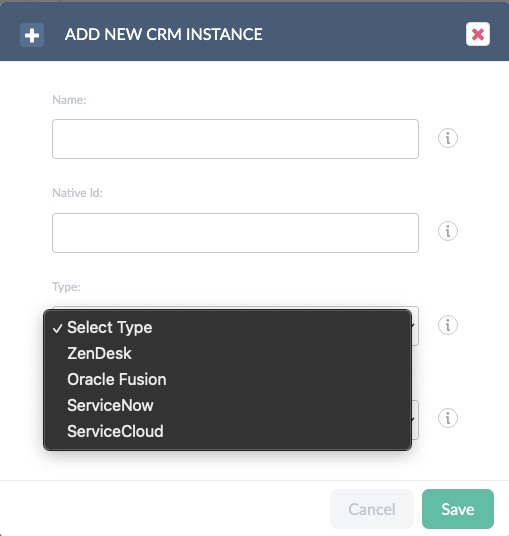
- Type - Select the type of CRM Instance from the given list.
- Version - Select the version for the selected type.
| Add a new CRM Instance | Select CRM Type | Select Version |
|---|---|---|
 |
 |
 |
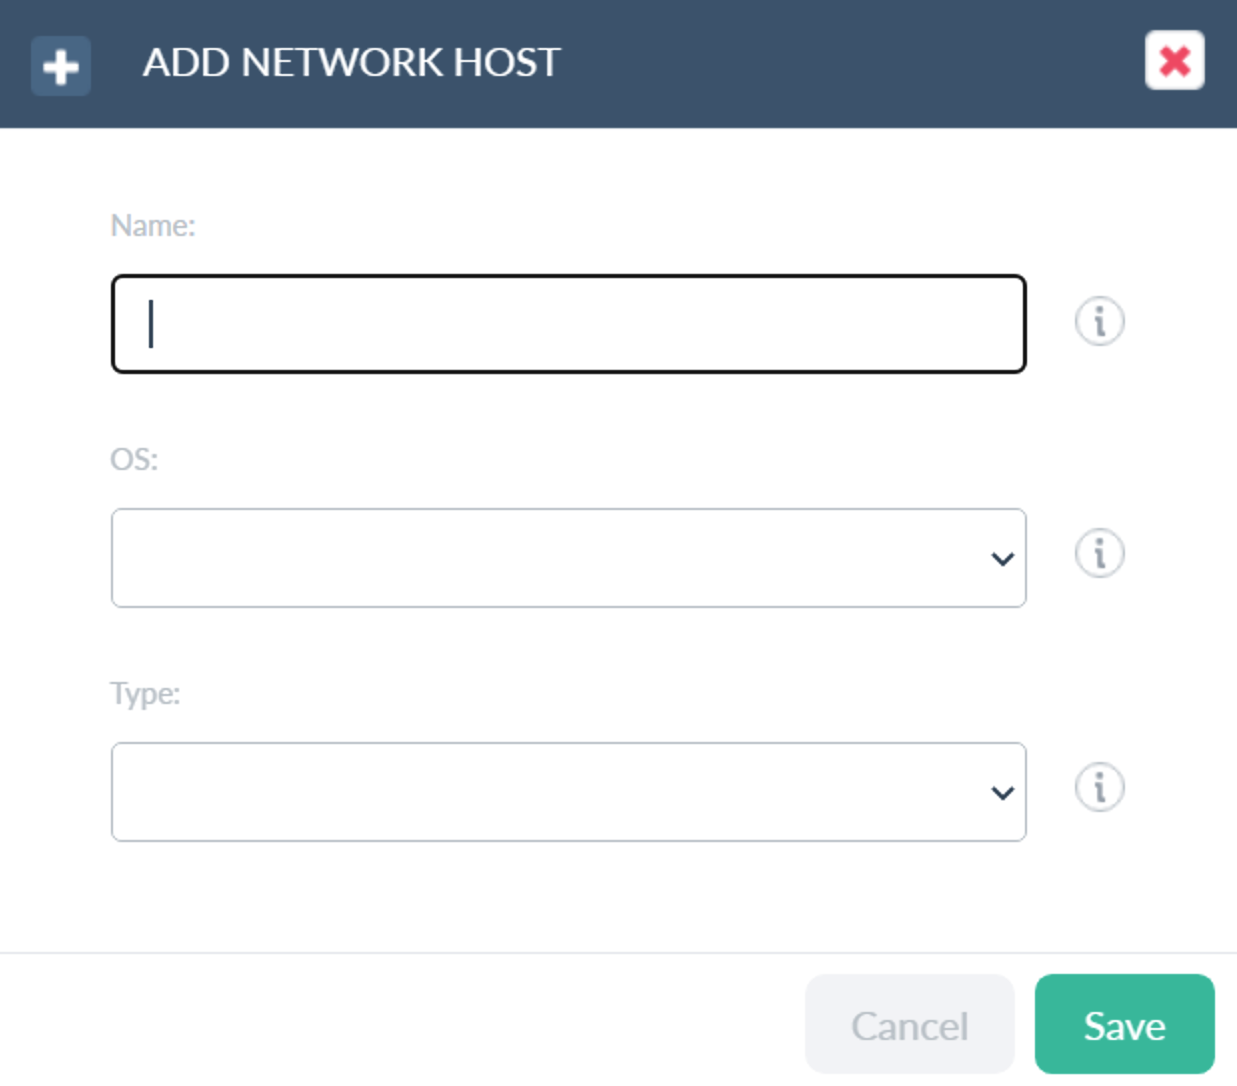
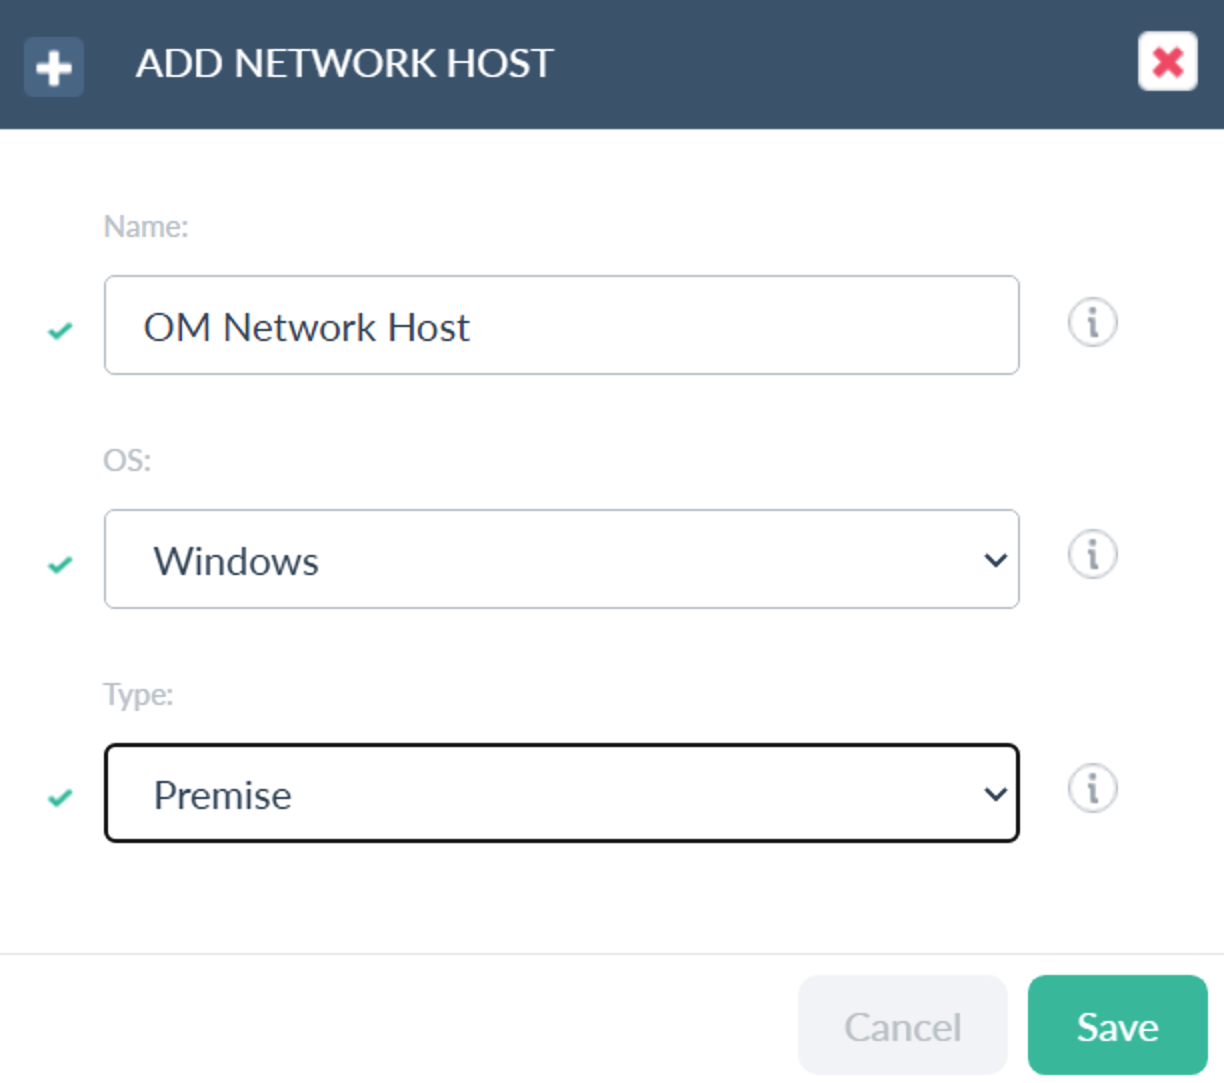
Adding Network Hosts
- Name - Provide a unique name.
- OS - Select the OS of the Network host from the list.
- Type - Select the Type of Network host from the list.
| Add a new Network Host | Select OS and Type | |
|---|---|---|
 |
 |
 |
- Once added the Telephony platform, CRM Instances, and Network Hosts, please select the name and click on the Edit button to go to the appropriate Edit page.