How Manage CRM Users In Experience Cloud

Learn how to add, edit, or remove users in Experience Cloud

Last published at: November 29th, 2022

The following is required when setting up and managing CRM users within Experience Cloud.


Expand to view each step: 

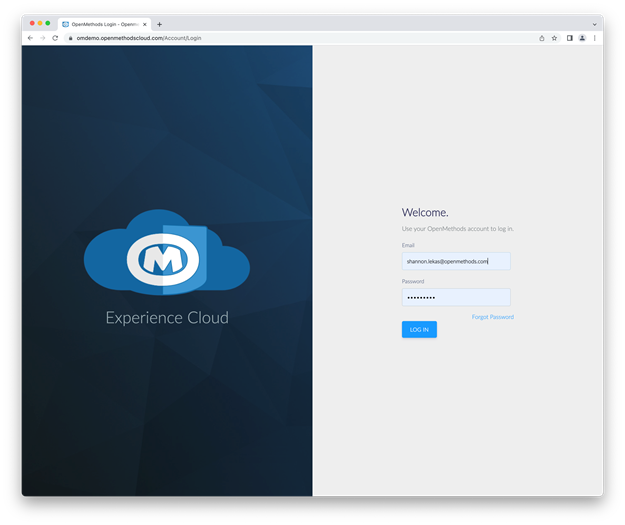
1. Login

  • Login to Experience Cloud


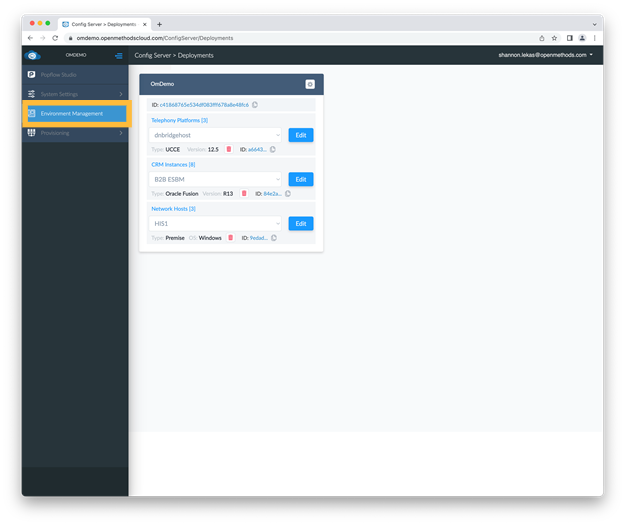
2. Environment Management

  • Select Environment Management from the sidebar
Graphical user interface, application

Description automatically generated


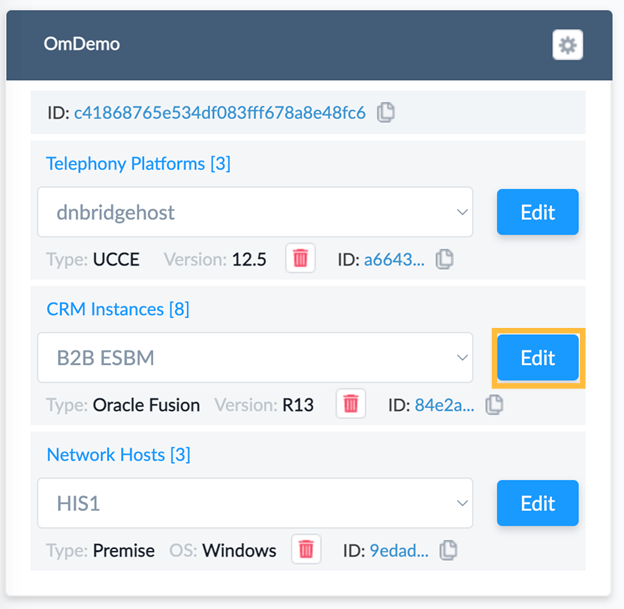
3. Edit CRM Instance 

  • Select the Edit button next to your CRM instance
Graphical user interface, application

Description automatically generated


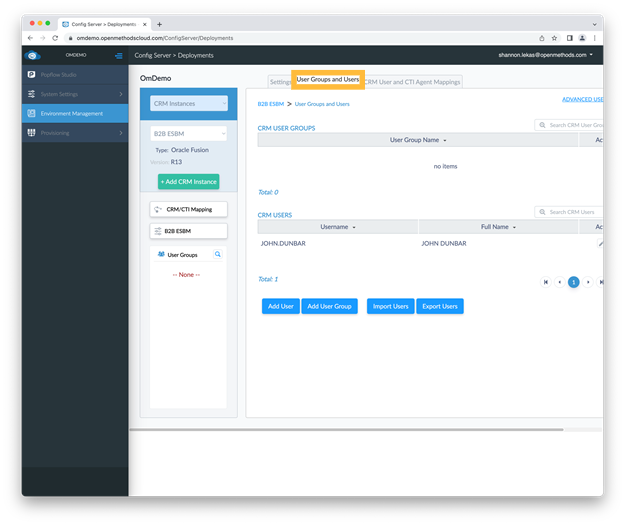
4. User Groups and Users

  • Select User Groups and Users from the Tab bar.
Graphical user interface, application, Teams

Description automatically generated


5. CRM User List

From the CRM user list you can:


Adding User:

  • Add users by selecting the Add User buttonGraphical user interface, website

Description automatically generated


Modify or Delete User:

  • Modify a user by selecting the edit icon by the user_name or Delete the user by selecting the Delete icon. 

        Graphical user interface, website

Description automatically generated


Total Users:

  • You can see the total users configured in your environment at the bottom of the CRM_Users section.

         Graphical user interface, website

Description automatically generated


Related Articles

  • Connect API

    New Updates In Progress! Updates to Connect API documentation are coming soon.  N...

  • Product Overview

    What is OpenMethods?   Today, your customer relationship management (CRM) system ...

  • Product Requirements & Compatibility

    ℹ️ The compatibility listing is updated monthly . For any questions, please get i...