Everyone needs to start somewhere, right!?
The steps below are basic and should help you build and test your first PopFlow workflow.
We'll cover the basic principles of:
- Triggering Event
- Designing The PopFlow
-
Testing The PopFlow
Download The Template
You can download the template discussed in this module below.
Looking for more Pre-Built PopFlows❓
We've created a section here to allow you to download and import PopFlows.
Step 1. Navigate to the Landing page

Make sure you are on the "Landing" page of the Experience Designer.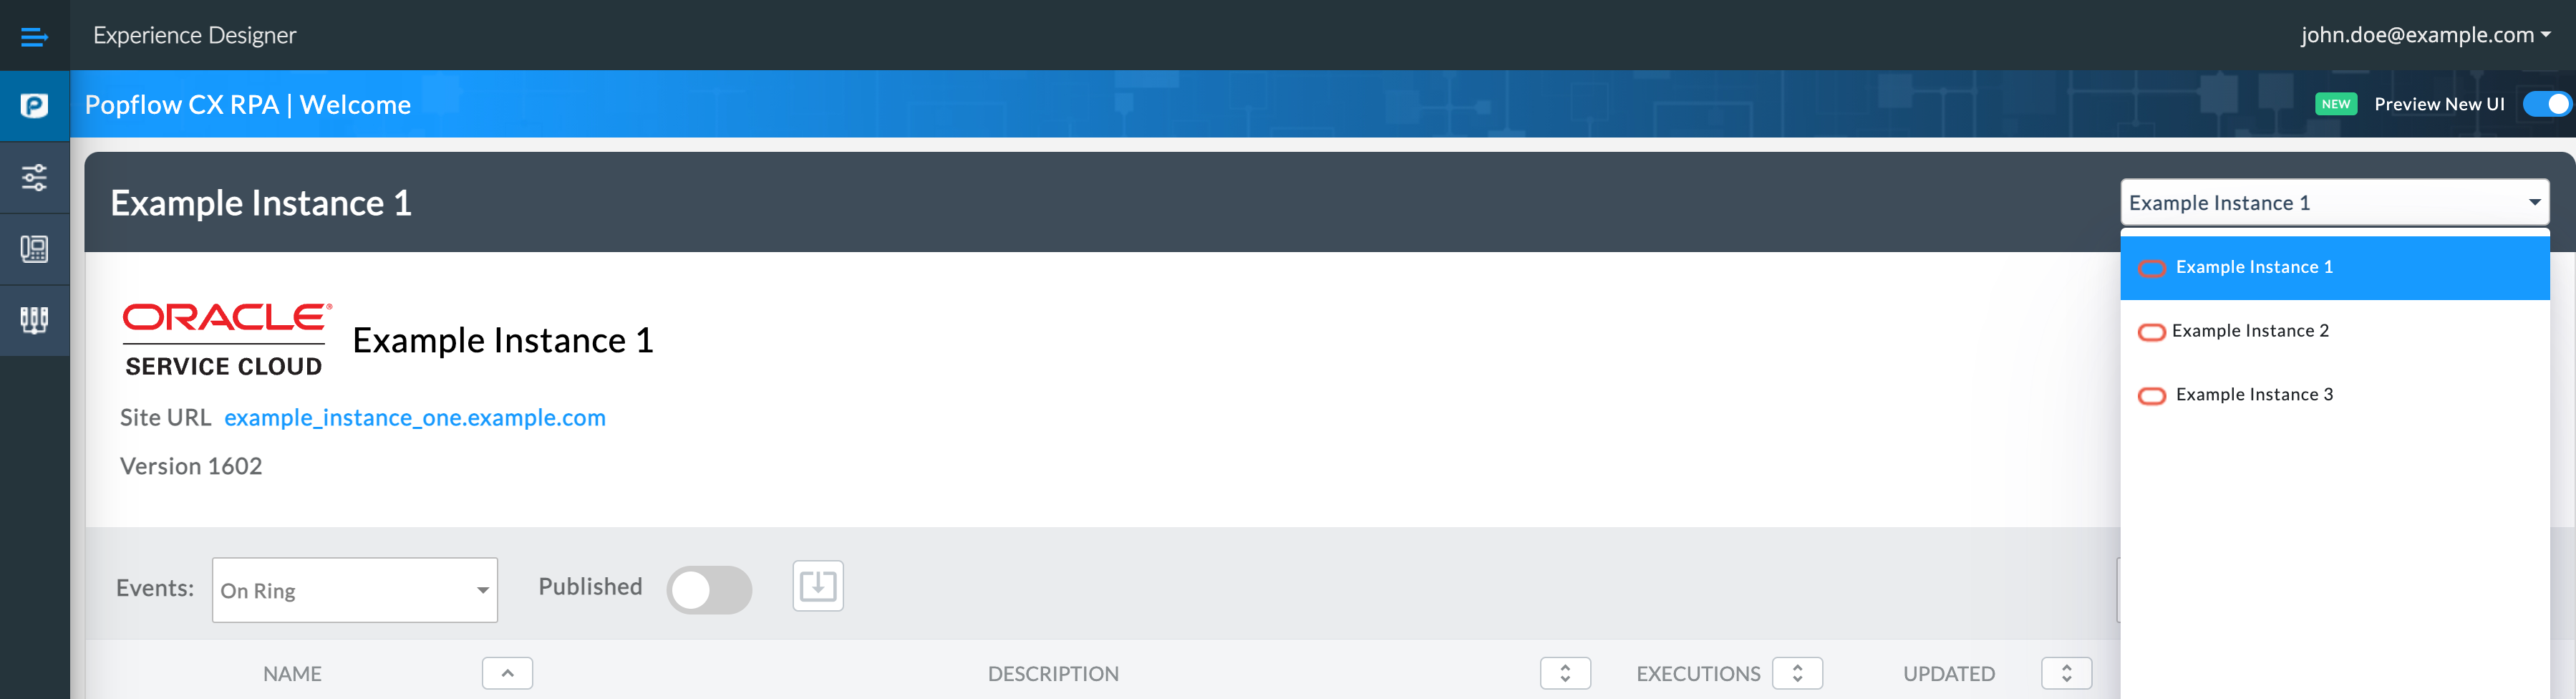
The "Landing" page is where all of the PopFlow Workflows are listed.
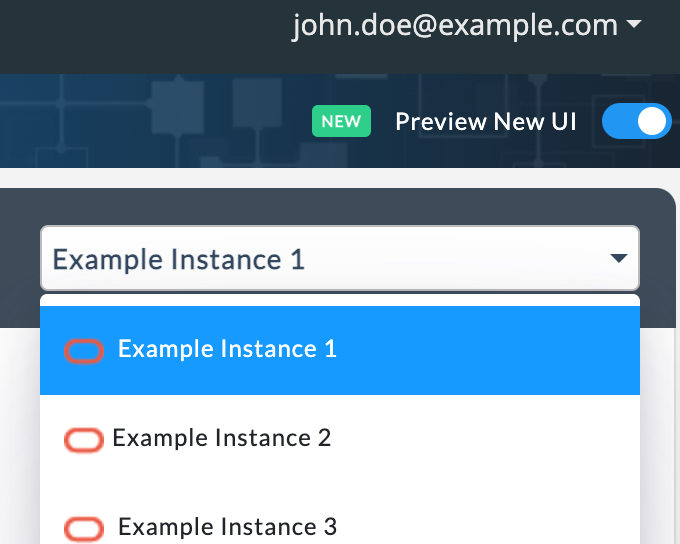
In this example, we'll use the "First CRM" instance from your "CRM Instances" dropdown list. (It should automatically be selected)
 The Events type will be "Telephony" and "On Ring" (it should be the default event)
Note: The “Events” are how the workflow will be Triggered. In this example, the workflow will trigger when a voice call rings in the agent's media bar.
Does everything above check out? If yes, proceed to Step 2.
Step 2. Create Workflow
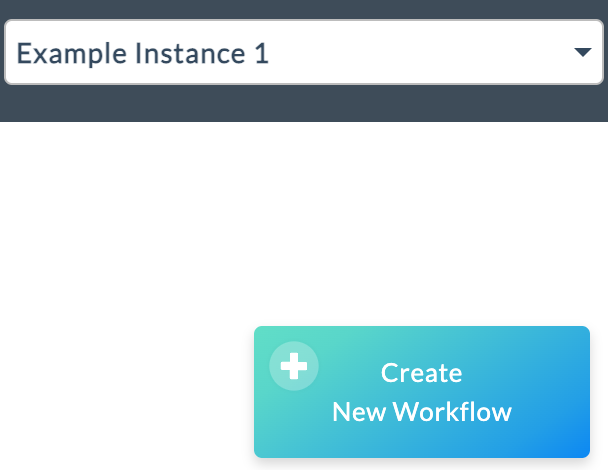
Click "Create New Workflow"
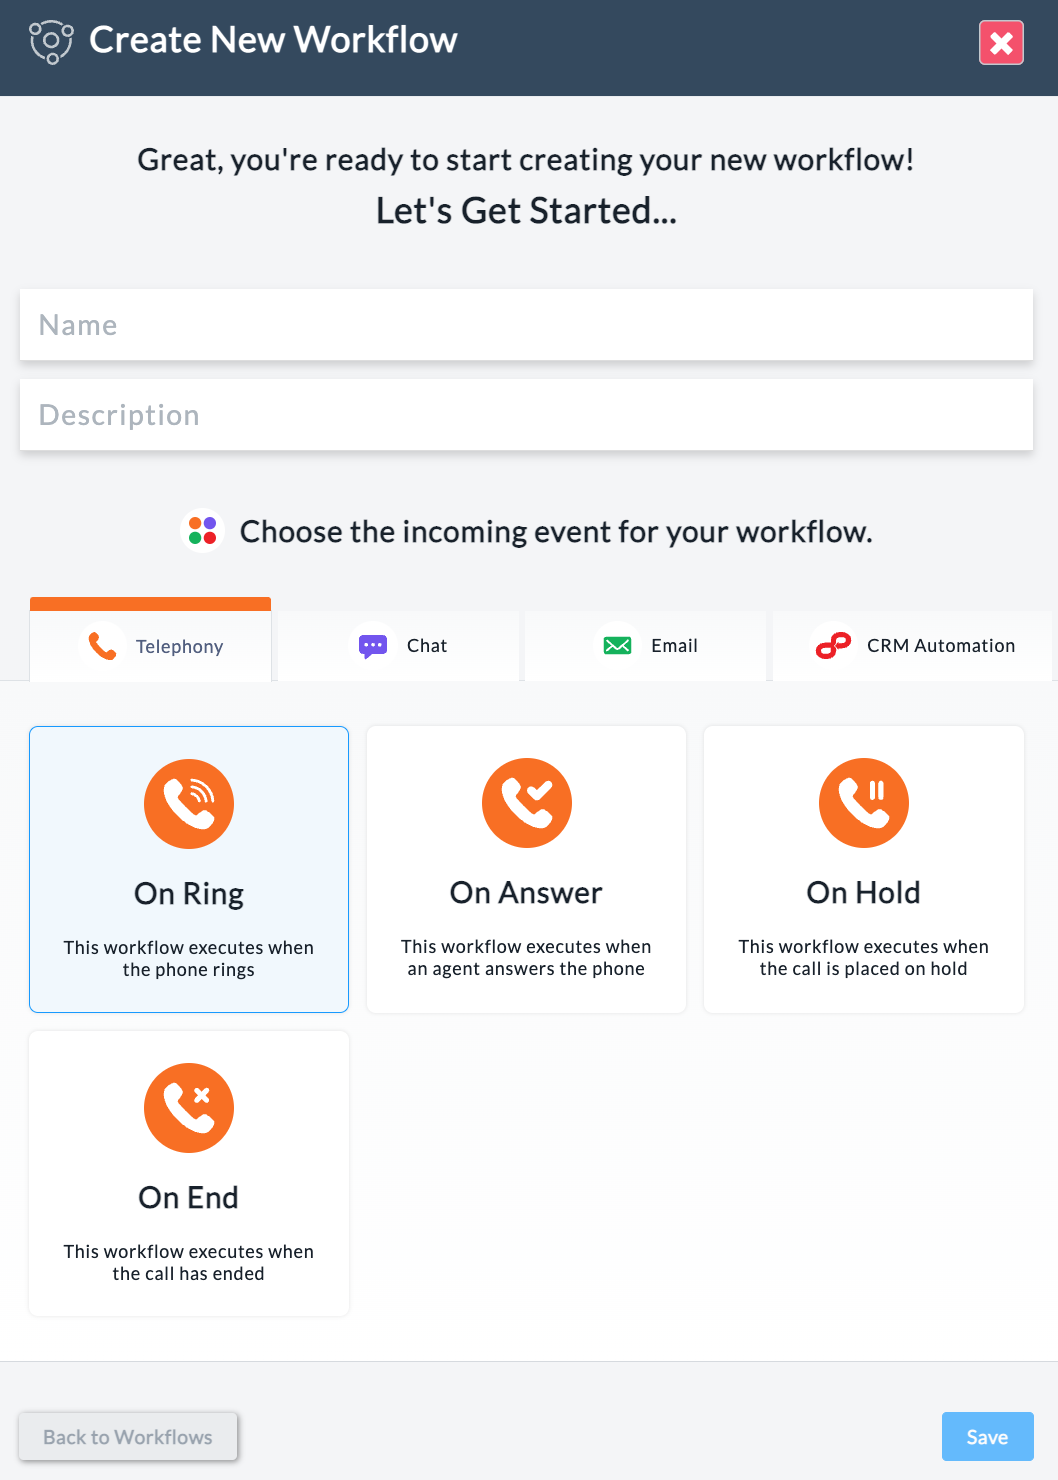
- Name - give your workflow the name “PopFlow Dynamic UI Test”
- Description - provide a brief description “Dynamic UI Test”
-
Choose the incoming event for your workflow
- Leave this to the default of “Telephony” and “On Ring”
- Let's Check everything!
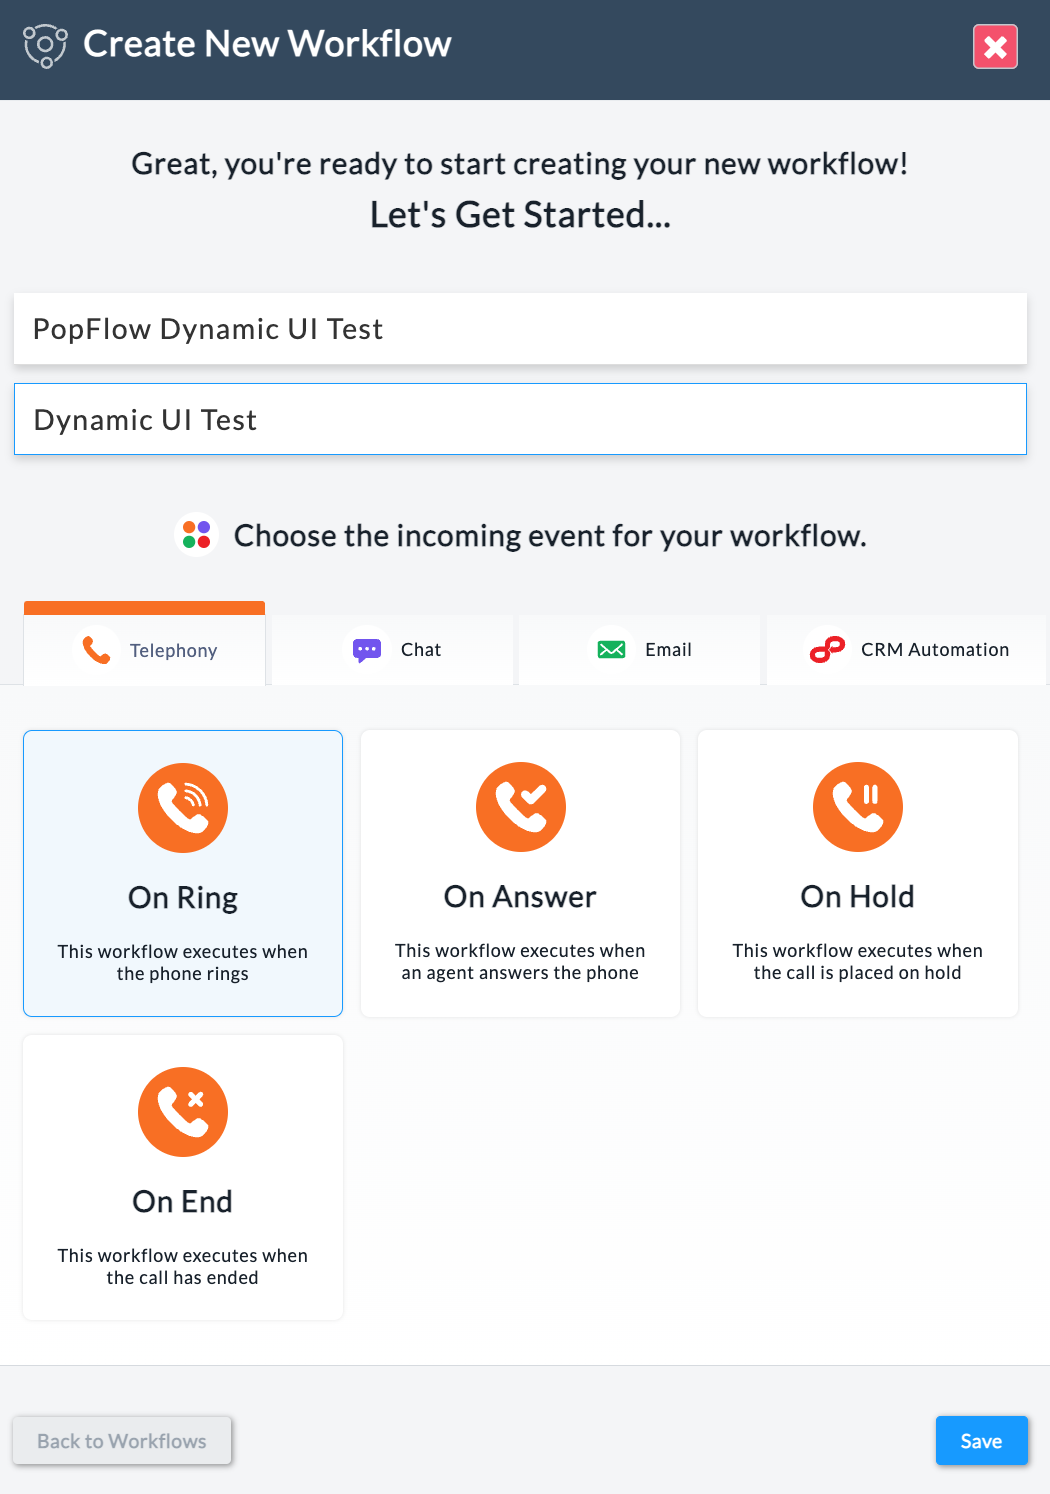
- Click “Save”
- Head over to Step 3.
Step 3. Design & Build
Once you have saved your PopFlow. We'll need to search for it so we can start building & designing the workflow.
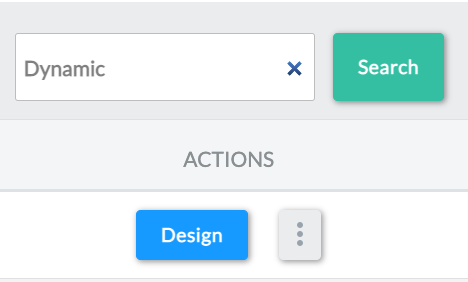
1. Search “Dynamic” or the name you used for the PopFlow & click “Search”

2. You should see your PopFlow Workflow listed in the table.
- If you do not see the workflow, ensure your events are selected as “On Ring” under Events and check the search parameters.
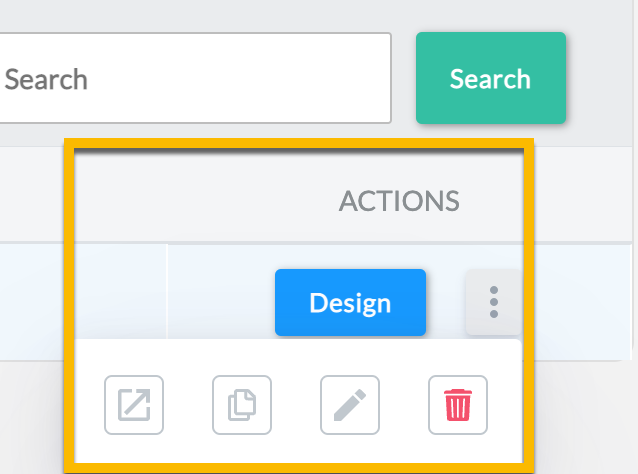
3. Once you have located your newly created workflow, click “Design” under the ACTIONS menu.
4. Once completed, go to Step 4.
Step 4. Adding Activities
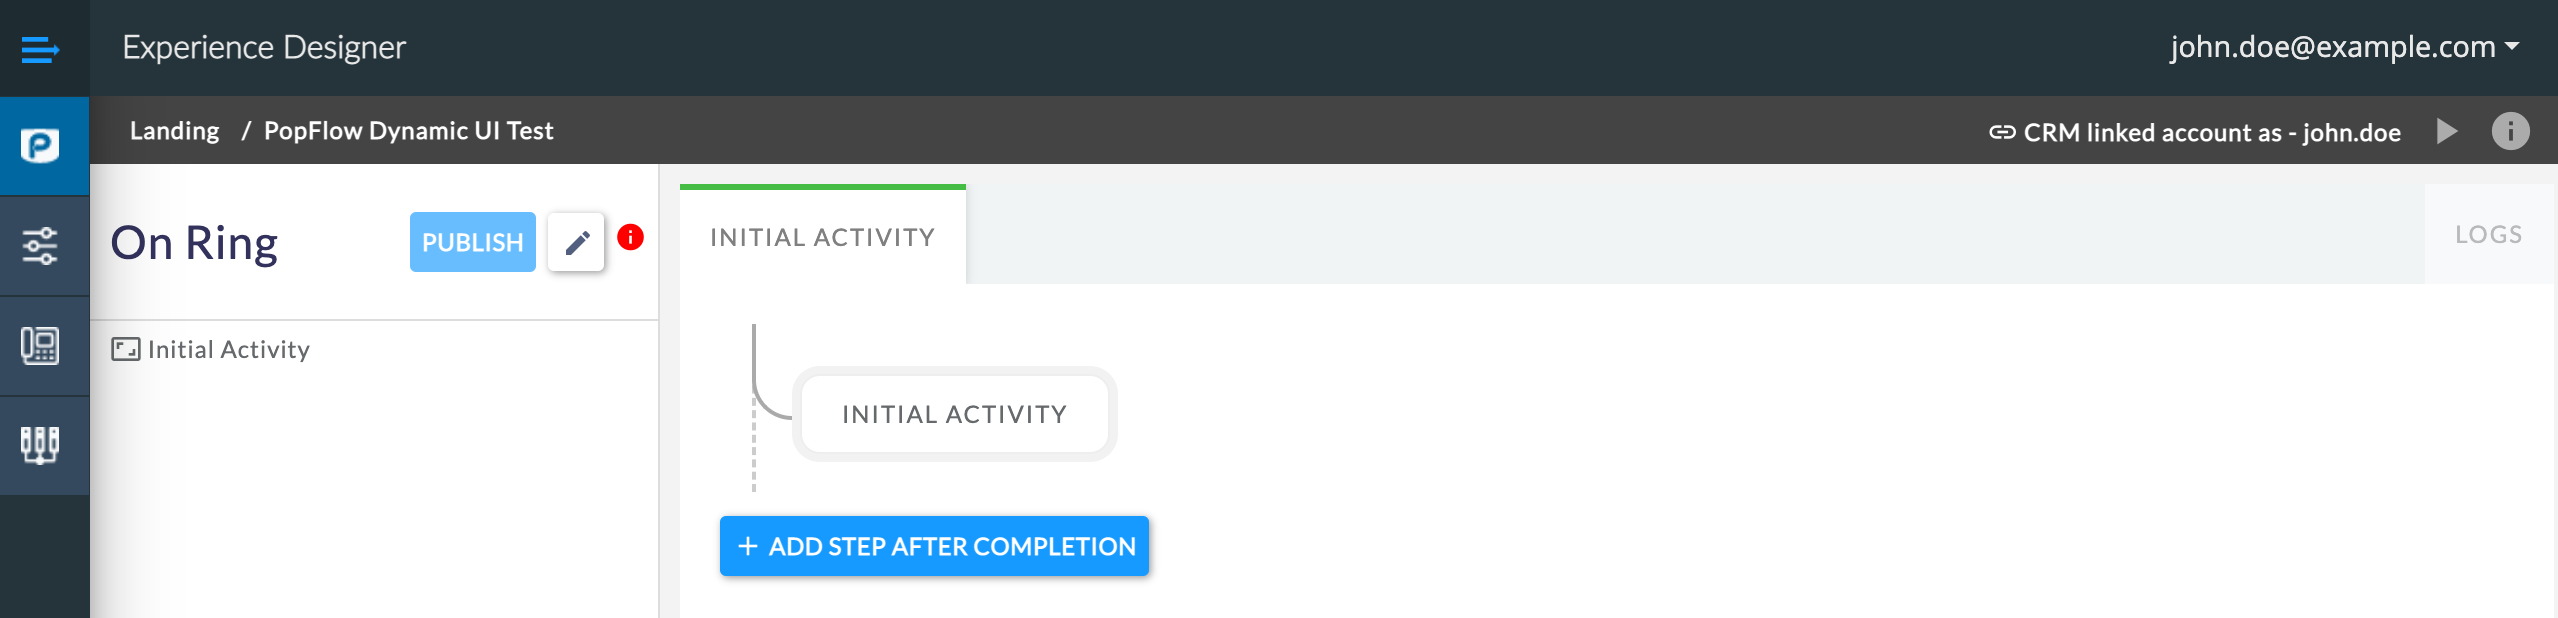
You should now see the following Workflow & Designer page.
- Click INITIAL ACTIVITY & you will be presented with the “Activities” menu.
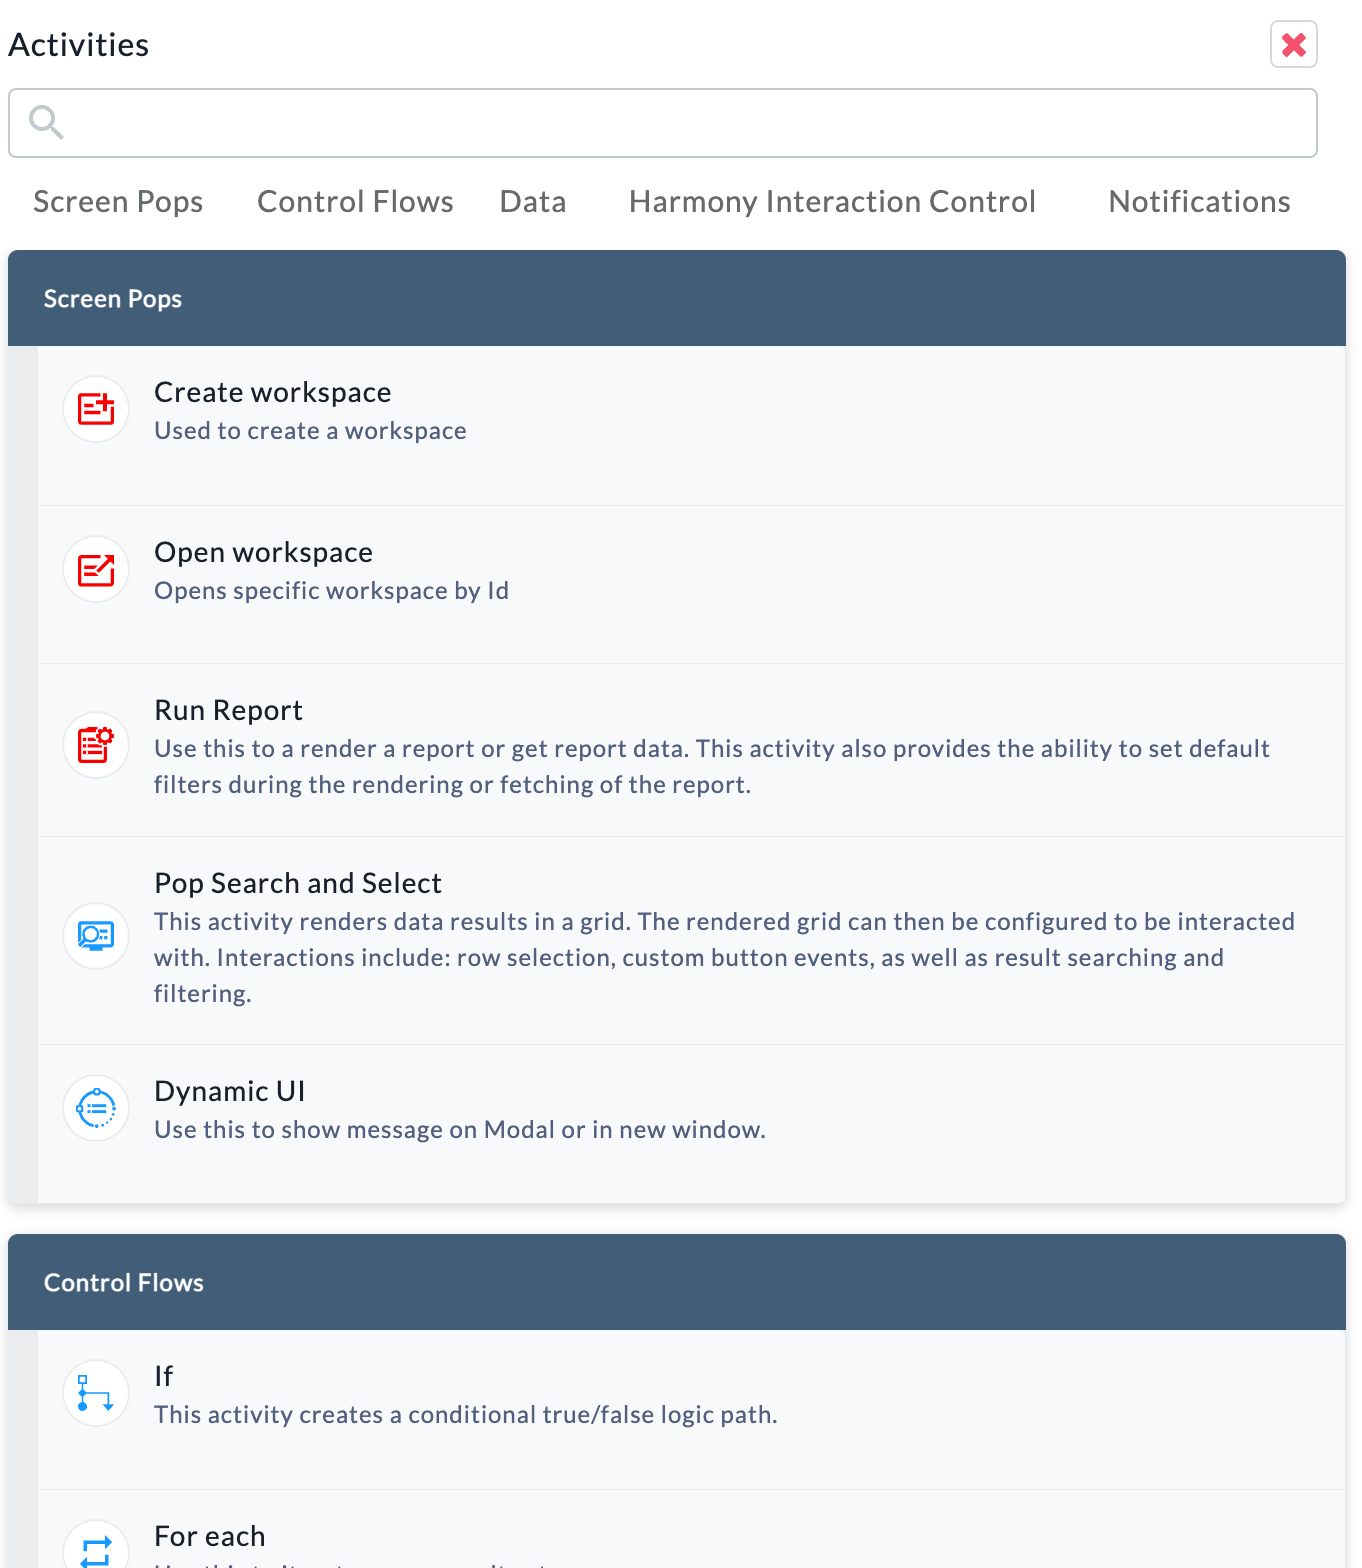
2. Select “Dynamic UI” under the “Screen Pops” activity menu.
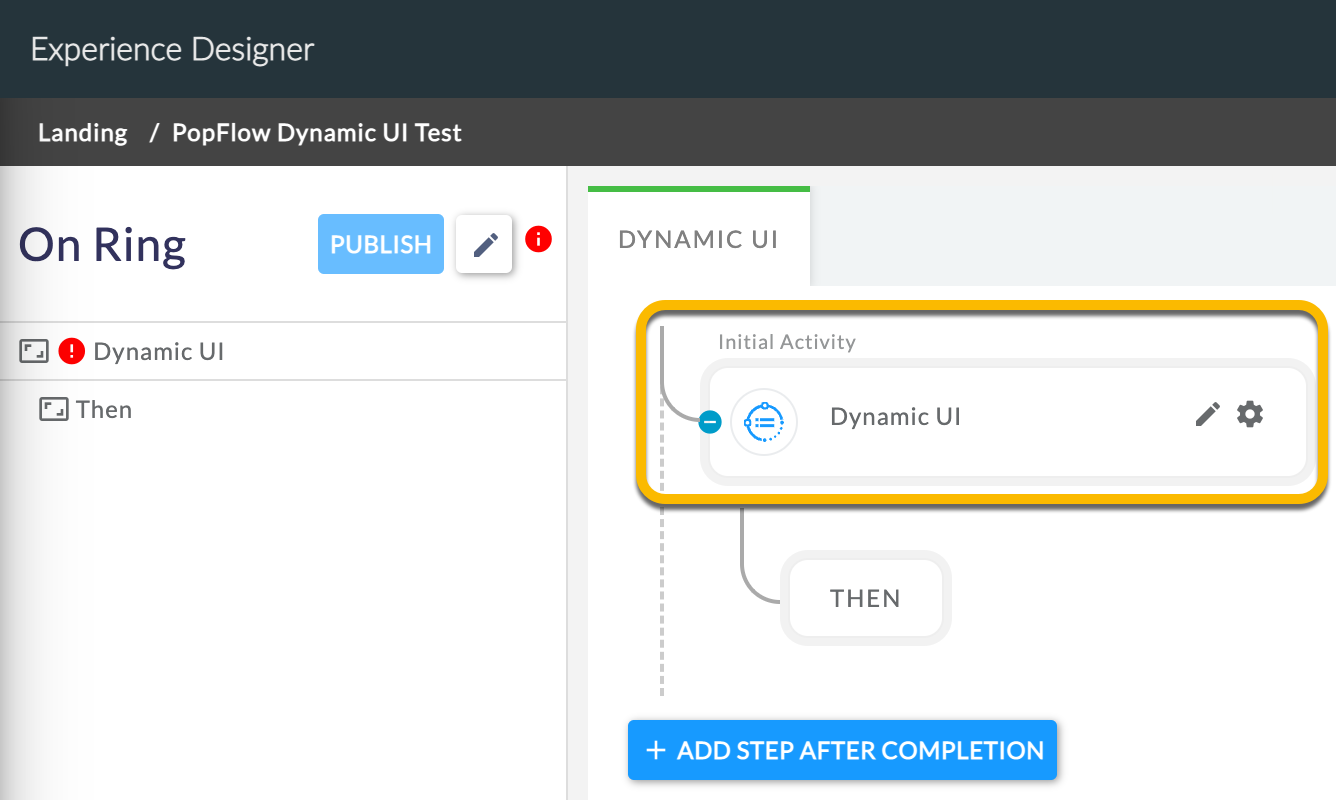
3. The designer should list “Dynamic UI” as the Initial Activity name.
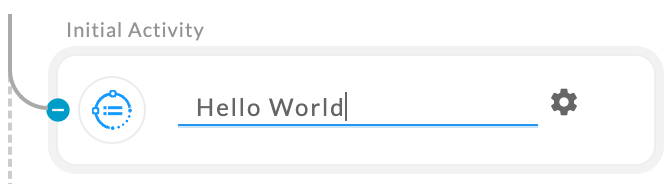
4. Click the Pencil icon to rename Dynamic UI to “Hello World” and click away and outside of the box to save.
5. See Step 5.
Step 5. Customizing Dynamic UI
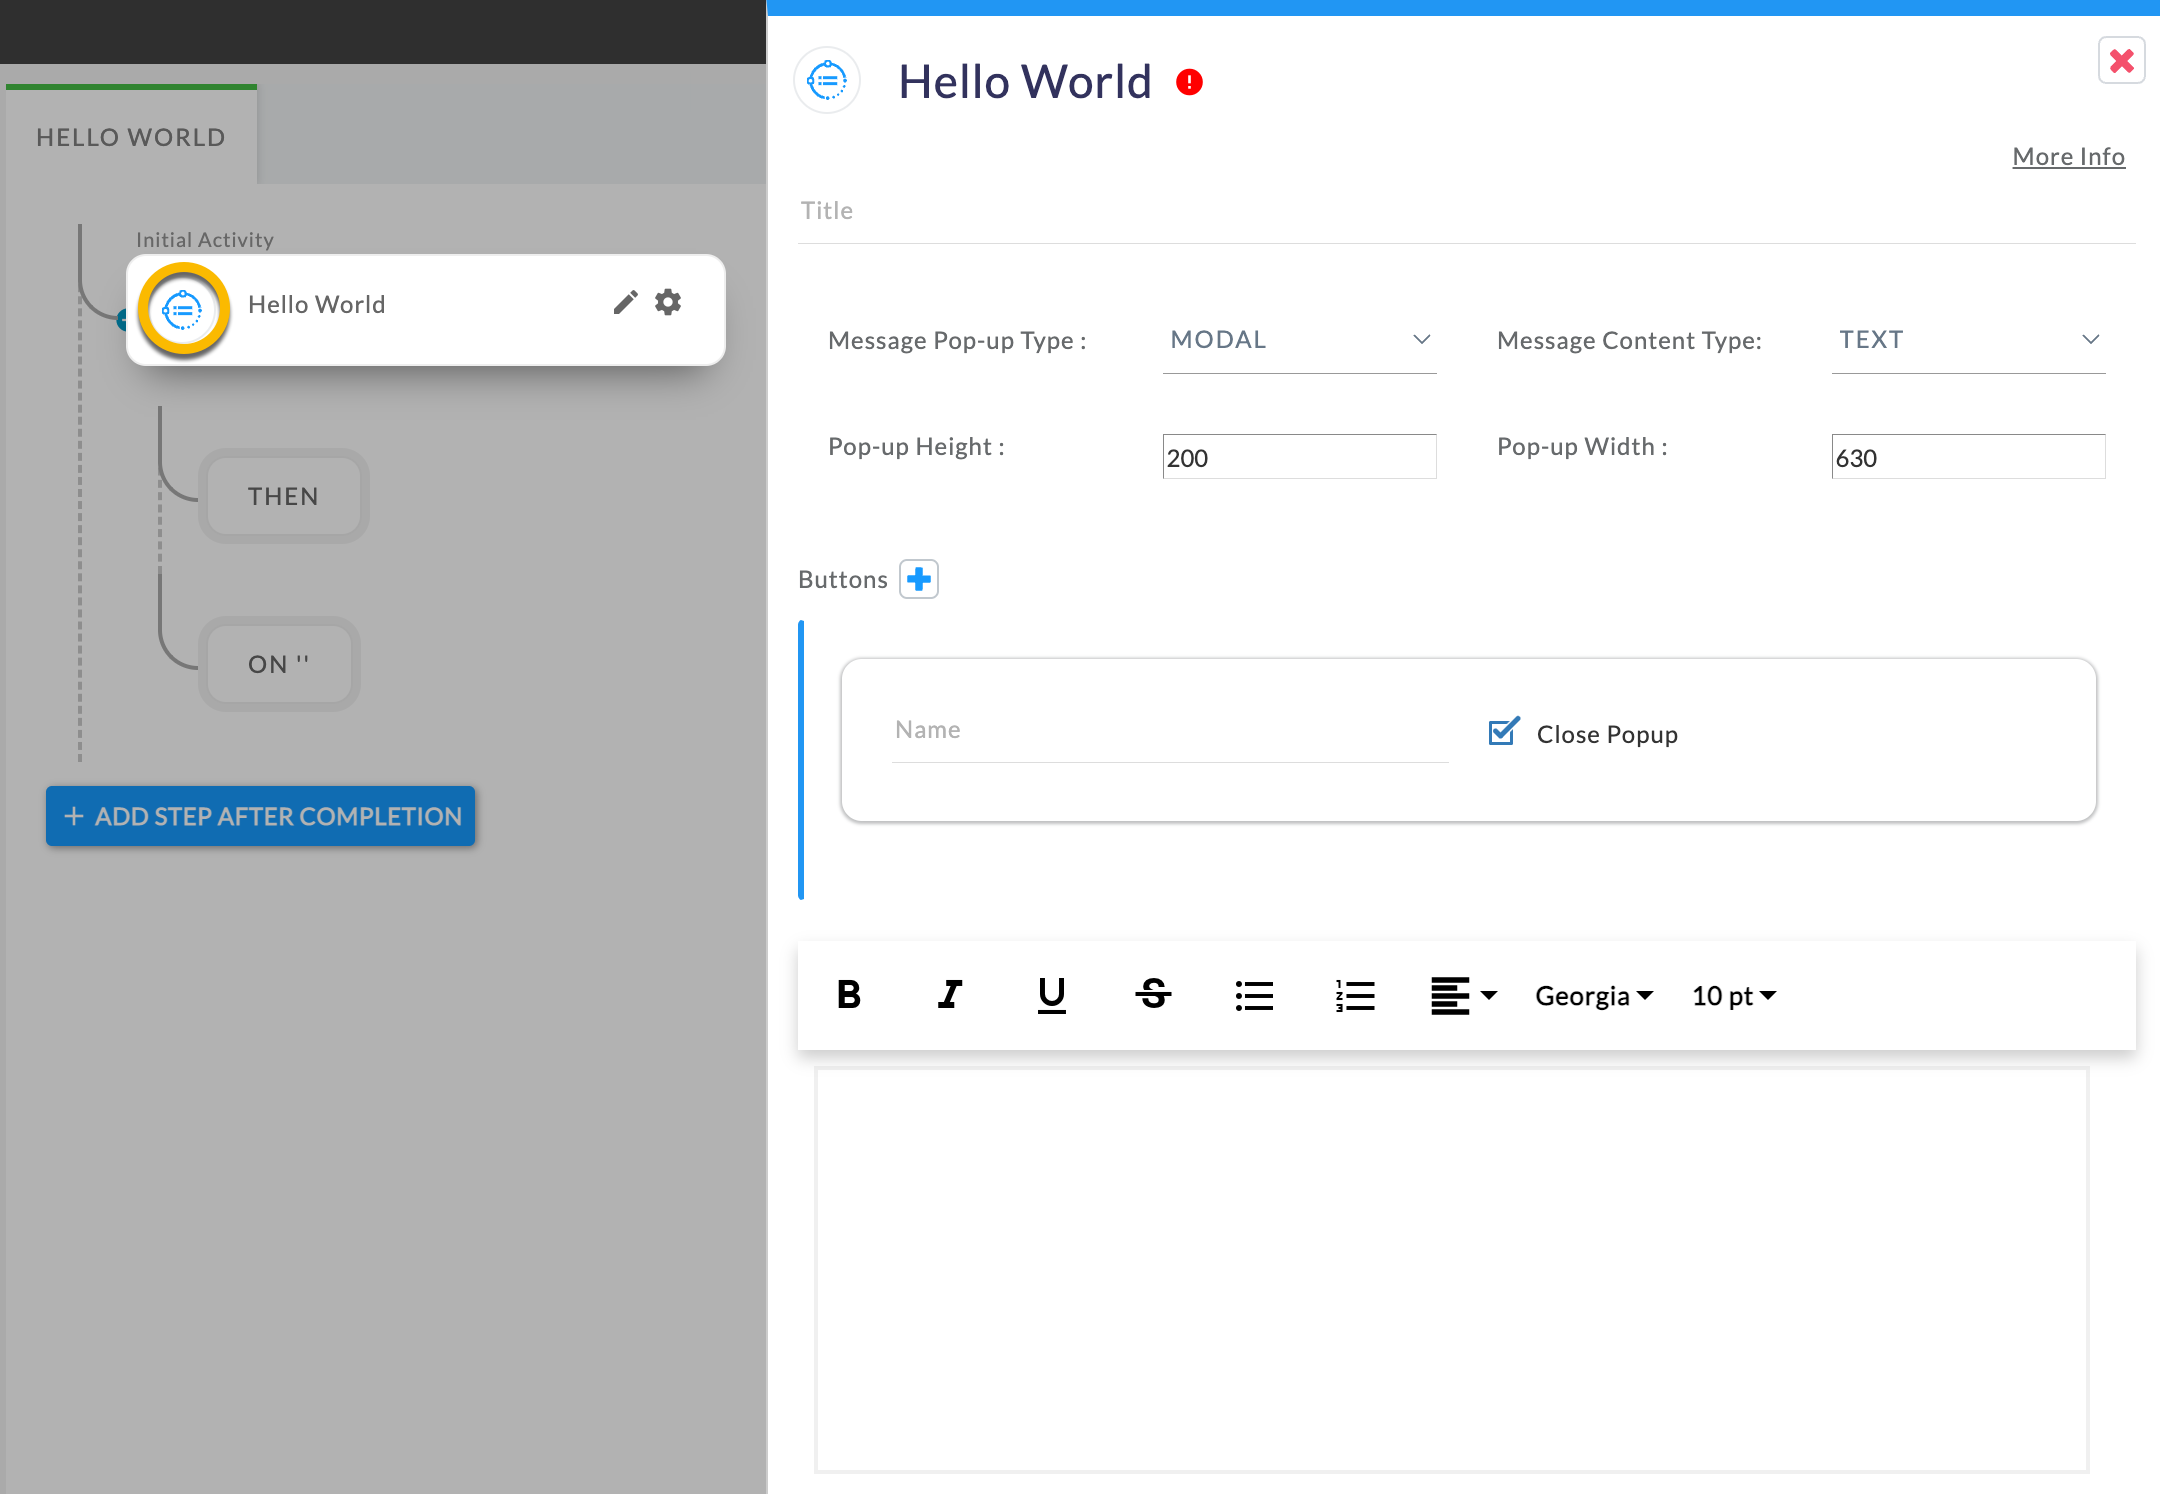
- Click the “Hello World” step to open up the design options for the “Dynamic UI”
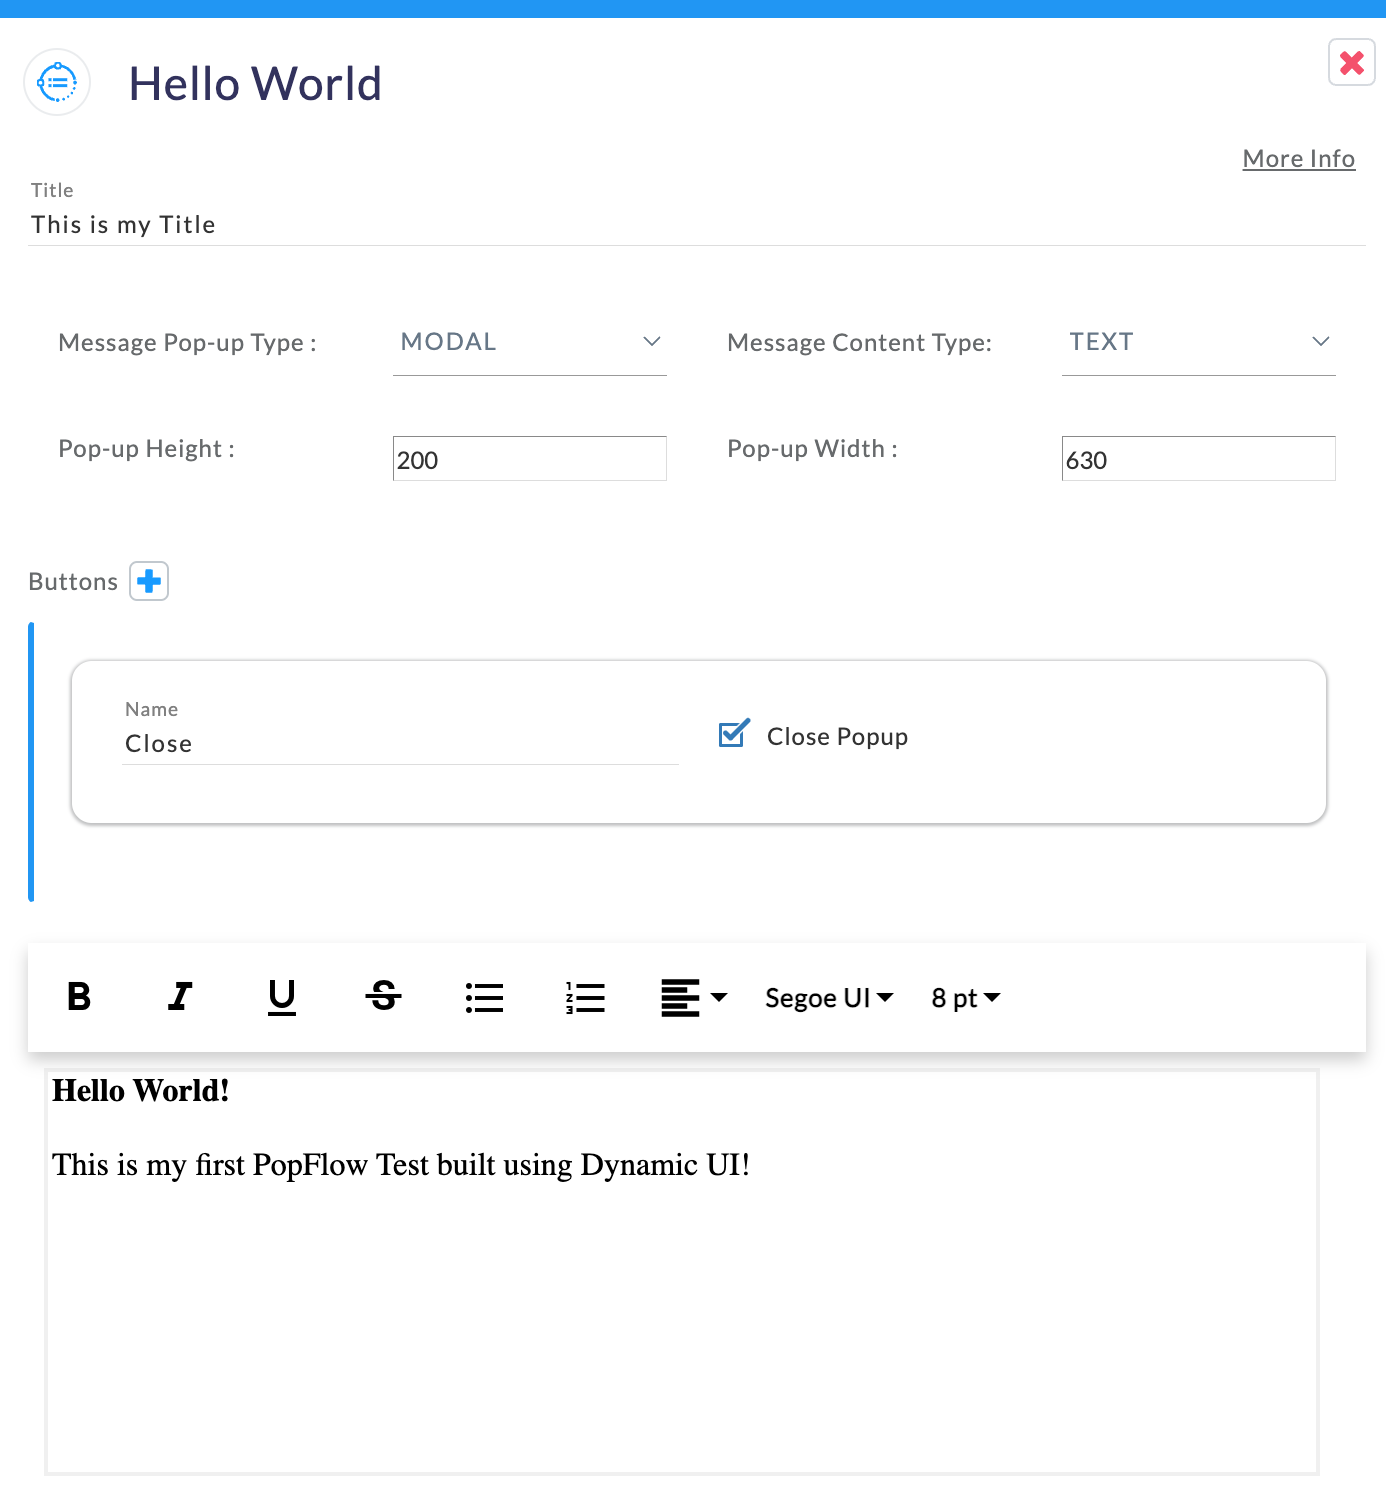
2. You have several options with a lot of flexibility! To keep things simple, let's use the following information:
-
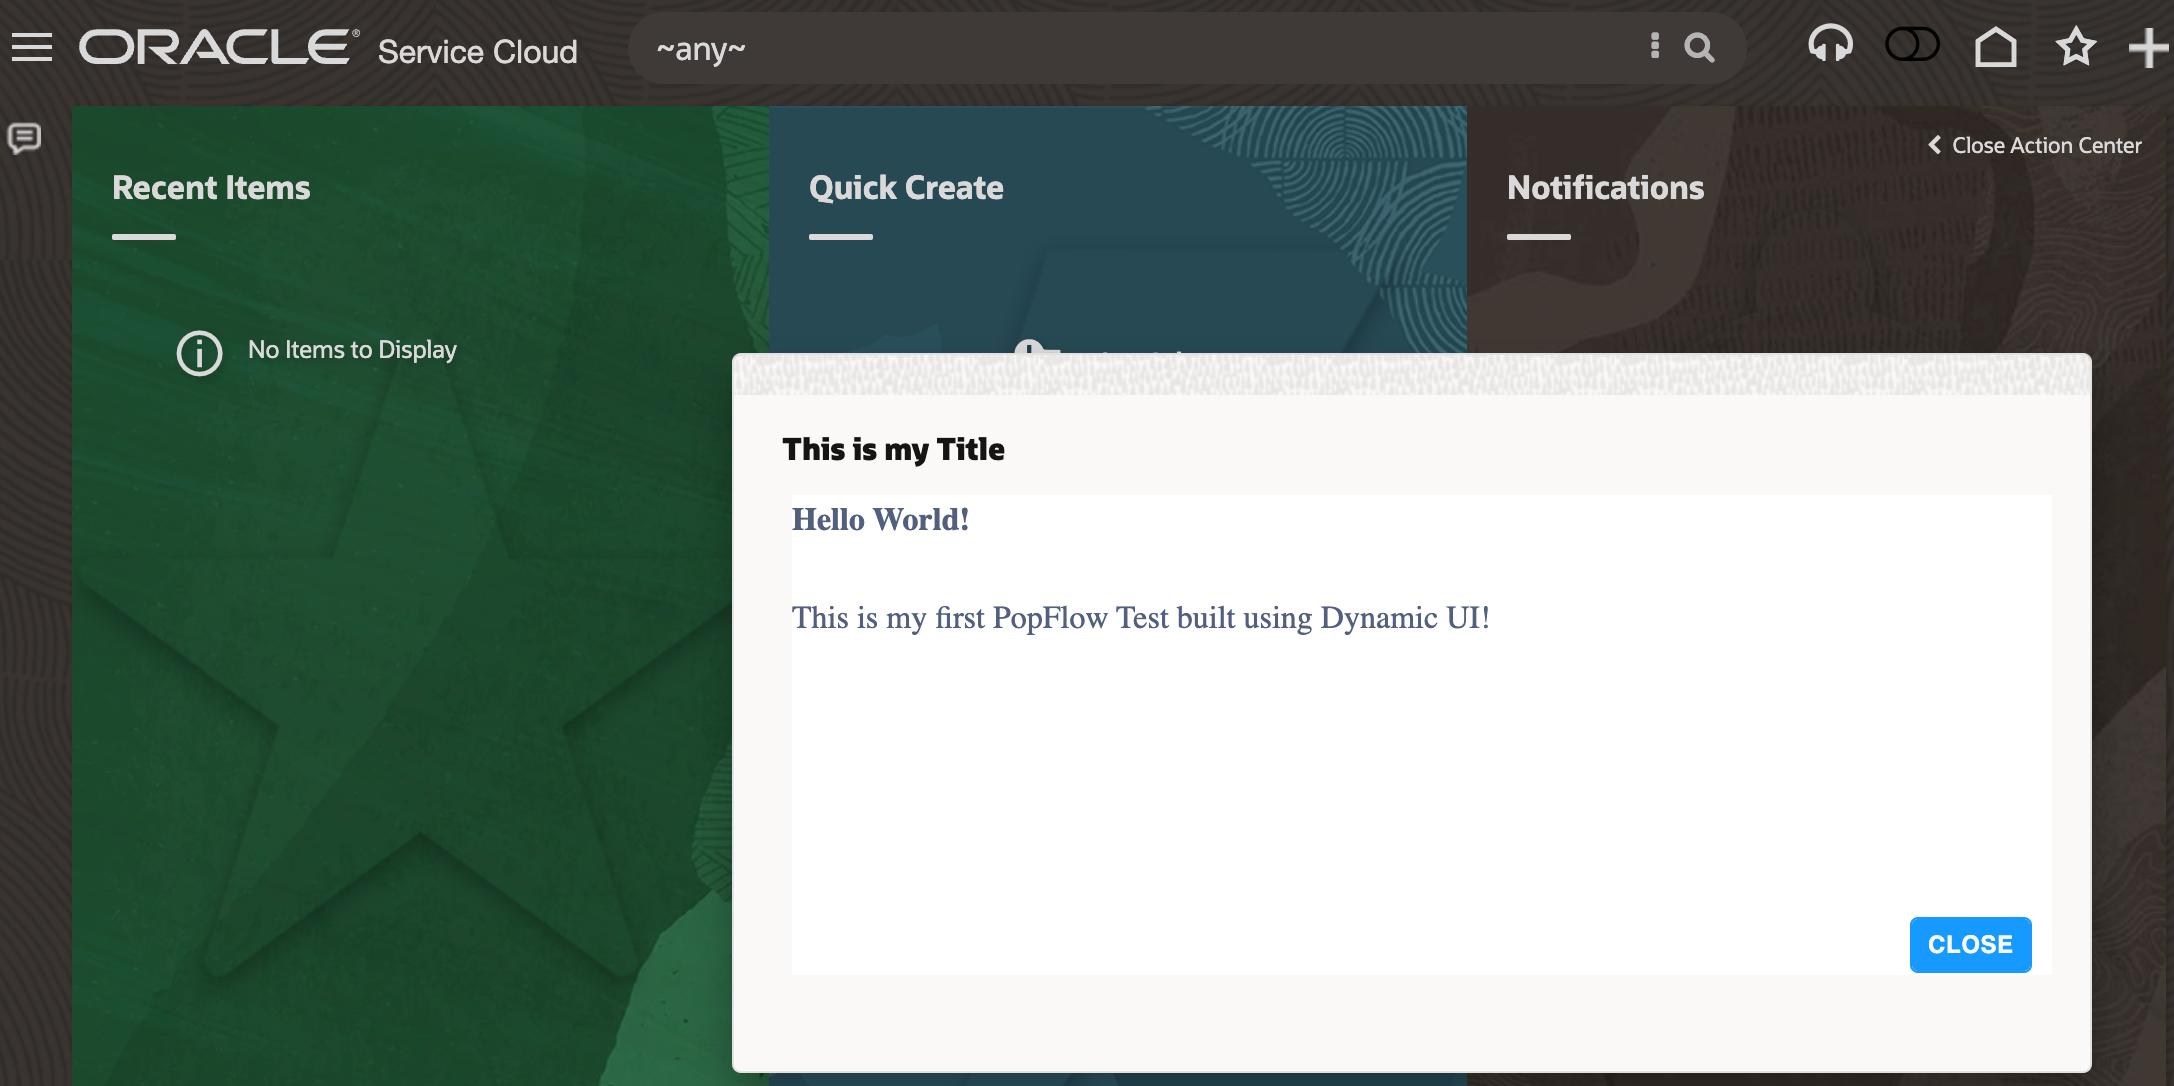
Title
- Create the Title of your Dynamic UI Window.
- This is my Title
- Create the Title of your Dynamic UI Window.
-
Message Pop-up Type
- It is highly recommended to use MODAL!
- MODAL
- It is highly recommended to use MODAL!
-
Message Content Type
- You have a lot of flexibility here! However, to keep things easy:
- TEXT
- You have a lot of flexibility here! However, to keep things easy:
-
Pop-up (Height & Width)
- Keep the default for our test.
-
Buttons
- You can add several, however, today we'll have one and label it:
- Close
- You can add several, however, today we'll have one and label it:
- Context Box Editor enter something like:
Hello World!

This is my first PopFlow Test built using Dynamic UI!
3. Click away from Window to Save and continue to the next Step.
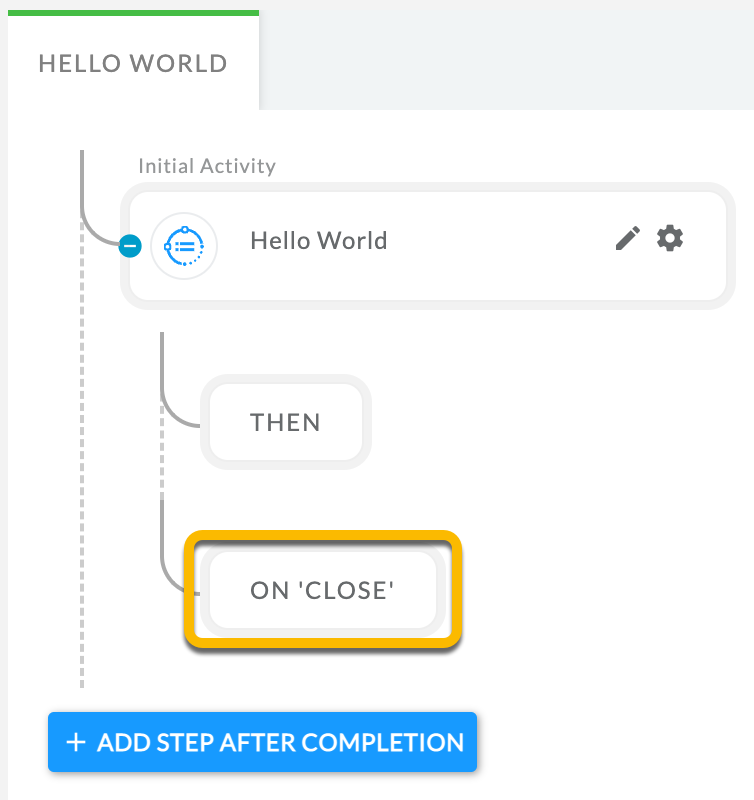
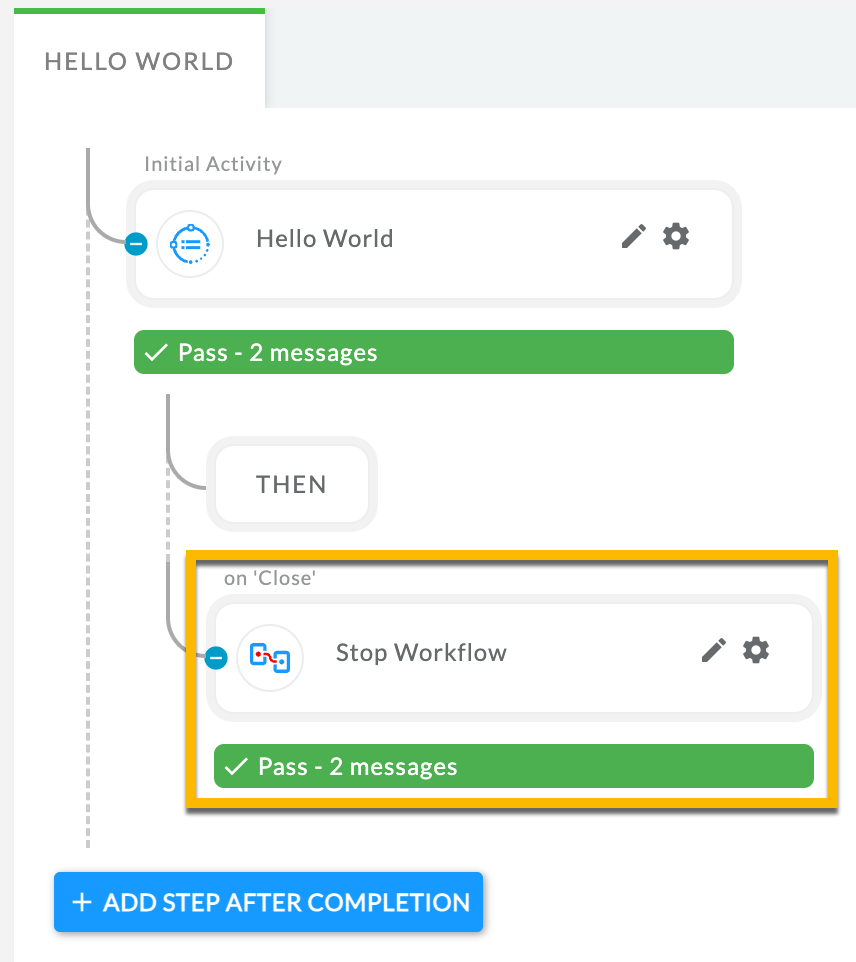
4. After saving your Dynamic UI build-out. Click ON ‘CLOSE’. The workflow step will perform an activity when the user closes the Dynamic UI modal.
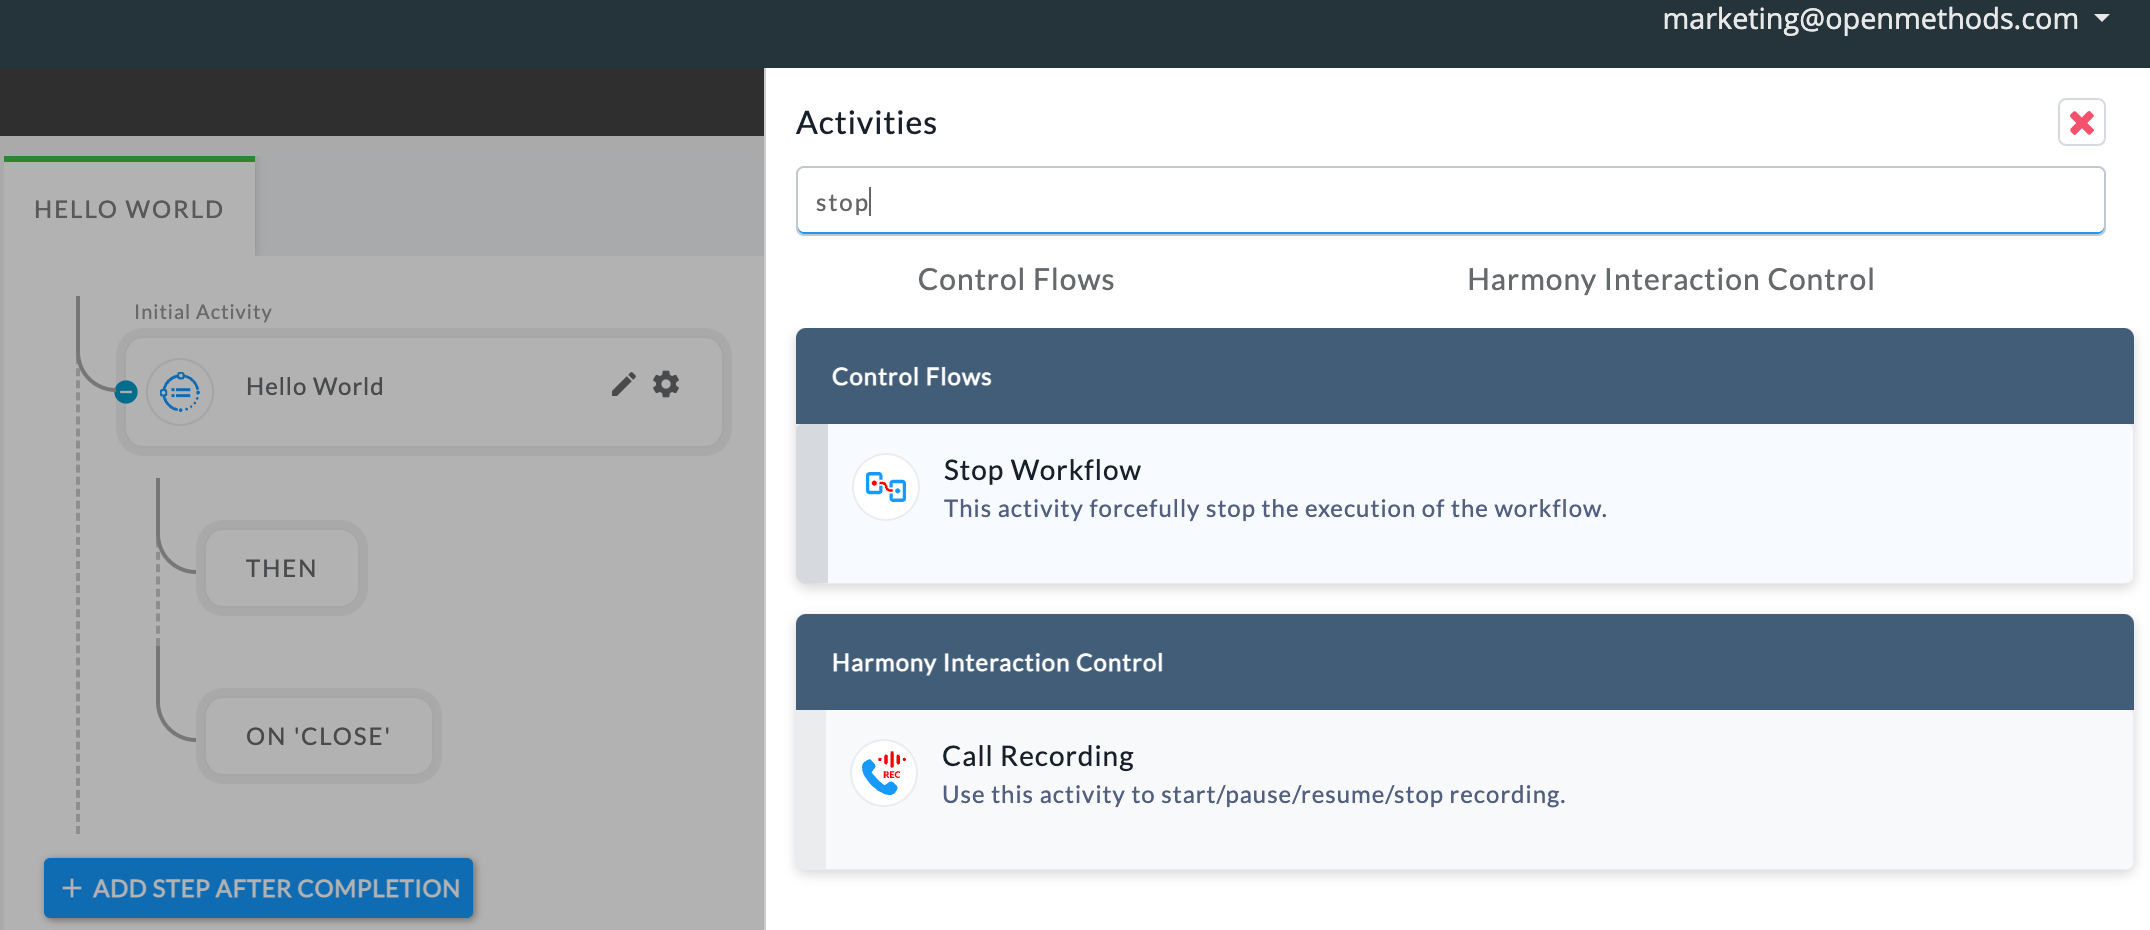
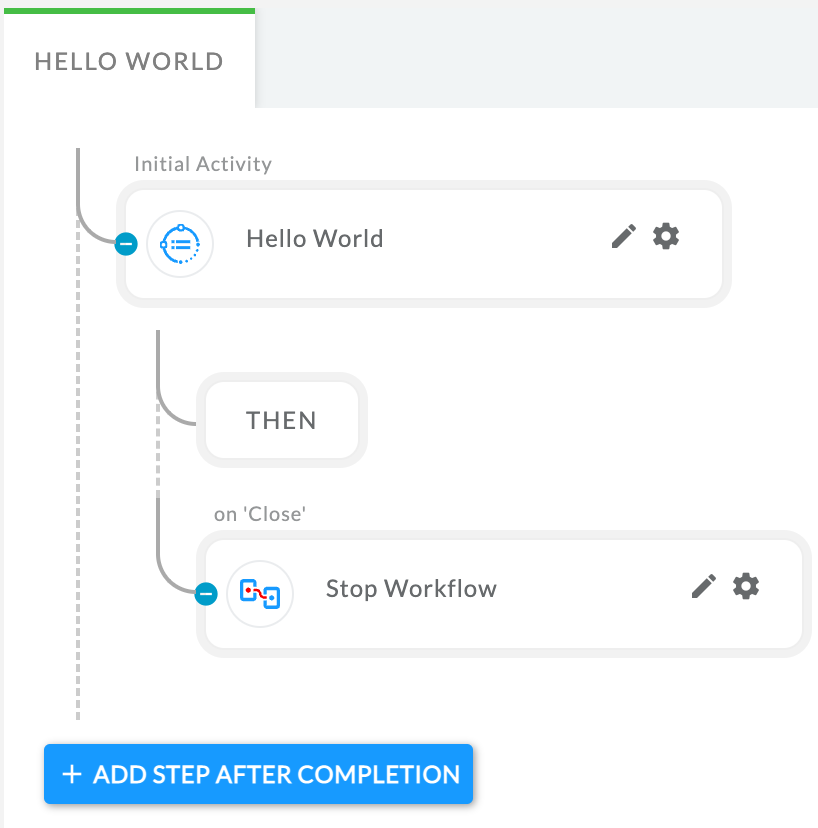
5. The Activities menu will appear again. Search for “stop” to quickly filter the Activities and select “Stop Workflow”
ℹ️ Stop Workflow does not need to be used at the end of each Activity Section. The Stop Workflow activity will stop the execution of the workflow. Keep this in mind if you plan to execute more activities in the workflow.
6. OK, You've designed your first PopFlow. Let's test!
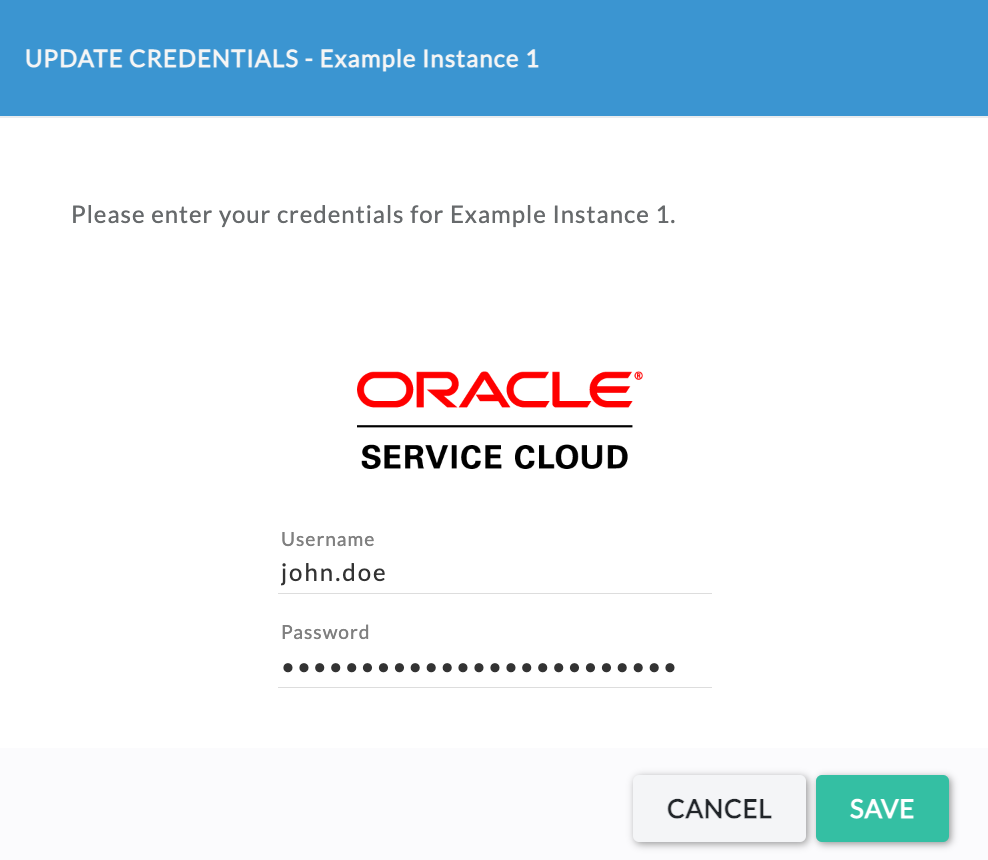
Step 6. Authenticate CRM Login
At this point, you've designed a basic workflow, and we'll need to test it!
- You must be logged in and linked to your CRM before testing any PopFlow Workflow. Remember, you must ensure you are on the right CRM instance, as explained in step 1.

2. If your account is not already linked. Click the “CRM linked account as” option above and validate/authenticate your account.
3. Once linked, open your Agent CRM instance in a new window & log in as an Agent/User.
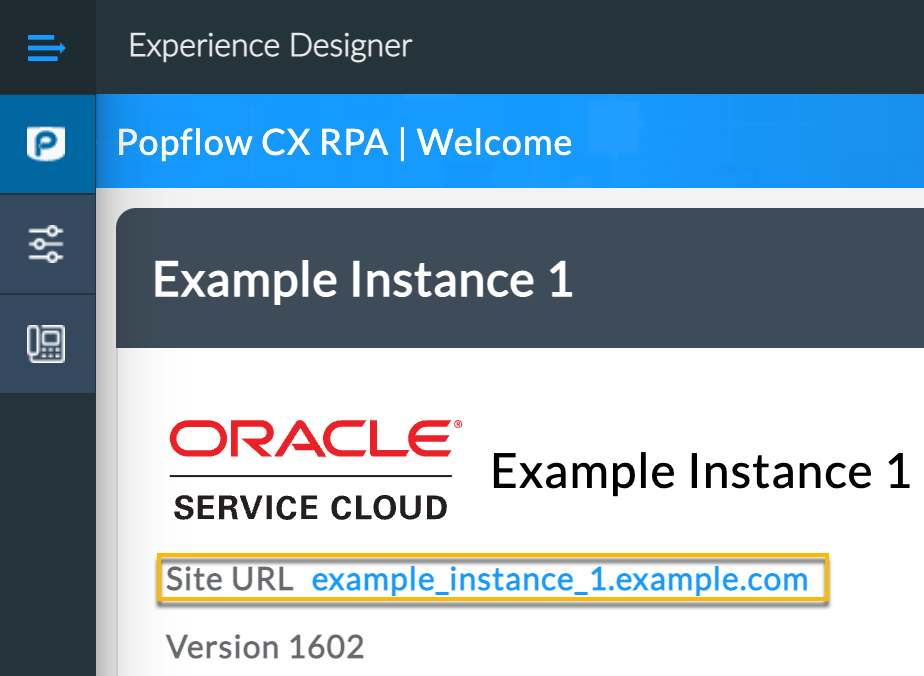
Note: the CRM Instance “Site URL” can be found on the Landing page (Where all the workflows are listed).
4. To access the “Agent” portion, you must add: “/AgentWeb” to the end of the Site URL. (This may differ depending on the CRM setup)
example_instace_1.example.com/AgentWeb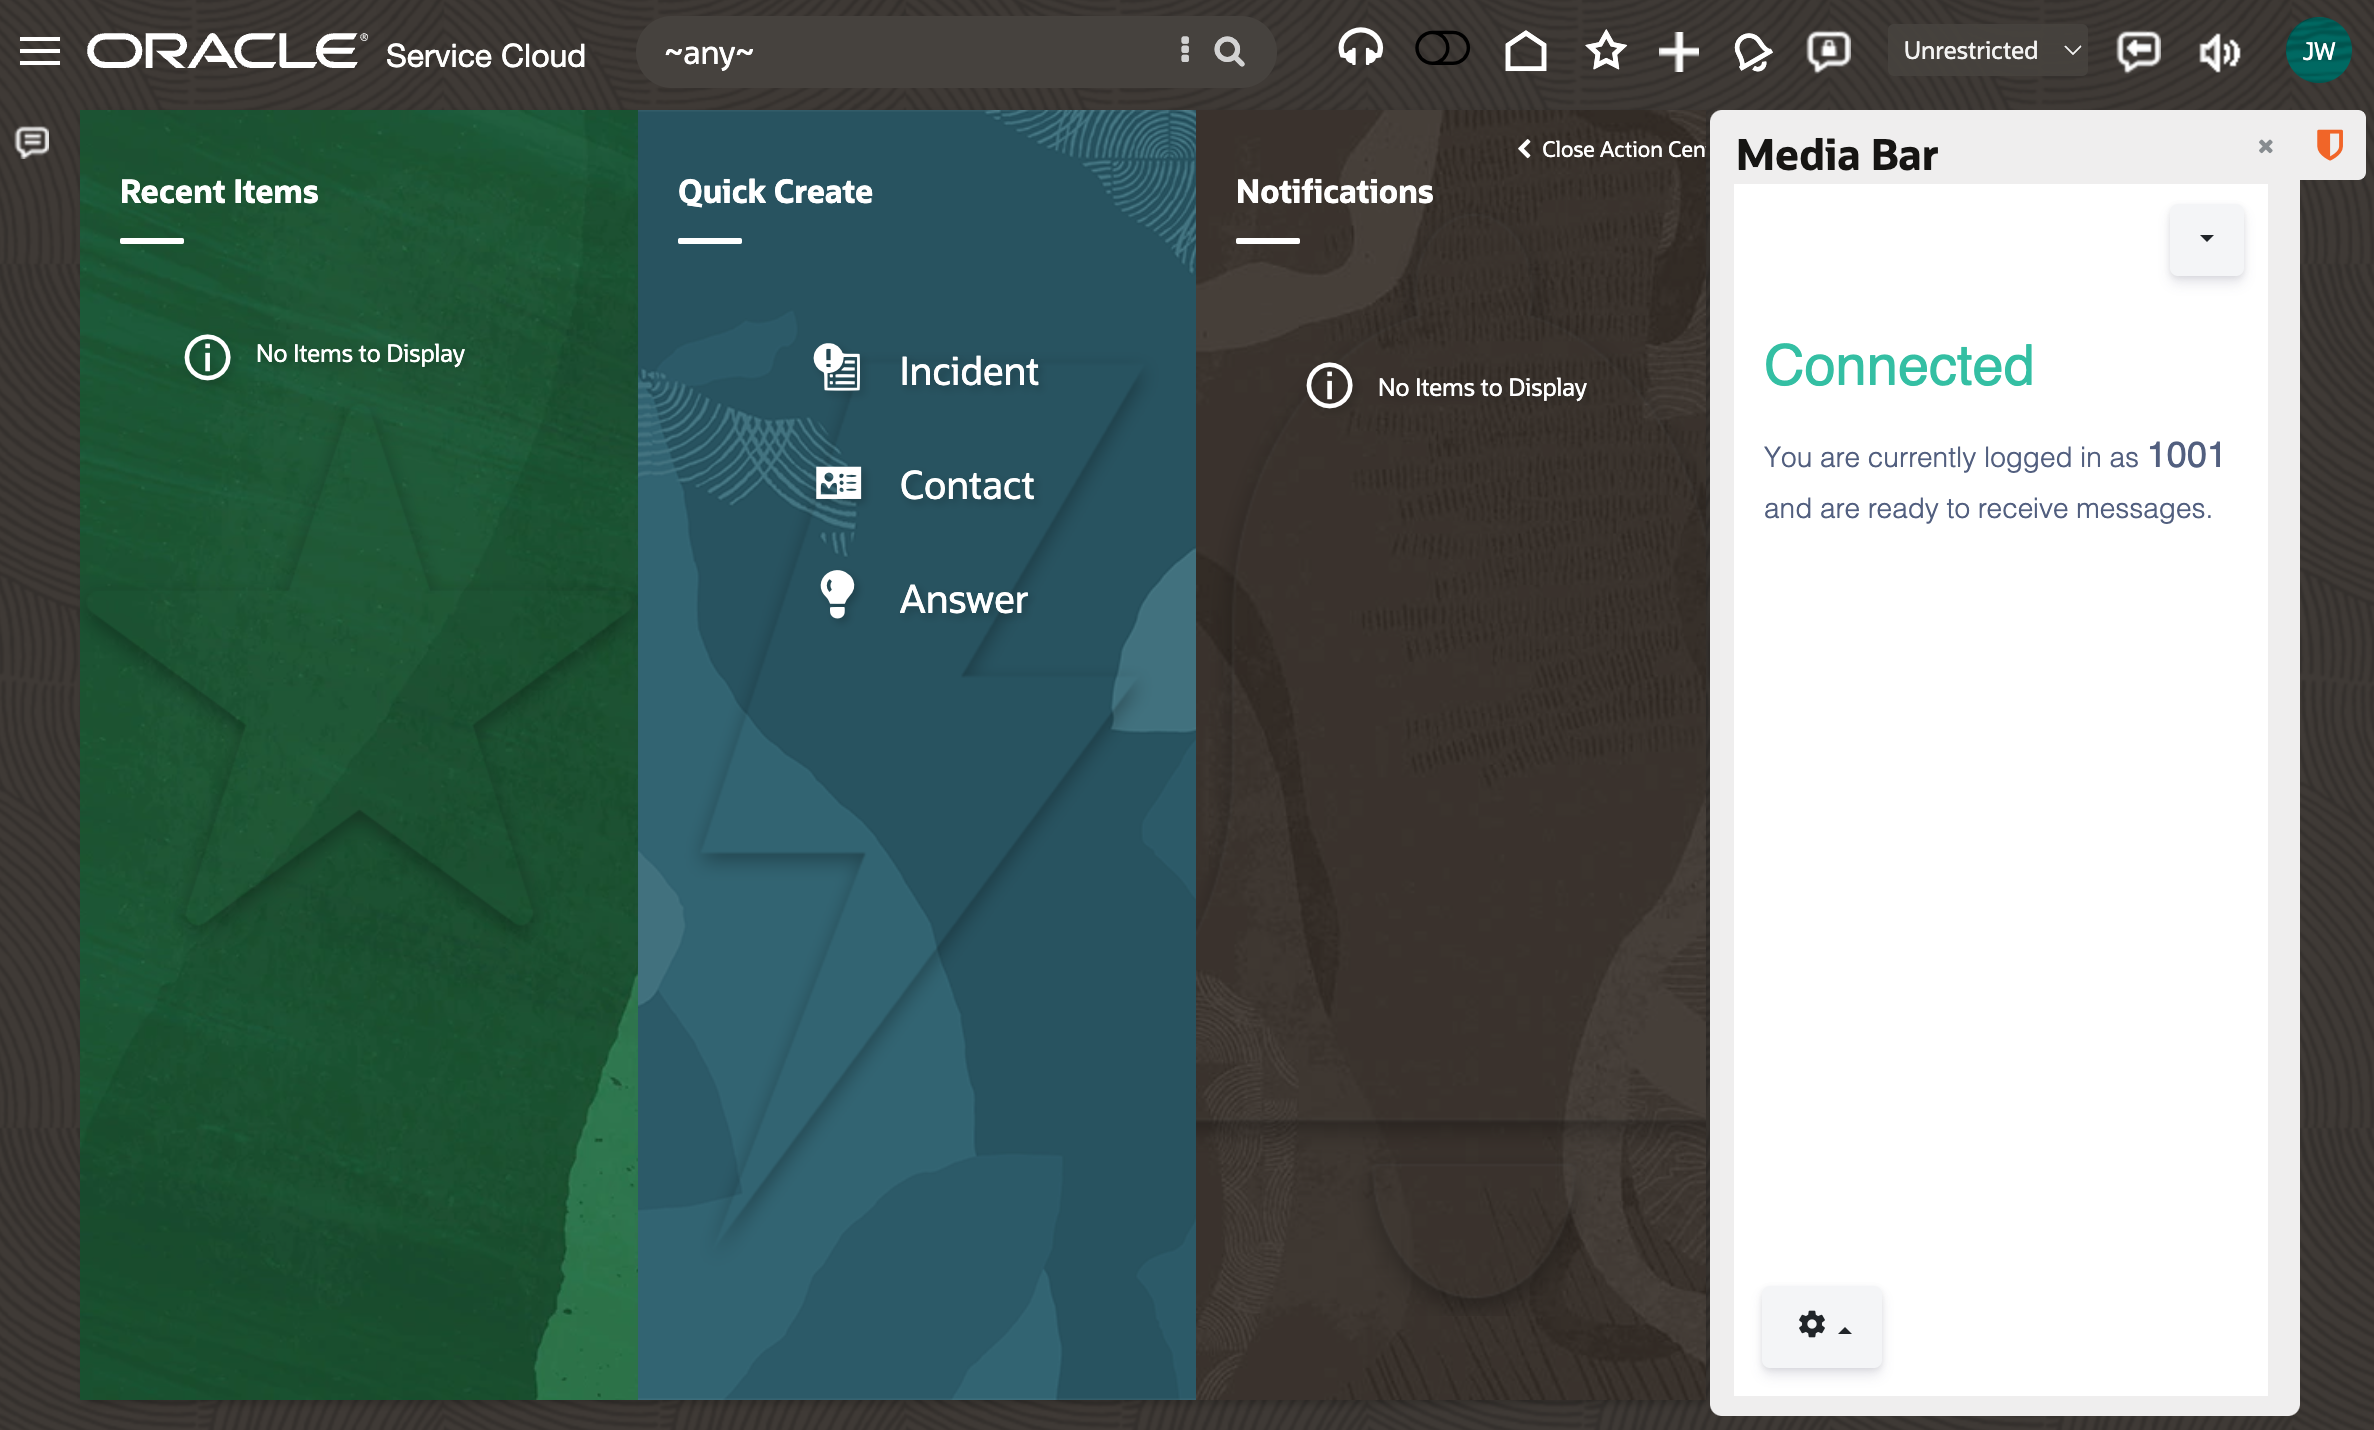
5. Once active, you should see the following with the “Media Bar” Connected. You are now ready to proceed to testing.
Step 7. Testing Workflow
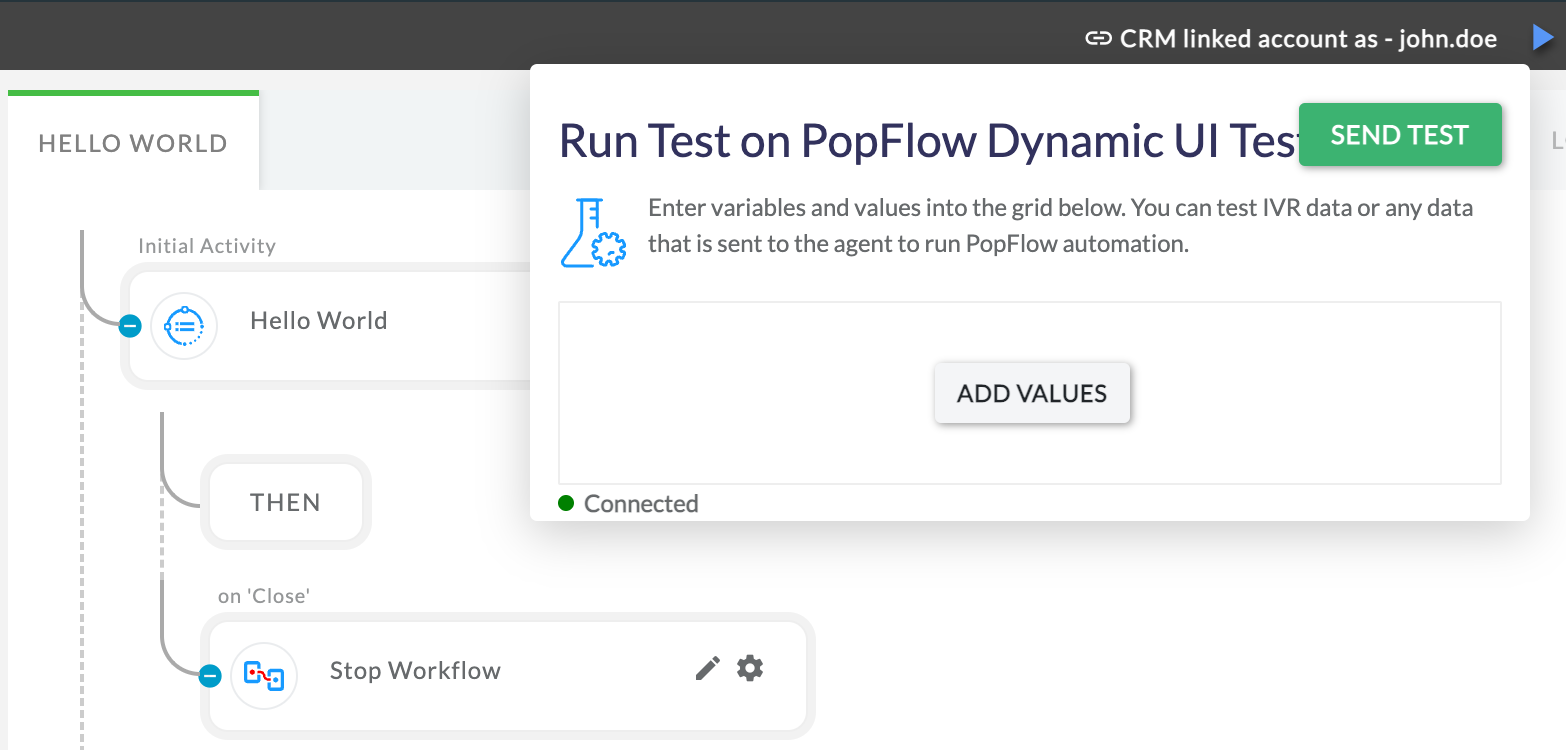

- Click the "Play" icon to open the testing tool.
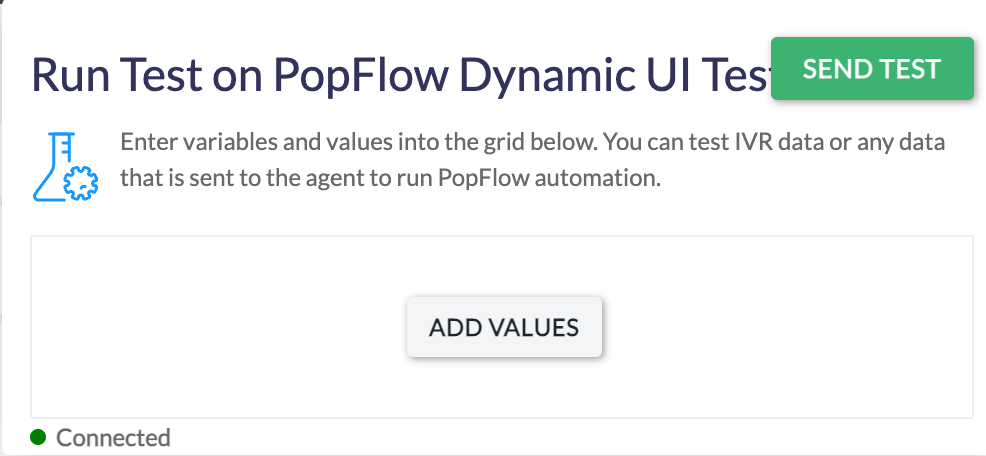
2. Click “SEND TEST” to issue your first test.
- Note: ensure the tester shows a “Connected” in the bottom left window.
3. Verify the First Step.
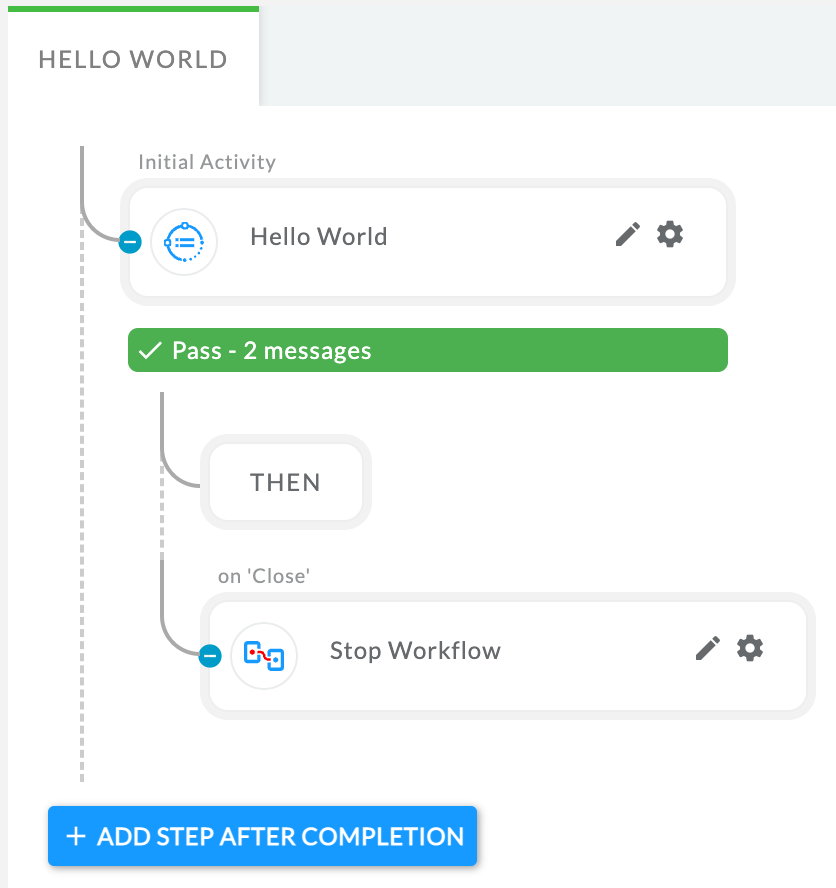
4. Access the CRM Window and verify your first step (Hello World) is present! Click “CLOSE” and navigate back to the designer window.
5. Once you have closed the Modal and Navigated back to the designer, verify the “Stop Workflow” step passed.
Step 8. Try More Activities & Flows
🎉 Congrats on your first PopFlow
The steps above are the start of many creative ways to use PopFlow. Play around with all the activities to build more workflows.
- You can read about each activity here and learn how to integrate them into additional workflows.
Looking for Pre-Built PopFlows❓
- We've created a section here to allow you to download and import PopFlows.