Getting to know your Experience Designer
After successfully logging into the environment please log into your deployment. Typically the URL is as follows:
Lets assume your deployment name is Acme , then your url will be:
Acme.openmethodscloud.comInfo
Login To CRM Instance
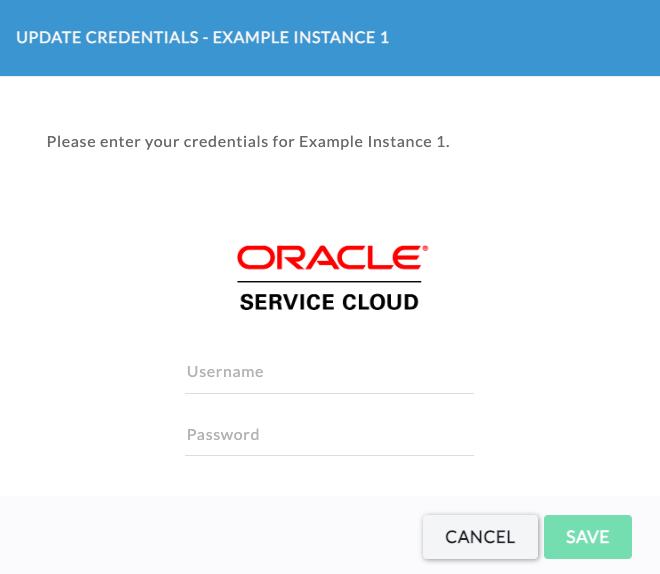
If it is your first time accessing the instance, you will be prompted to provide the credentials for the CRM instance. After successfully entering your credentials, you will have access to make PopFlow changes.
Select Your CRM Instance
When accessing Experience Designer, you will be shown the CRM instances available to you.

Don't see your CRM instance?
- If you dont see your CRM instance you can add it using the Configuration Server within OpenMethods Experience Cloud.
- If you do not have access to the Configuration server, please contact OpenMethods Support.
Navigating Selected Instance
Once you have accessed your instance, you will be presented a screen where you can navigate and create Interaction Workflows.
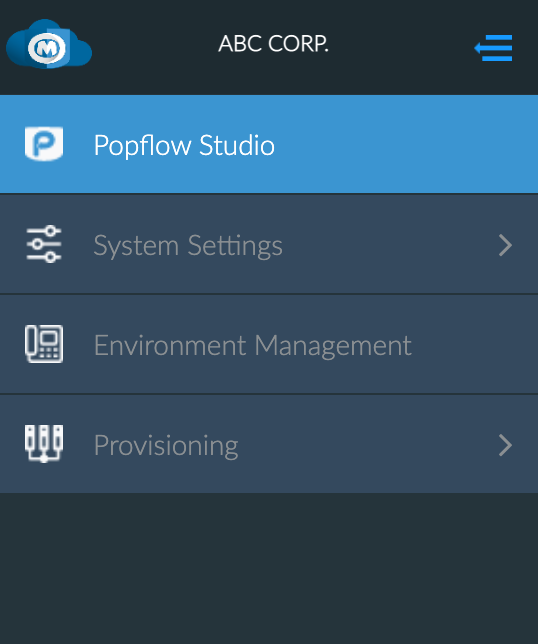
Use the Navigation Menu to navigate through Experience Cloud.
PopFlow WorkFlow Page (Landing)
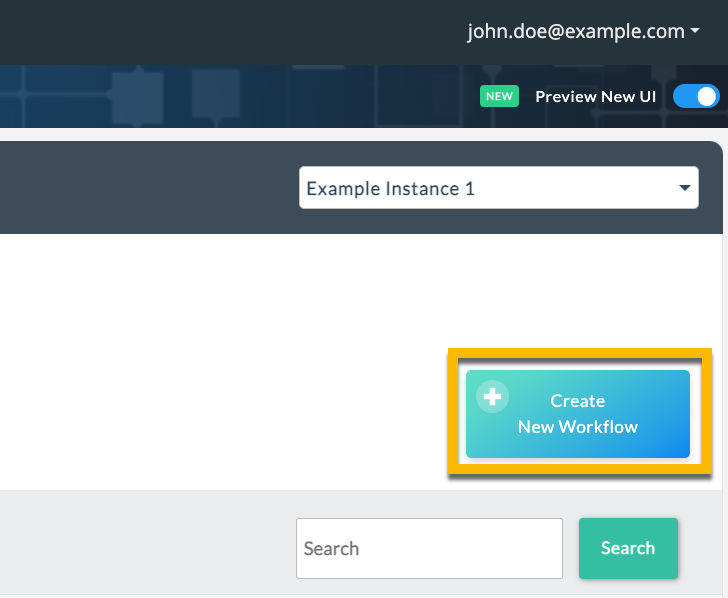
Instance Information & Selection
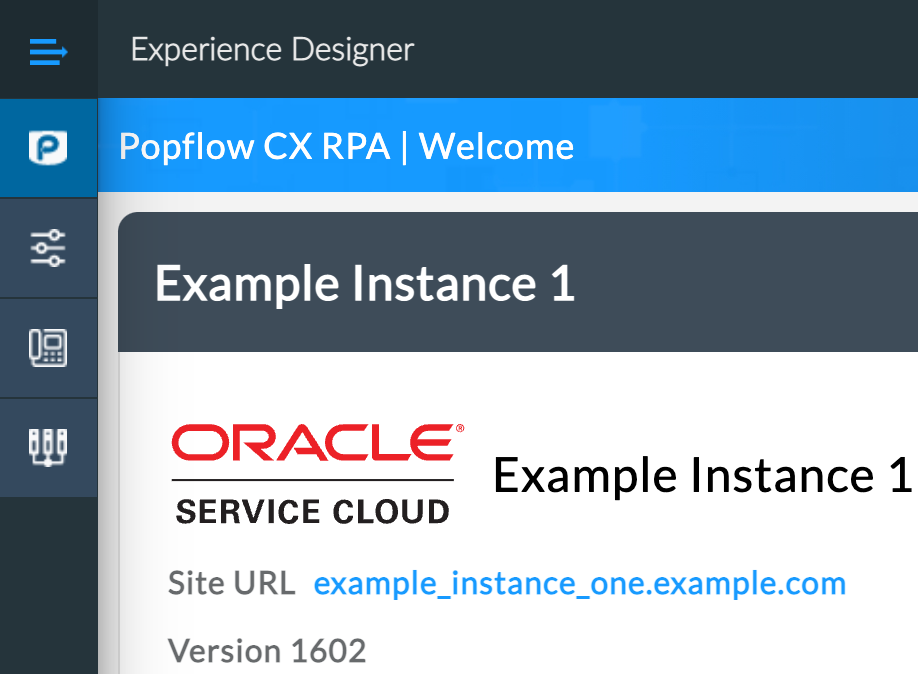
Information about the currently selected instance.
Use the drop down to navigate between instances.
Searching & Filtering PopFlow Workflows

The landing page allows you to sort/search for existing PopFlow Workflows filtered by the current “Events” section.
Filter Options:
- Events - See “Events” section below.
- Published - Sort by published or non-published workflows.
- Search - Searching only the currently selected workflows (See “Events” section below)
Additional sorting options:
PopFlow Workflows can be sorted by: Name, Description, Executions, Updated Last.
Events
- Events are the triggers used for executing a published Workflow.
- Events are also used to trigger filtering and sorting options from the PopFlow Workflow Page (Landing)

Events are grouped by “Event” type.
Telephony
-
On Ring
- After the call starts ringing.
-
On Answer
- After the call is answered.
-
On Hold
- After each time the call is placed on hold.
-
On End
- After the call is ended.
- If disposition is enabled, it will trigger after the disposition is completed instead.
- After the call is ended.
Chat
-
On Ring
- After a pending chat has been received.
-
On Accept
- After a chat has been accepted.
-
On Reject
- After a chat has been rejected.
-
On Chat End
- After a chat has been concluded.
- If disposition is enabled, it will trigger after the disposition is completed instead.
- After a chat has been concluded.
-
Email Ring
- After a pending email has been received.
-
Email Accept
- After an email has been accepted.
-
Email Reject
- After an email has been rejected.
-
Email Close
- After an email has been completed.
- If disposition is enabled, it will trigger after the disposition is completed instead.
- After an email has been completed.
Custom Events
Custom events are used to trigger an Interaction Workflow outside of the scope of the "Out of the box" events.
Custom events can be triggered via OM Connect or OSvC BUI extensions.
To add a Custom Event click “Create New Workflow”
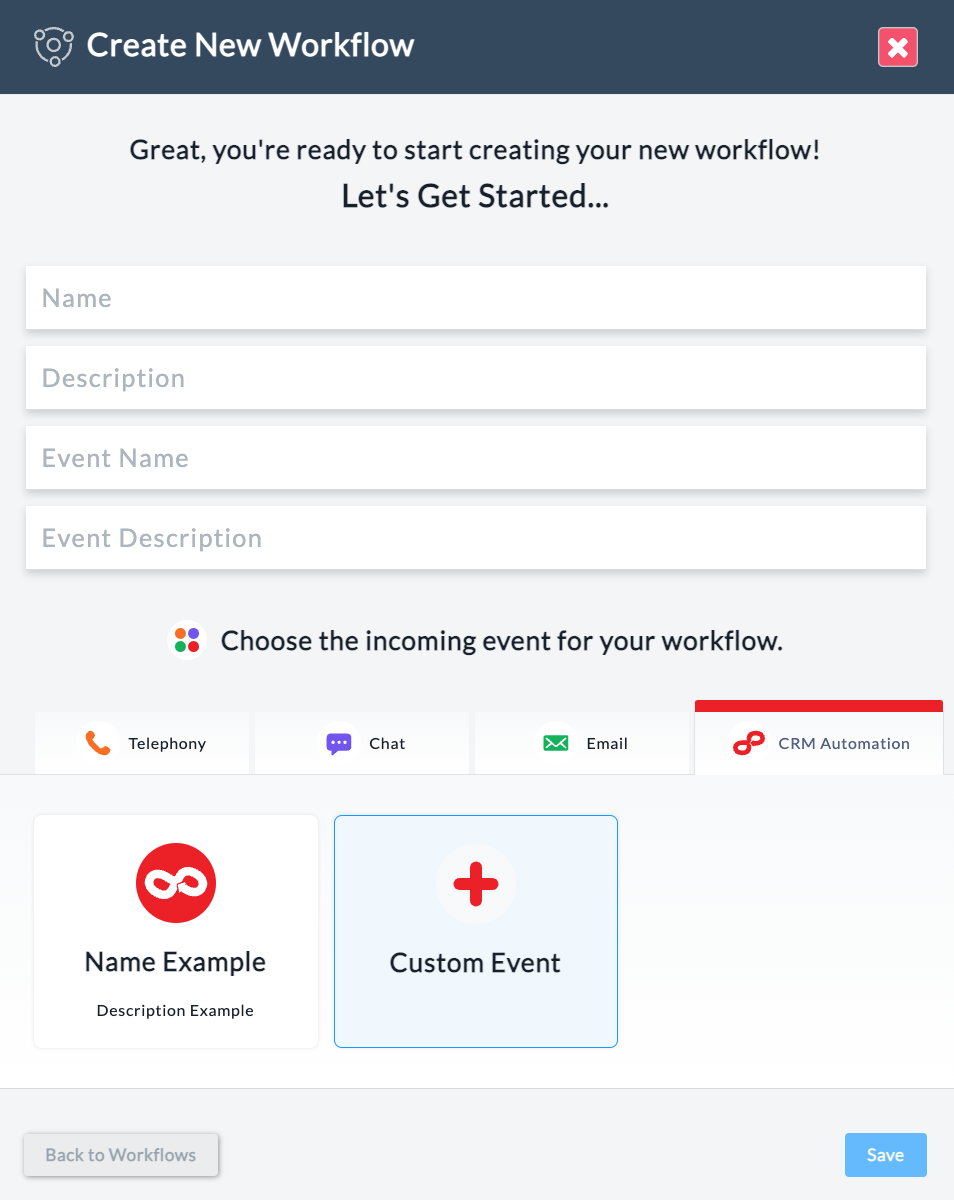
A Modal will appear:
- Select the CRM Automation tab.
- Click Custom Event
- Name (names the event tile such as “Name Example”)
- Description (a note appearing under Tile Name)
- Event Name: Used when triggering the Custom event.
- Event Description: A note to yourself to remind you or other users the purpose of the Custom Event.
- Save
Actions (Designing Workflows)
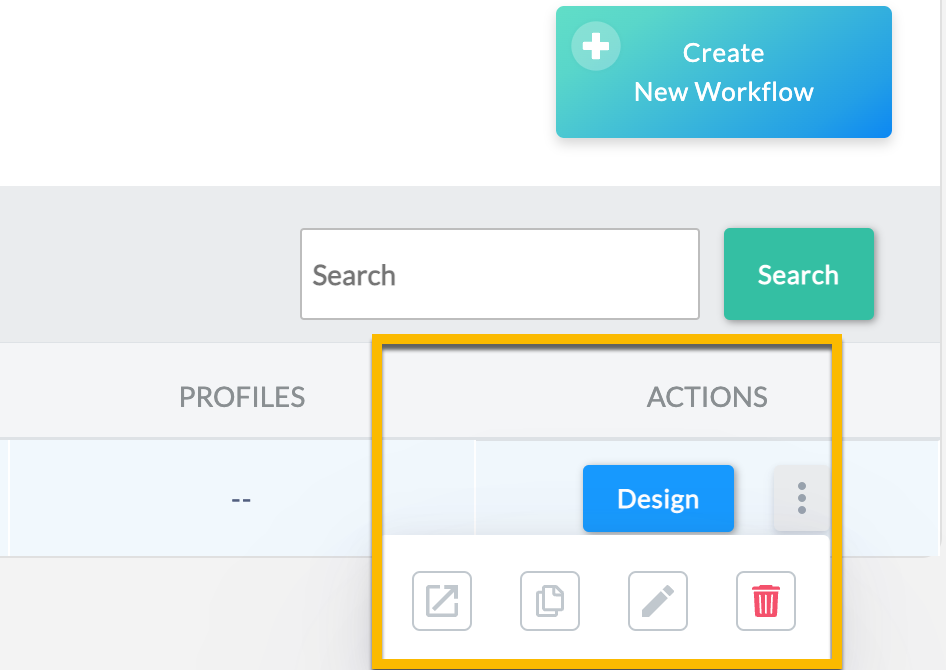
The “Actions” section of the PopFlow Workflows table allows you to:
-
Design
- Edit & design Workflows.
- Additional Workflow Options (Left to Right) :
- Export
- Copy/Duplicate
- Edit
- Delete
- Additional Workflow Options (Left to Right) :
- Edit & design Workflows.