Between the Curly Brackets is where we'll live in this module!
We'll connect the data produced from other activities and steps in your workflow together! Data exports are the "glue" that ties workflow actions & activities together. In this module, we break down the basics of recalling and usingattached the information and provide some basic tips to help you learn!
💡 Download PopFlow!
To help with today's lesson, please download the attach PopFlow as a reference! It will help you and show you how we accomplished everything in the lesson!
Data Types
PopFlow has references to different types of data:
InteractionData: The variables that came with the interaction
TempData: Variables created during the Popflow Runtime.
Harmony: The variables inside of harmony (note: these are a filtered data set)
CRM Context: The variables exposed by the crm.
Returning The Data
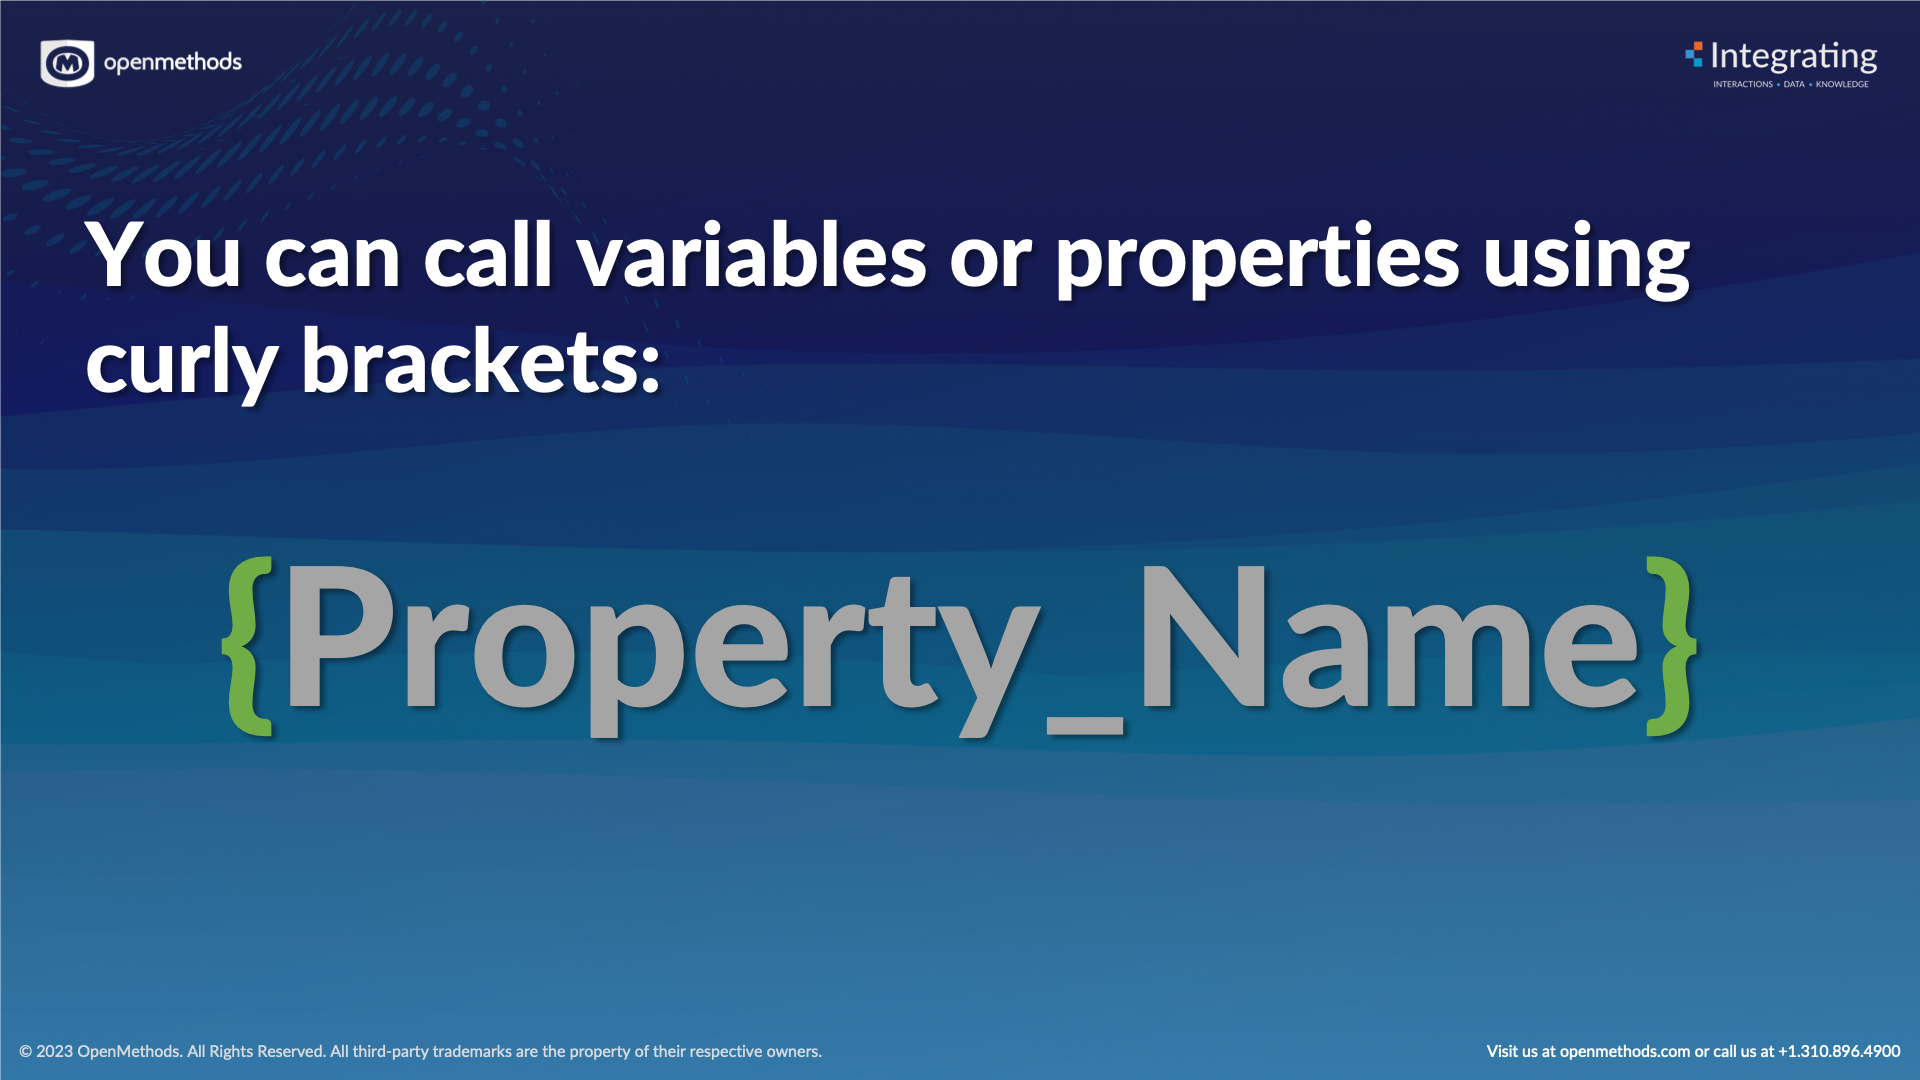
{Property_Name}
Each data reference can pass information to/from activities and other PopFlows.
Interpolation Syntax
These interpolations are wrapped in {}, such as {var.value}.
The interpolation syntax is powerful and allows you to reference variables, attributes of resources, properties, and more in PopFlow.
Let's break down our example by the “Pins” listed in the PopFlow template associated to our module.
💡 Pins, aka Tabs
Allow you to organize the PopFlow into easier-to-manage and navigate sections.

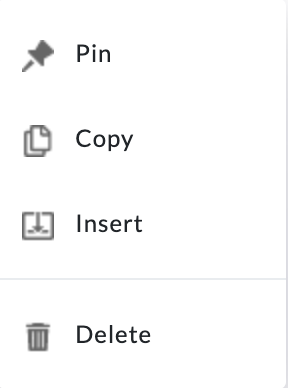 |
Creating Pins is simple; you right-click on the activity you wish to Pin and select Pin. |
The following steps are based on the “Pins/Tabs” associated with our PopFlow Example. Expand each section to go deep into the details.
Step 1: Setting Custom Message
In the first step, “Initial Activity”, we provide a note using a “Javascript” activity to call out what we are attempting to accomplish within the “Tab” in view. We'll do this for each of the Pins/Tabs to show you how you can add some basic notes using nothing more than a Javascript Comment! It's super helpful for anything you want to note!
- Our goal is to create a custom message that can be used in all the examples where the user stops the test.
-
How do we accomplish this? The message and its content are controlled by a “Set Value” activity, which is named “Customize Stop Activity Msg” and is composed of the following settings:
- Property
- Enter Value
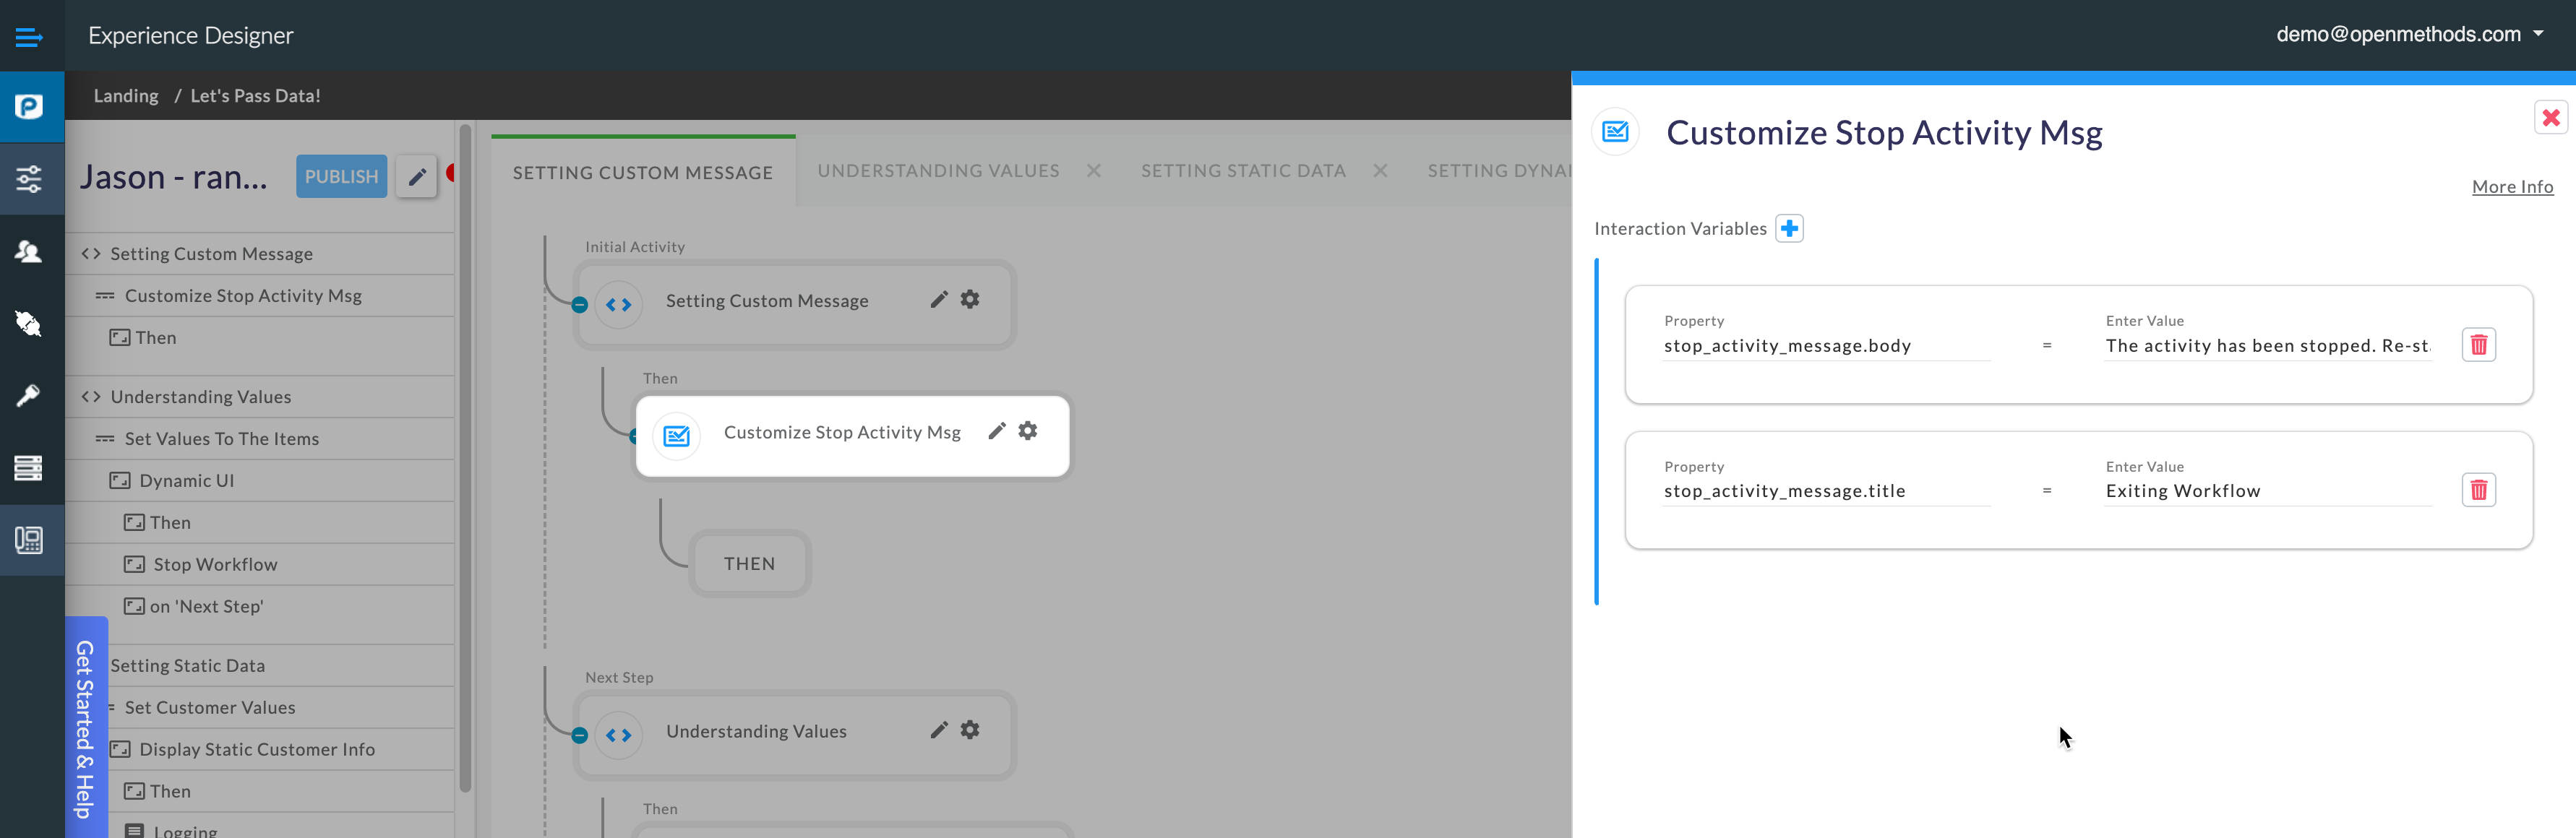
We set the message body as well as the message title above.
The fun part, you can edit and test as you would like. If you ever run into an issue where things are broken or not working. Re-Download the PopFlow, Re-Import, And Test!
Step 2: Understanding Values
Let's get super basic! We'll create two items and set information into
them.
- item.1 = this is the value of item 1
- item.2 = this is the value of item 2
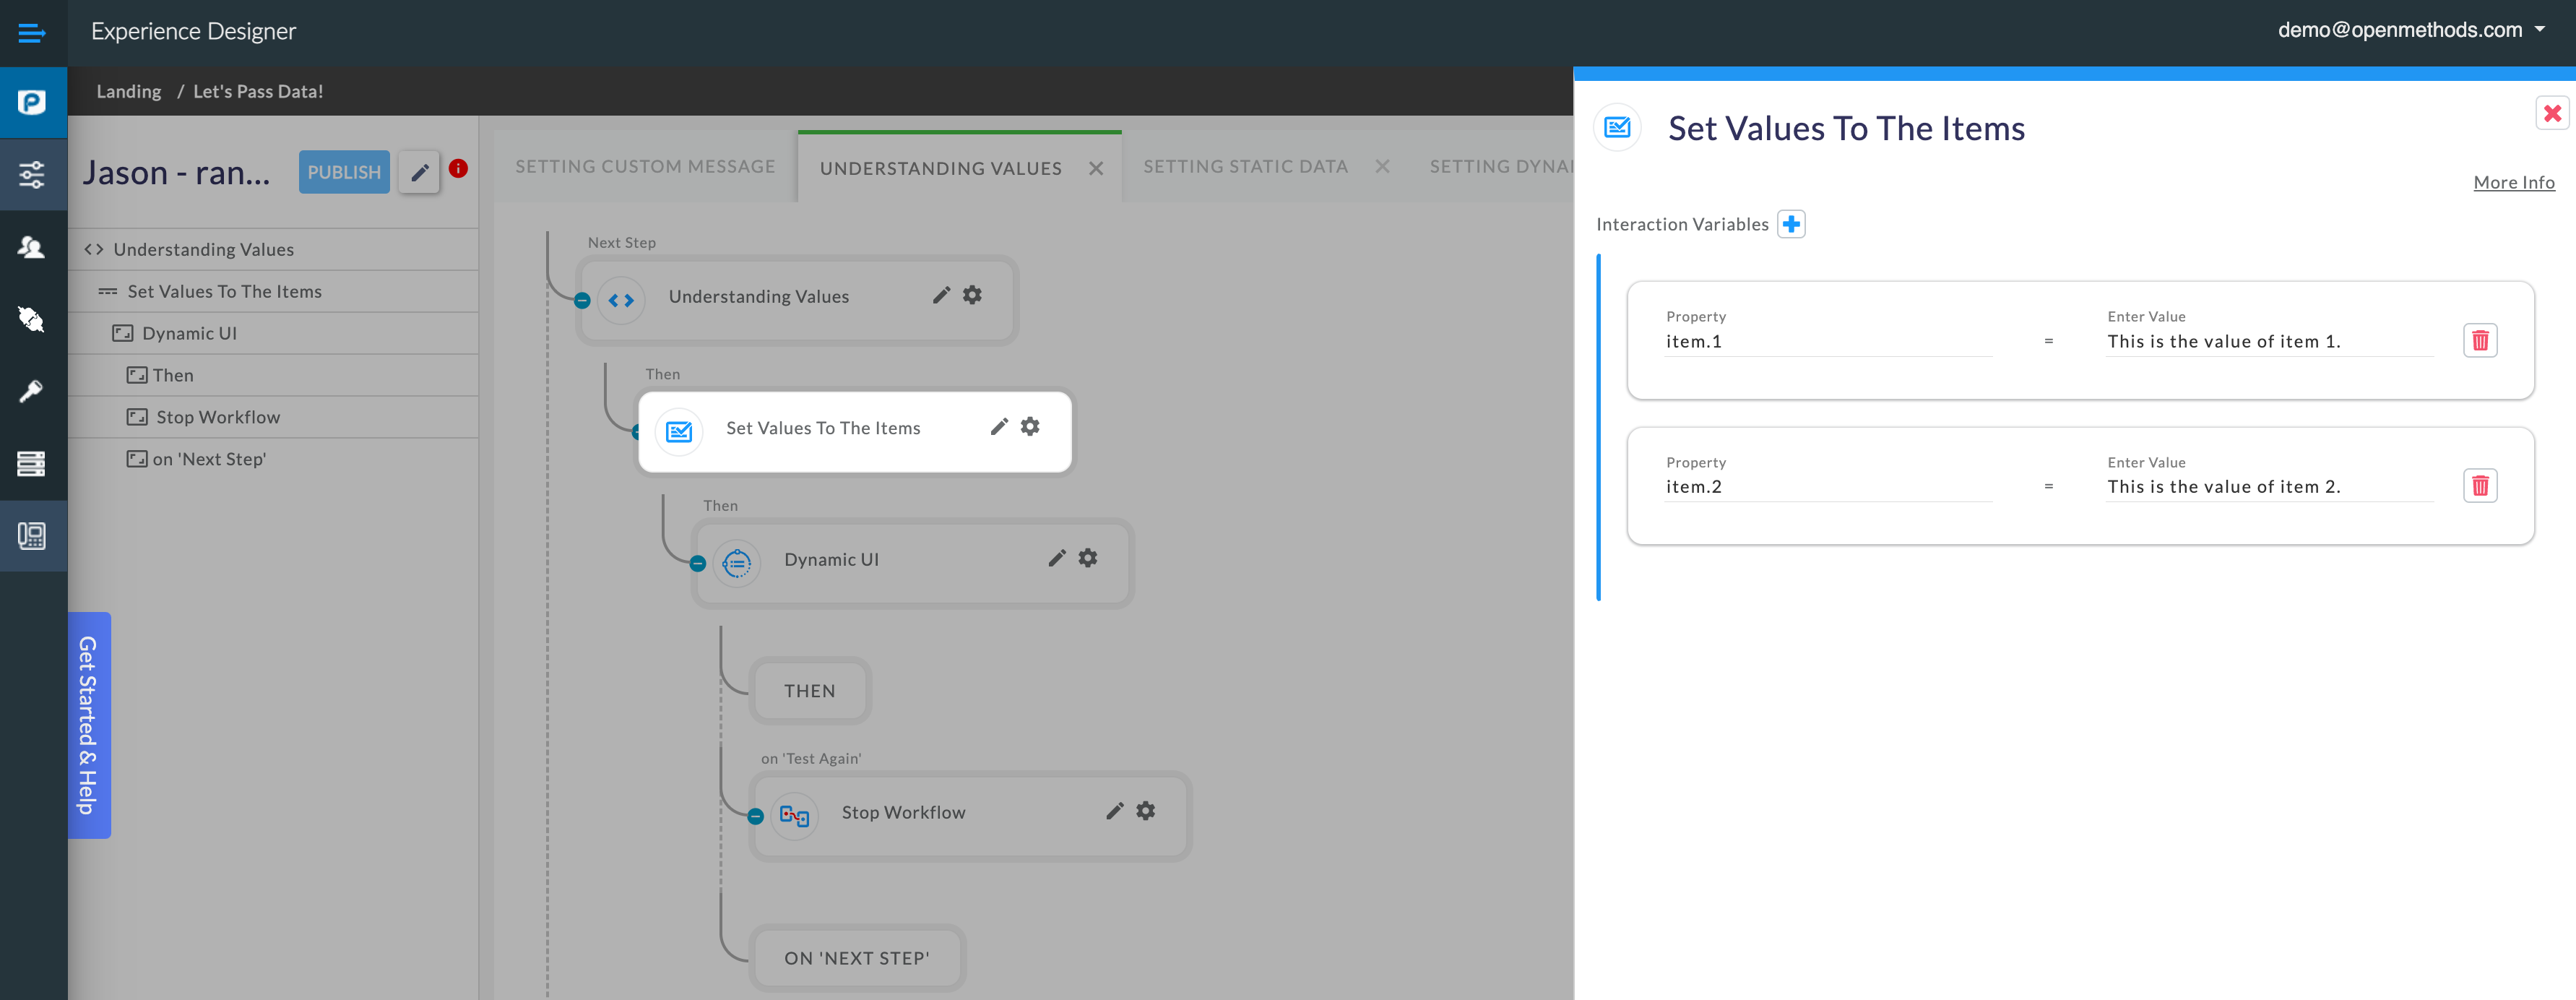
We are going to use the data set in the Set Value activity above to display information in a Dynamic UI.
💡 Make Changes & Test!
In all of these examples, feel free to make changes on your own and re-test.
With the information set above, let's display those values in a Dynamic UI:
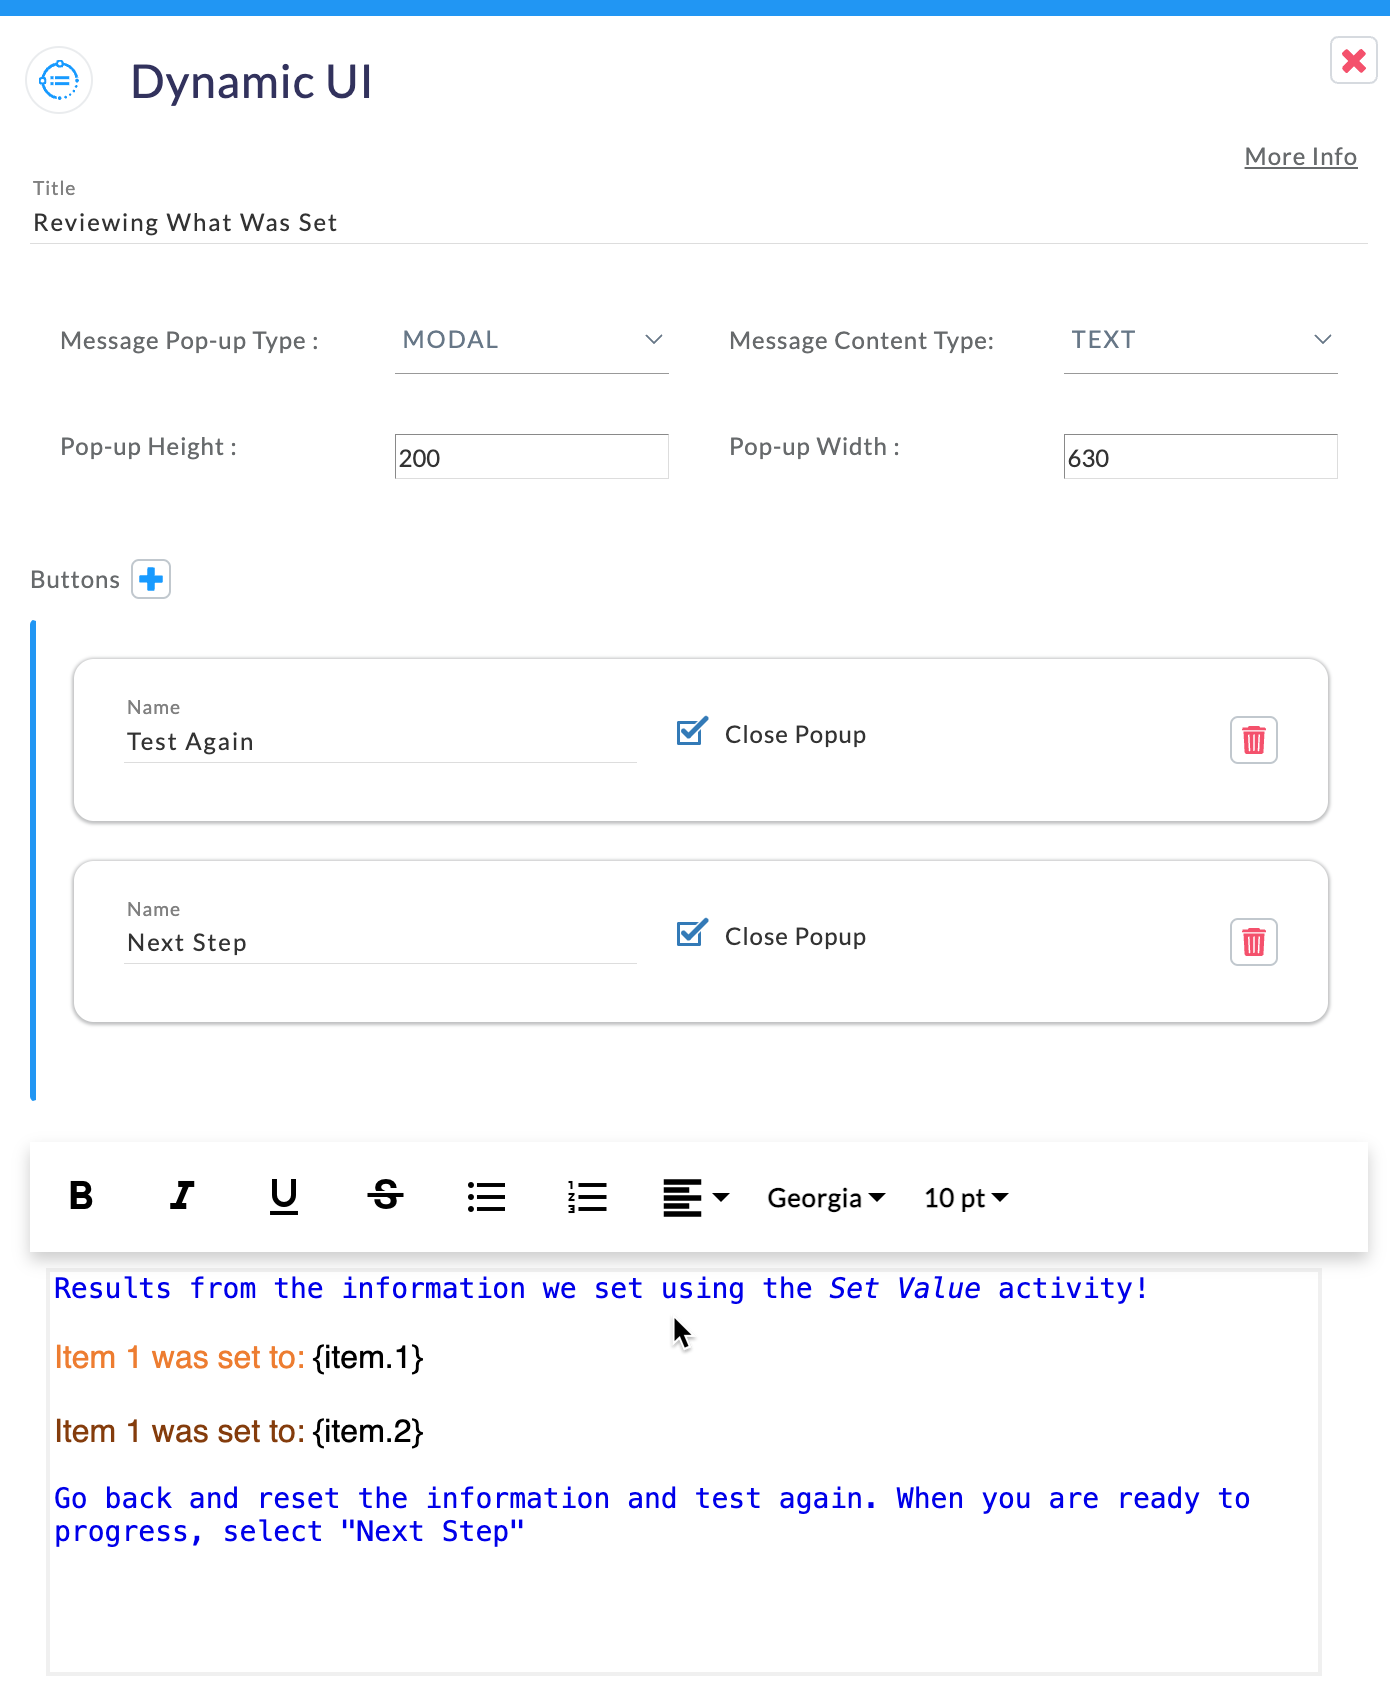
The Dynamic UI provides the end user with two options:
- When you are ready to continue, select "Next Step", and the PopFlow will progress to the next sequence & step.
- Selecting “Test Again” will stop the execution of the PopFlow with a “Stop Workflow” activity and allow you to make any needed changes to re-test.
The content of the message body shows the first example of returning data values back into activity. Example: {item.1} & {item.2}
Step 3: Setting Static Data
As we progress in Step 3, we'll show how to use more logical values often displayed in production scenarios.
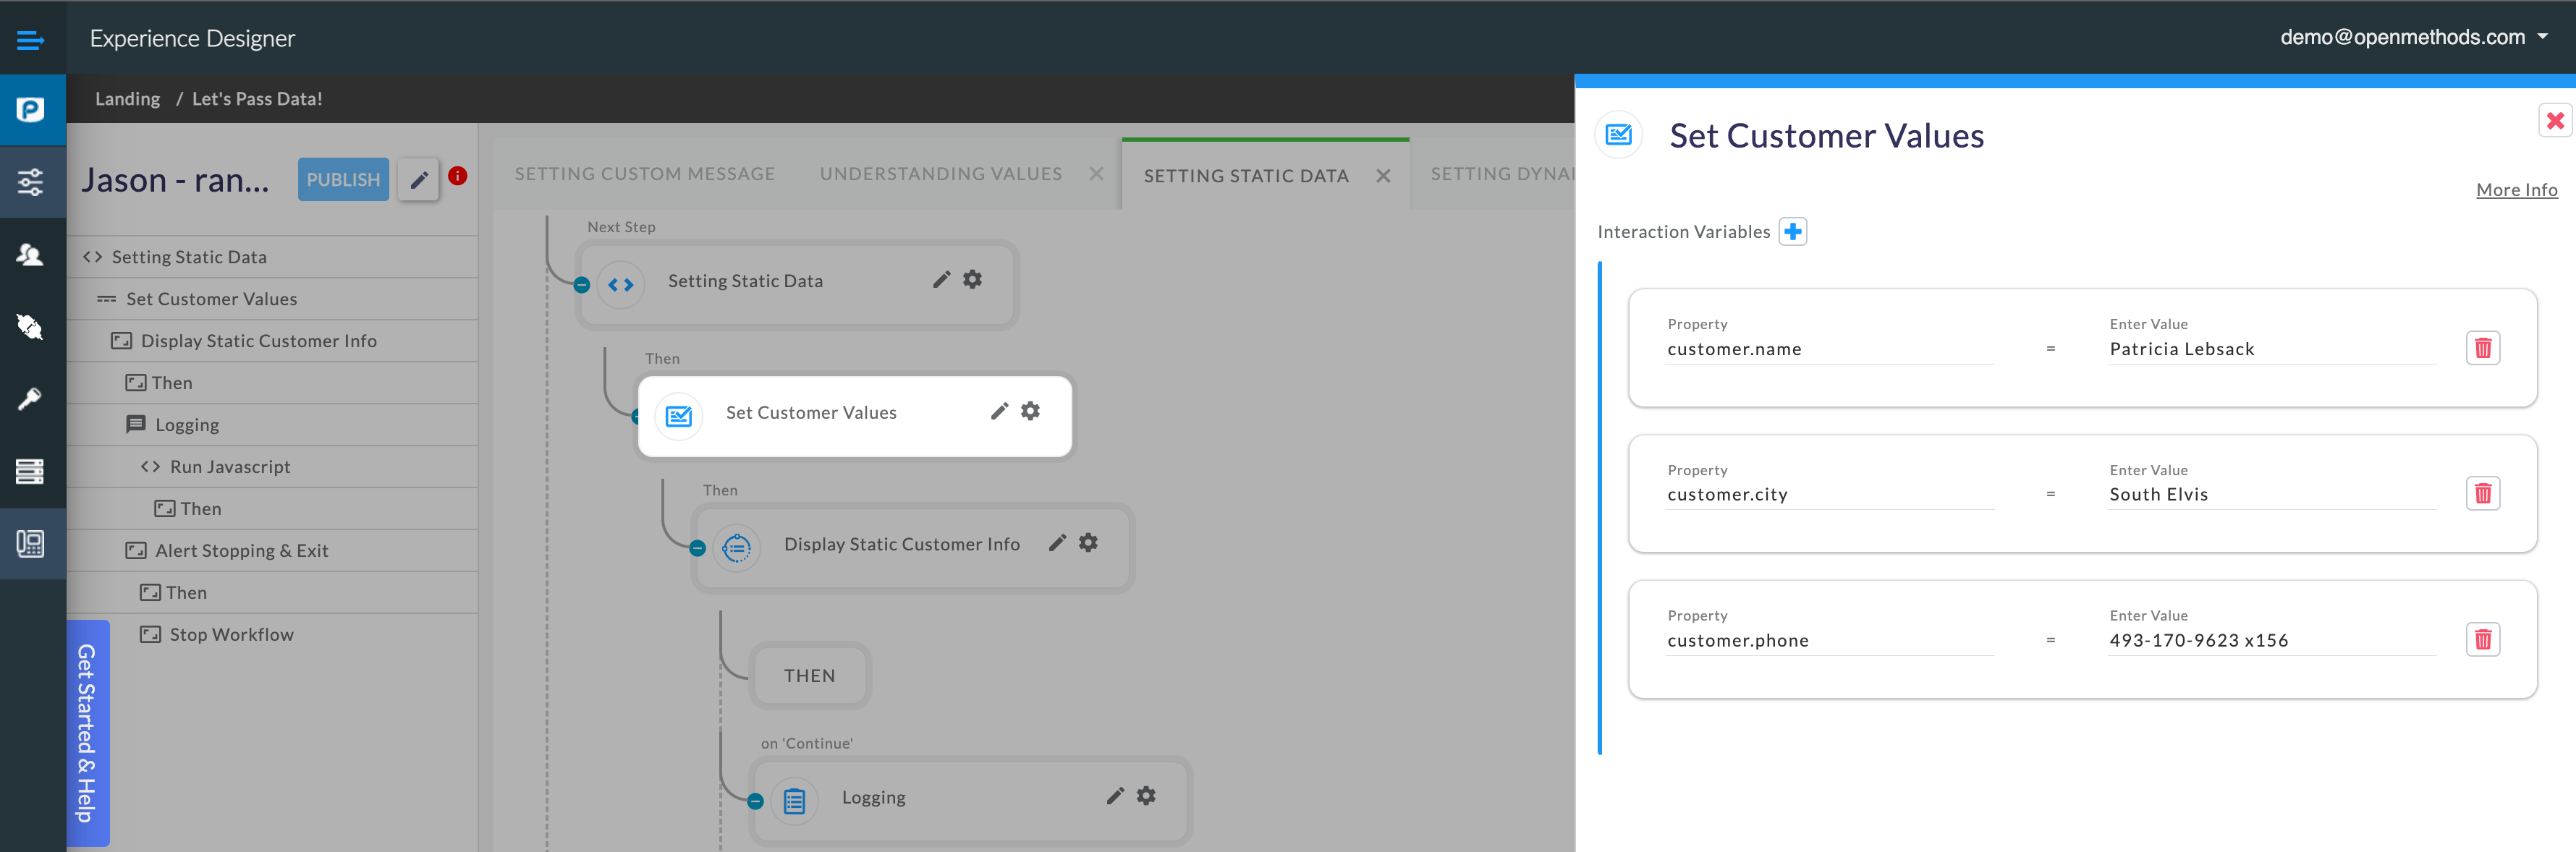
- Assign Customer Information using the "Set Value" activity. In the example, we'll set static information to the following properties:
- Customer Name
- Customer City
- Customer Phone
Keep an eye on the “Property” values' name as the information is used to return data!

2. Once the information is setup, we'll pass the data into a ScreenPop to show how to display
the values set.
Note we provide “Continue” and “Stop” options:
- Anytime a user selects “Stop” we show a ScreenPop with the information set in step 1's Set Value named “Customize Stop Activity Msg”.
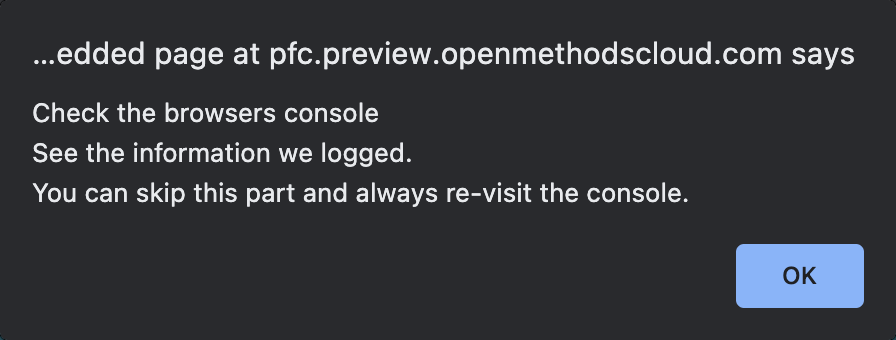
3. These values are logged to the browser's console using a logging step.
- We've logged the following customer information: {customer.name}, who lives in {customer.city}, and has the phone number of {customer.phone}.
4. We'll alert the user about the information below using a “Run Javascript” activity.
The next logic of our PopFlow will be to show you how this is done with random information coming inbound to PopFlow.
Step 4: Setting Dynamic & Random Data
In the examples above, we've statically set information into properties that are passed back into the PopFlow. In Step 4, we'll use an example of assigning random/dynamic information returned from a data source. The example here is a very common use case where data is pulled from a source, assigned into values, and then displayed to users.
- Grab the Random Data using HTTPS Server-Side Activity.
💡 App Connector
To use the example, you must configure an App Connector with the following information:
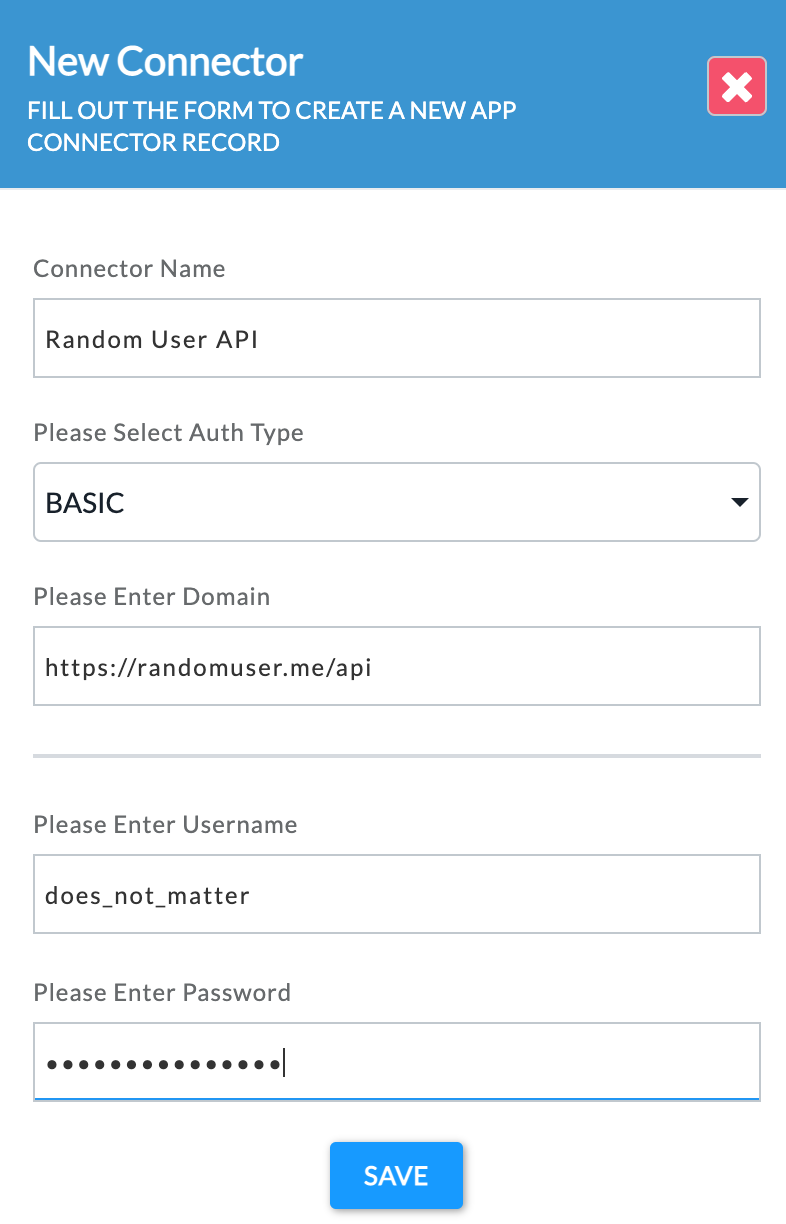
App Connector Settings:
- Name: Random User API
- URL: https://randomuser.me/api
- Auth Basic:
- Username: does_not_matter
- Password: does_not_matter
HTTPS Activity Settings:
- Method: GET
Path: /?nat=us
The information returned will be saved into a variable named: inboundUserData
2. Display all the information returned from the Random User API request.
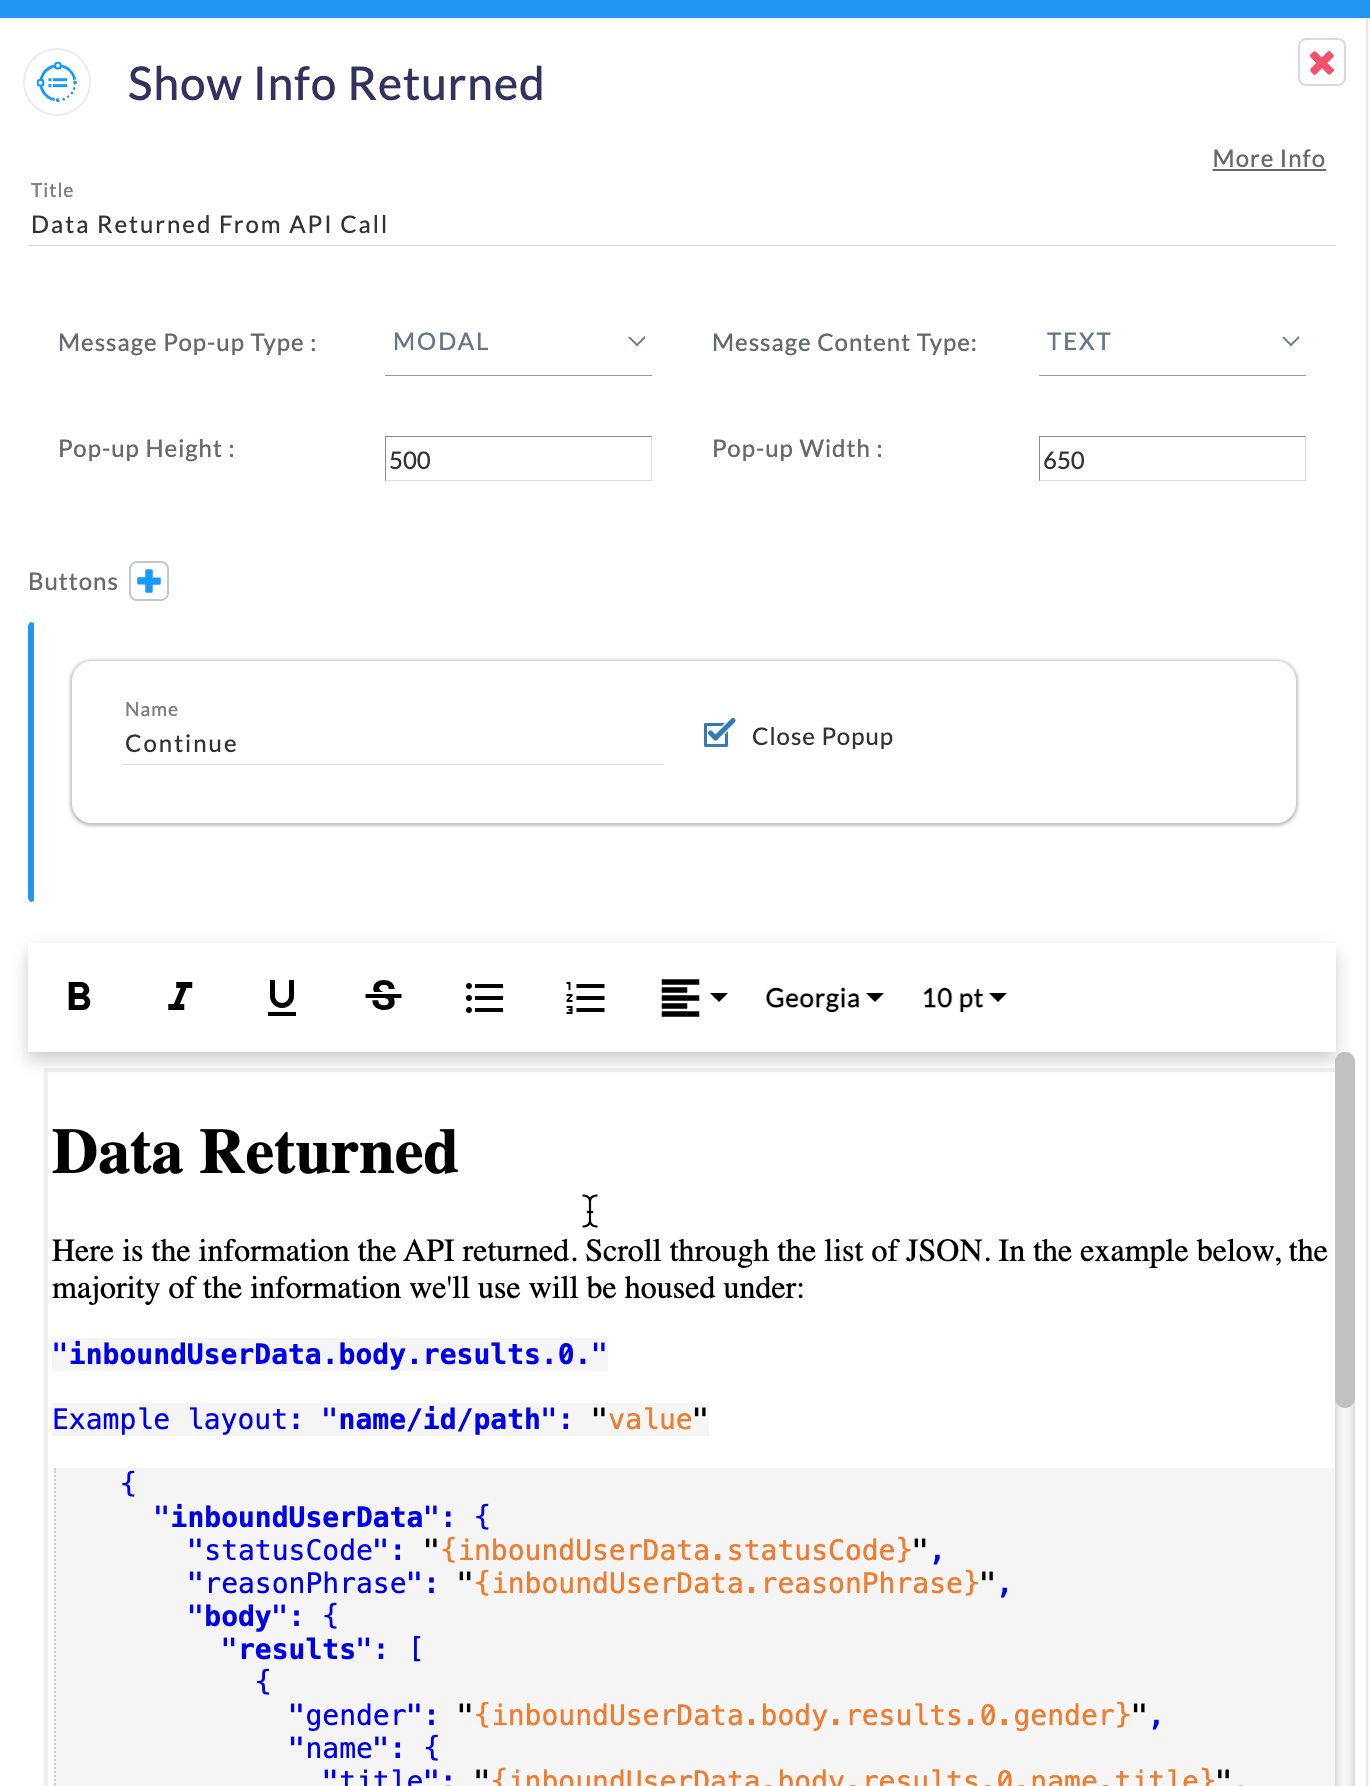
To simplify life, we've already created a dynamic UI displaying all the data results returned from our Random User API.
- The information is displayed for you to review all the data returned.
- With the information, you can choose which data you'd like to pass or use.
- We will pick some key values to pass forward in the example shown here.
3. Pass the information into a User Card using a Dynamic UI.
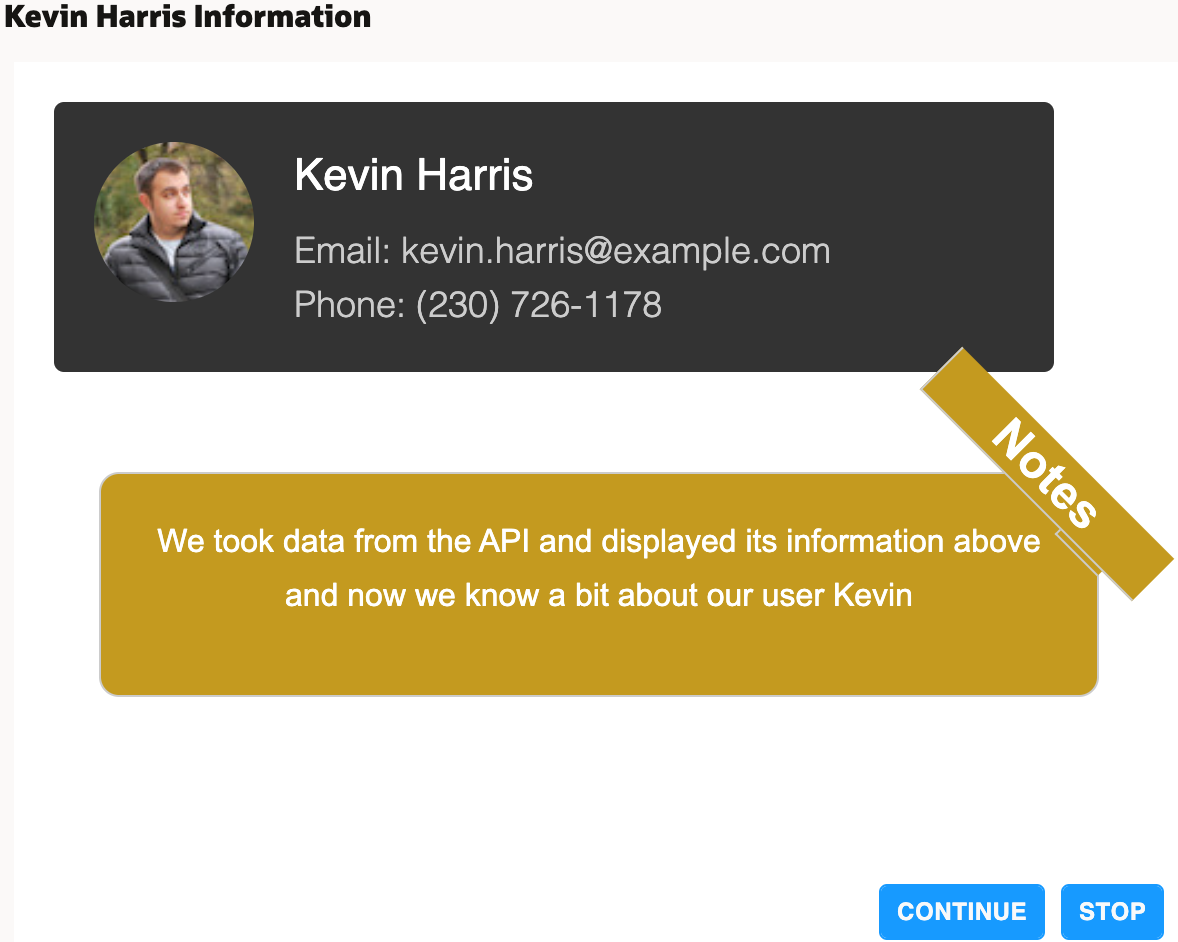
With the key values selected in our example, we show another screen pop with some of the user's information.
ℹ️ The Code Does Not Need Modification
The Dynamic UI is in HTML and we are using the data from our API request to populate its details. You do not need to modify or touch any of the code listed in this activity step. However, if you wish to test/play around, go for it!
Note we provide “Continue” and “Stop” options:
- Anytime a user selects “Stop” we show a ScreenPop with the information set in step 1's Set Value named “Customize Stop Activity Msg”.
Step 5: Re-Assign Values
Awesome, we've done a few neat tricks to display data from one activity into another!
Let's re-set values from the Random User API data source (inboundUserData) into our original customer information from Step 3. Before we do that, we should save the older information into a new set of variables! It's a good tip to always save information for use at another time in the “interactions” life.
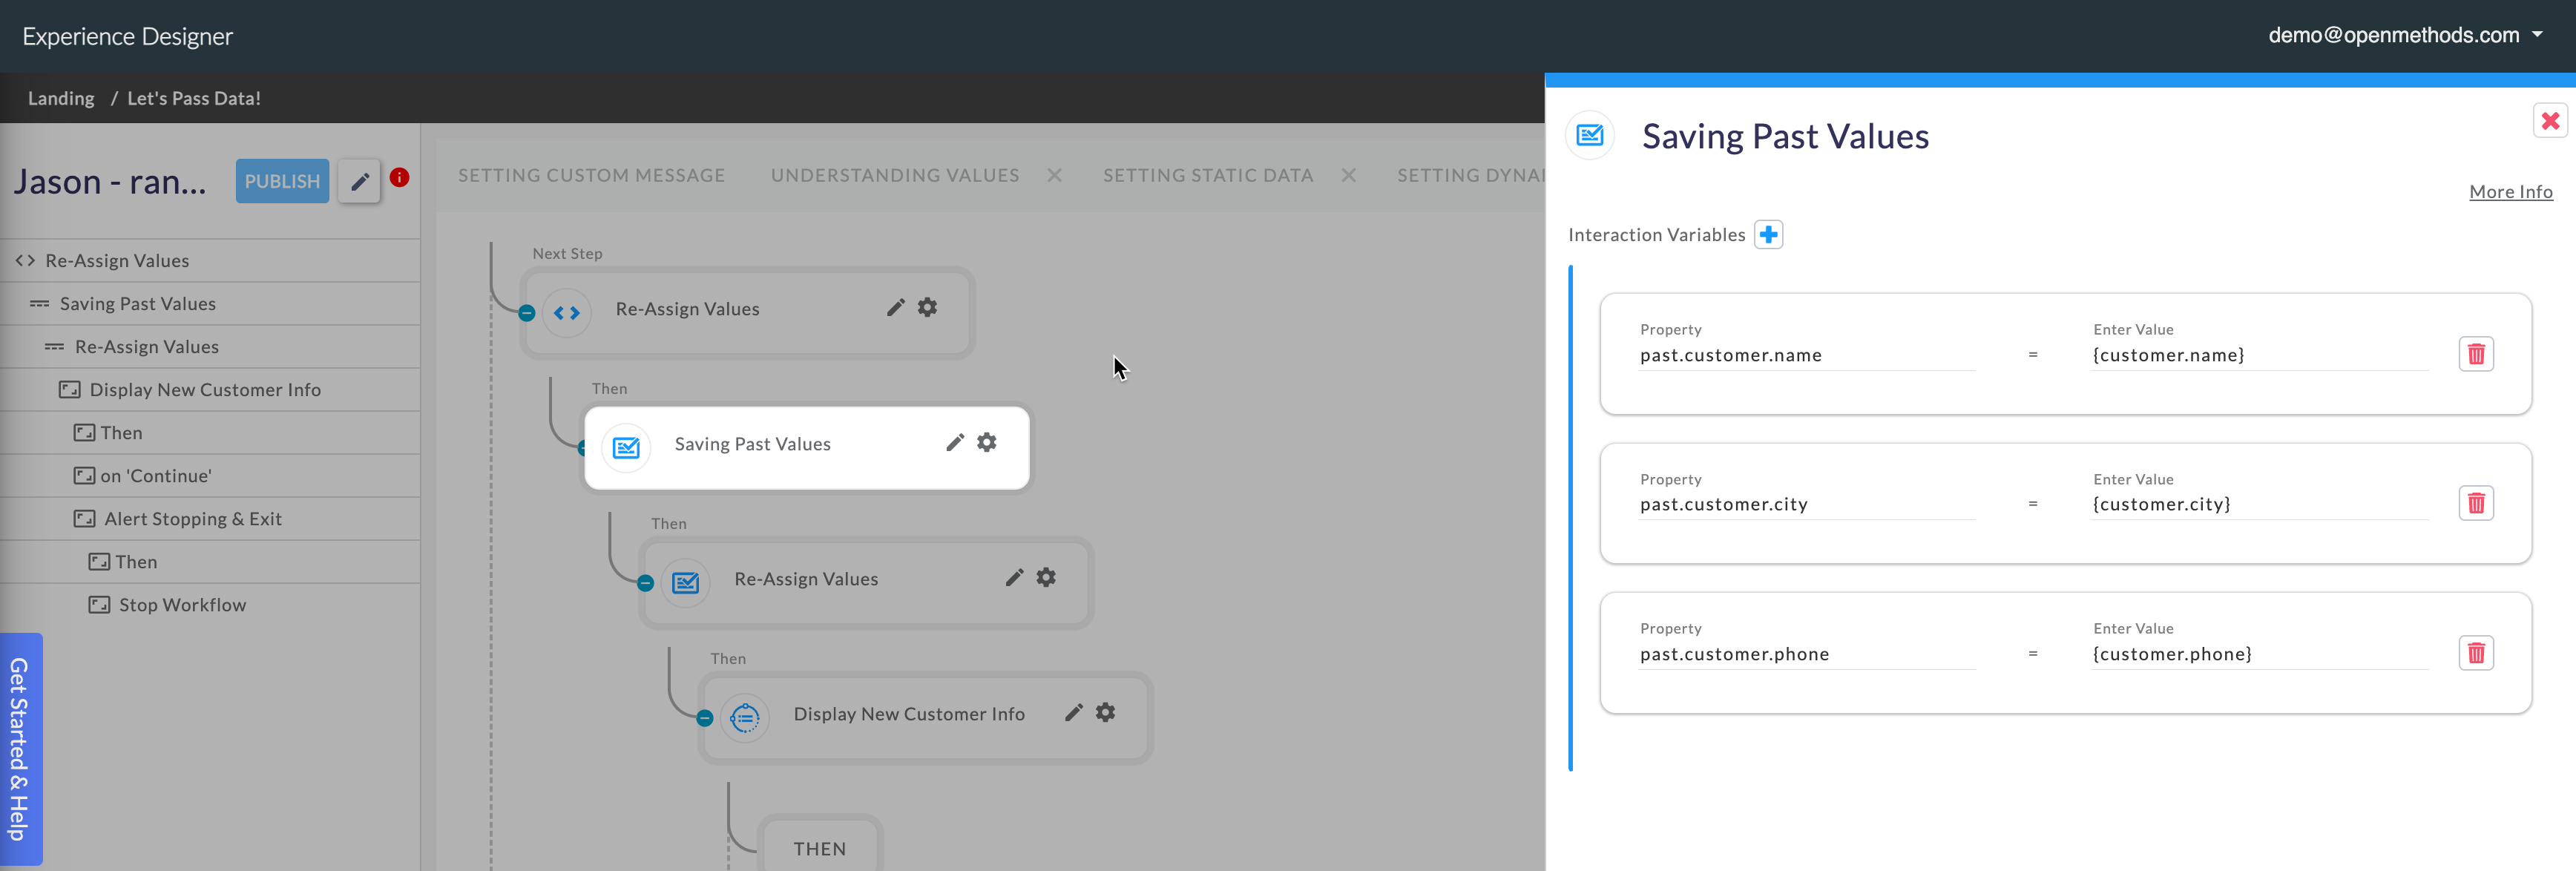
- Example: Anything "customer." will be moved into "past.customer." and is accomplished by assigning the Property Name and ensuring it equals the current value of the data we need to copy.
- {customer.name}
- {customer.city}
- {customer.phone}
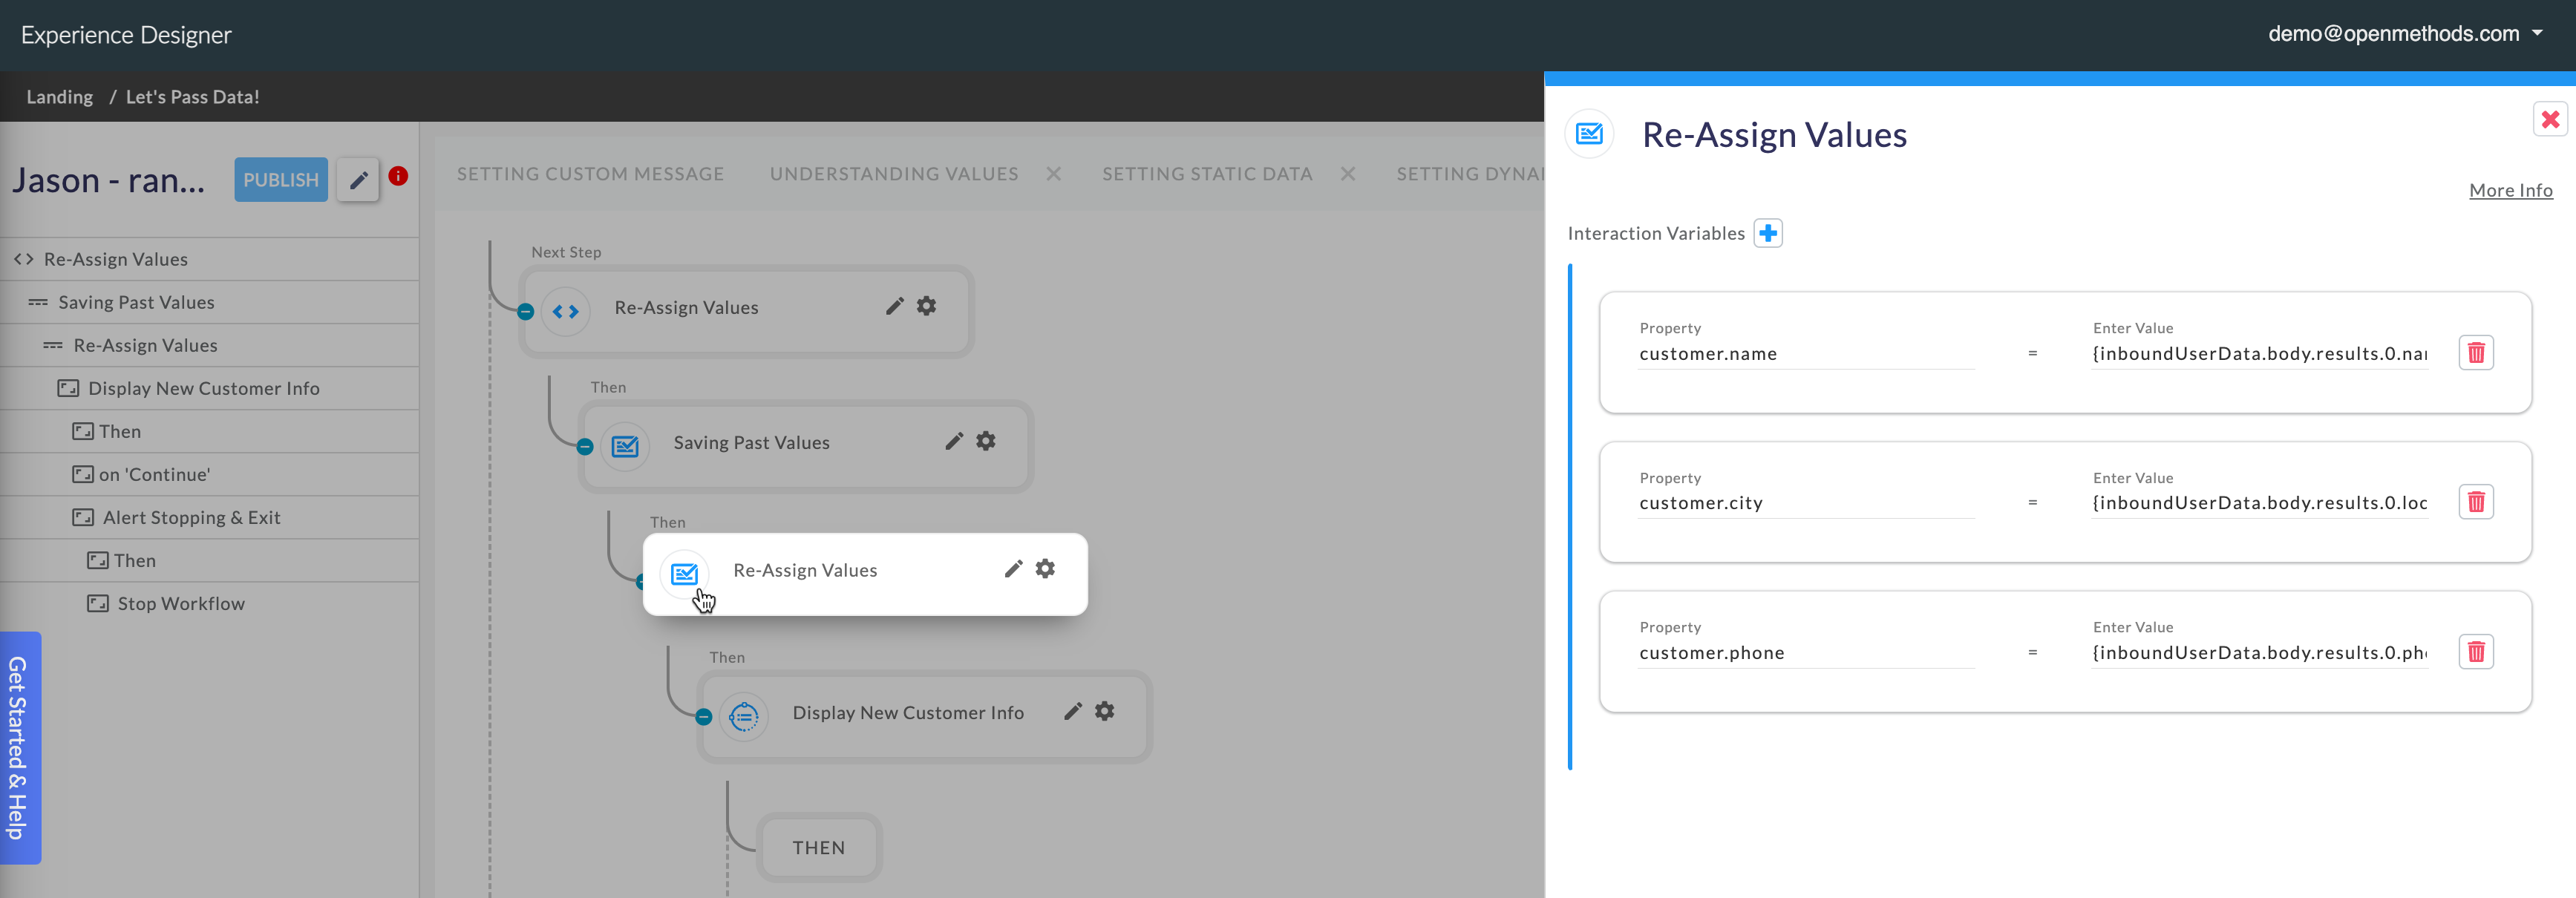
2. Re-Assign the Customer Information using the "Set Value" activity. Customer Name, City, and Phone are now assigned to the information returned via the Random User API call. Note the value names are directly from the information pulled.
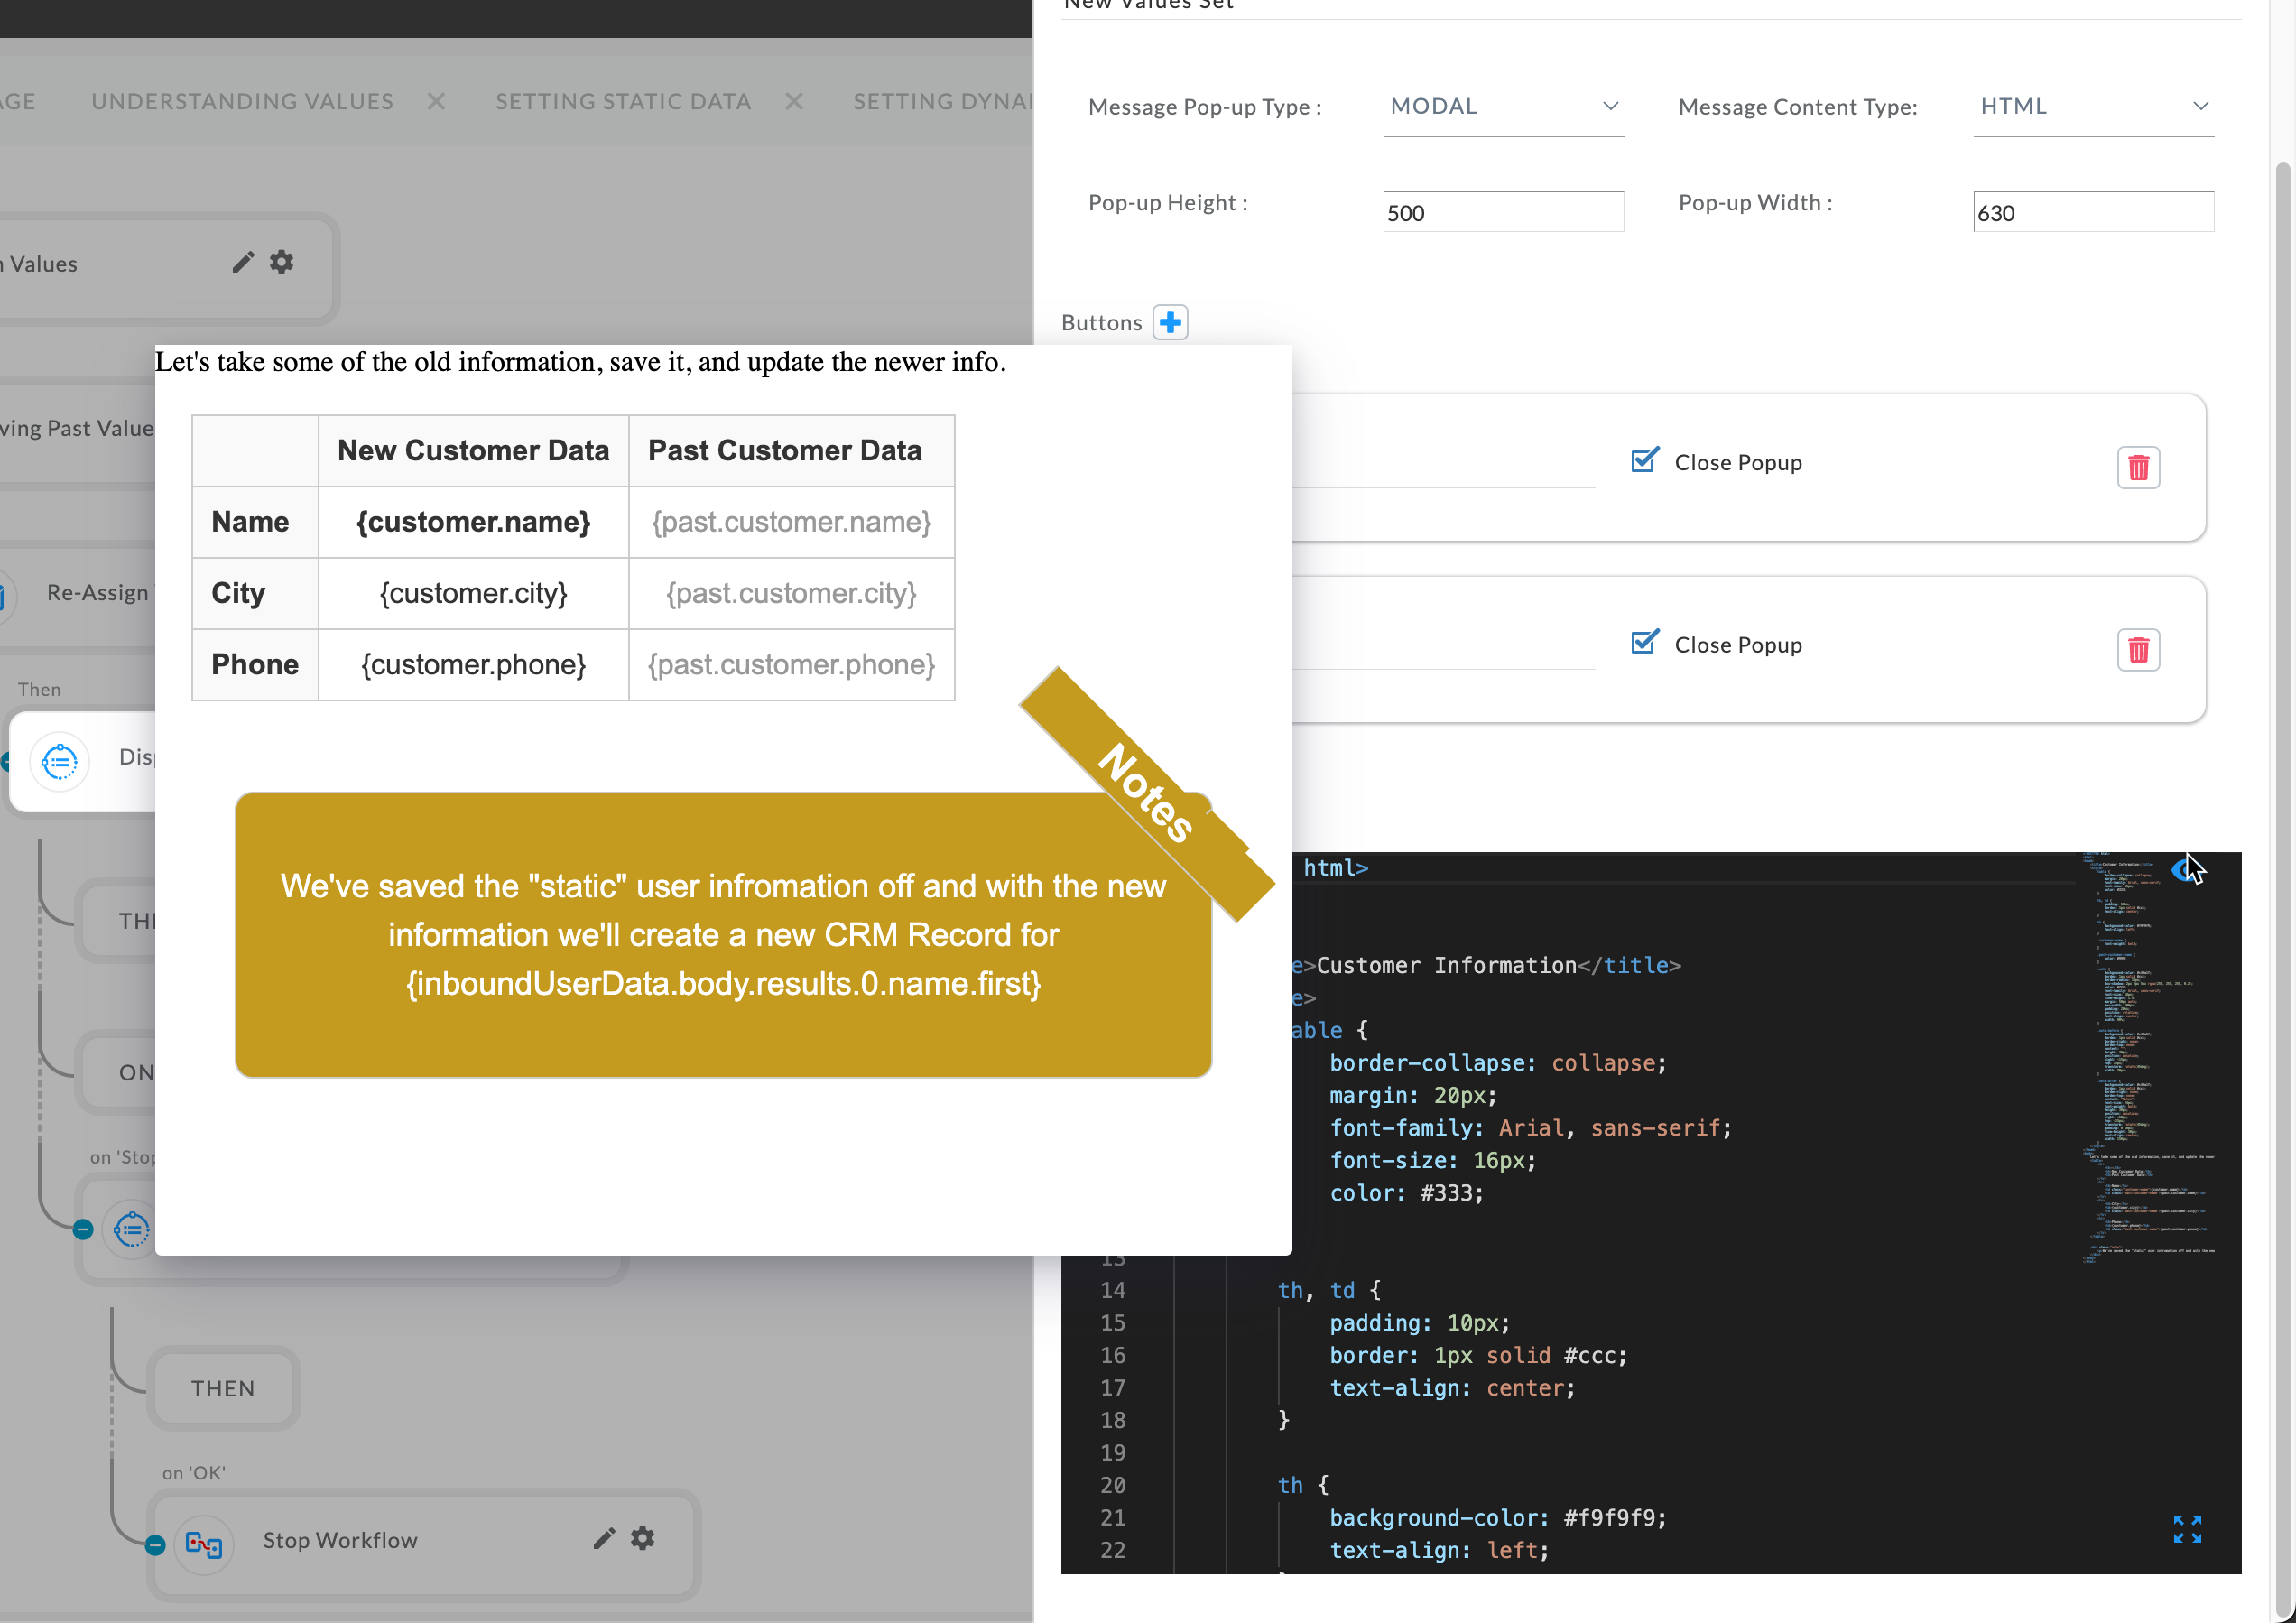
3. Pass the information into a ScreenPop to show how to display the values set. An important note, we are displaying BOTH current and past values we have assigned before this activity.
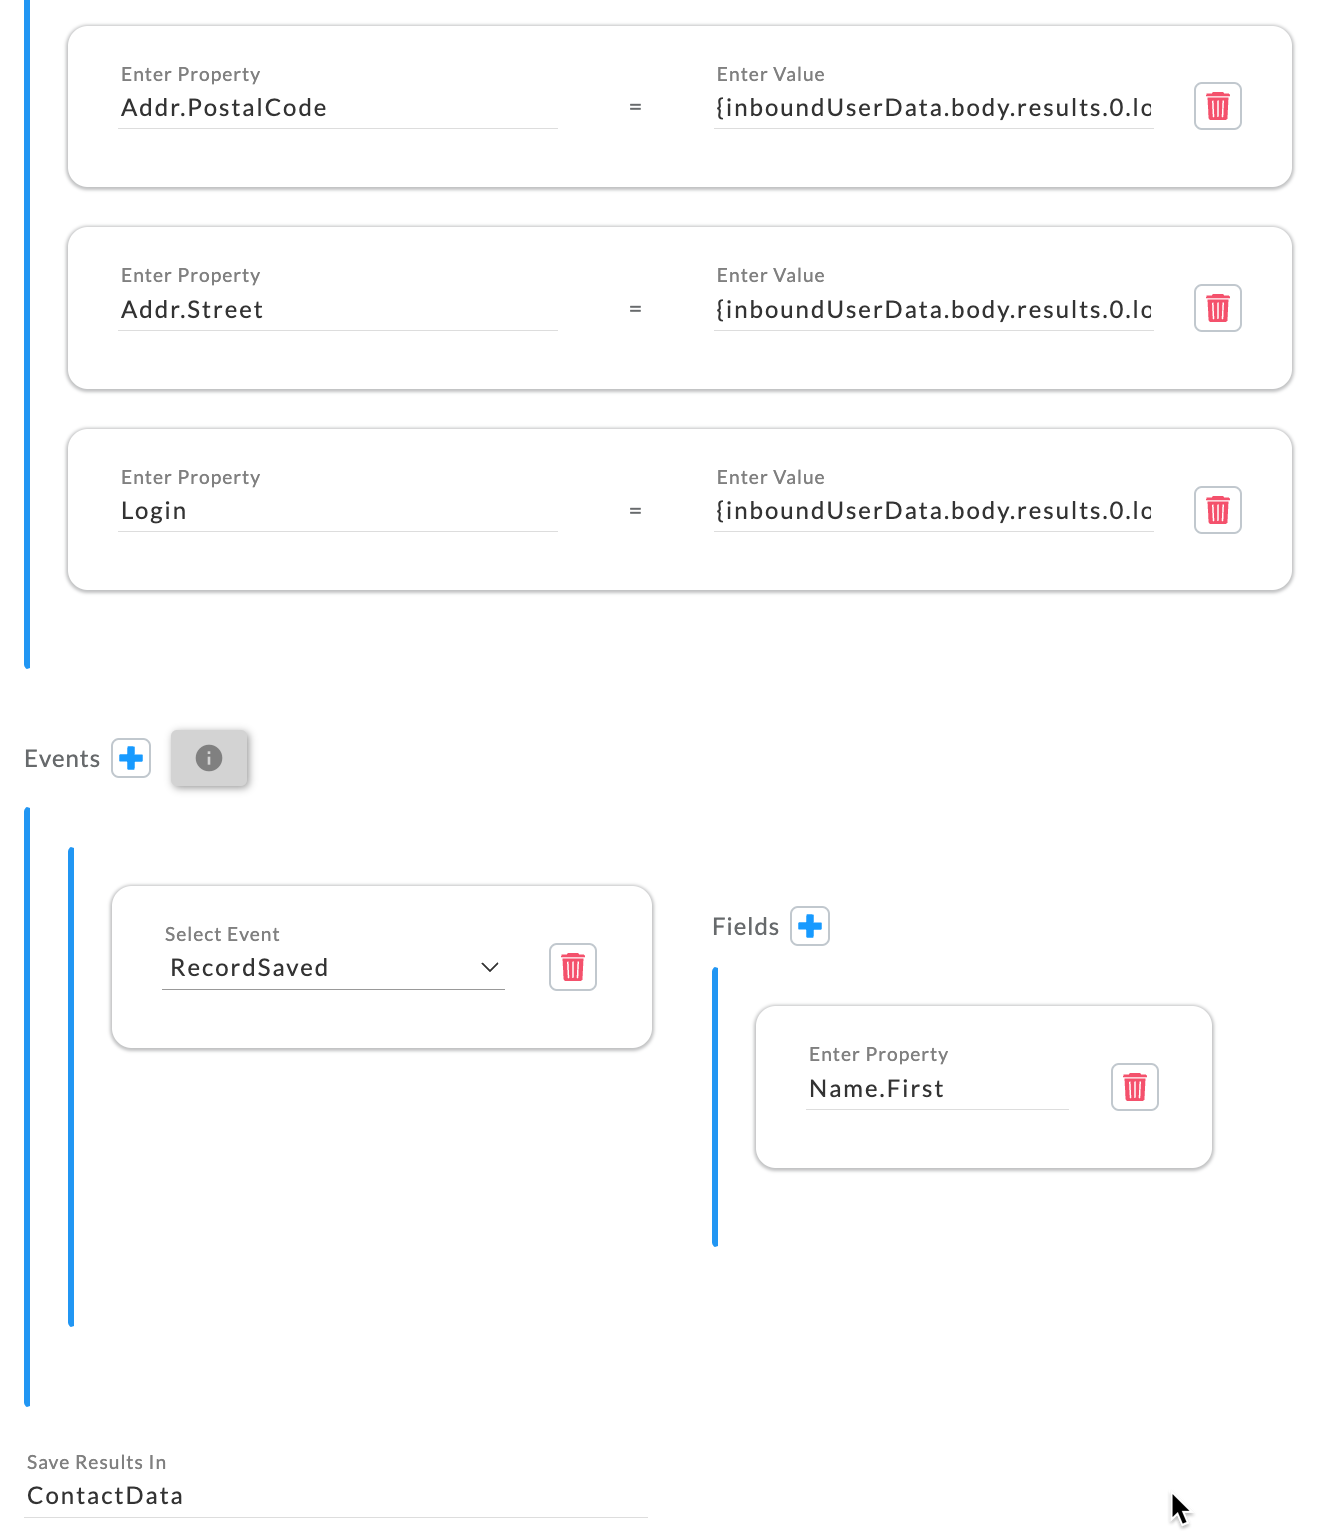
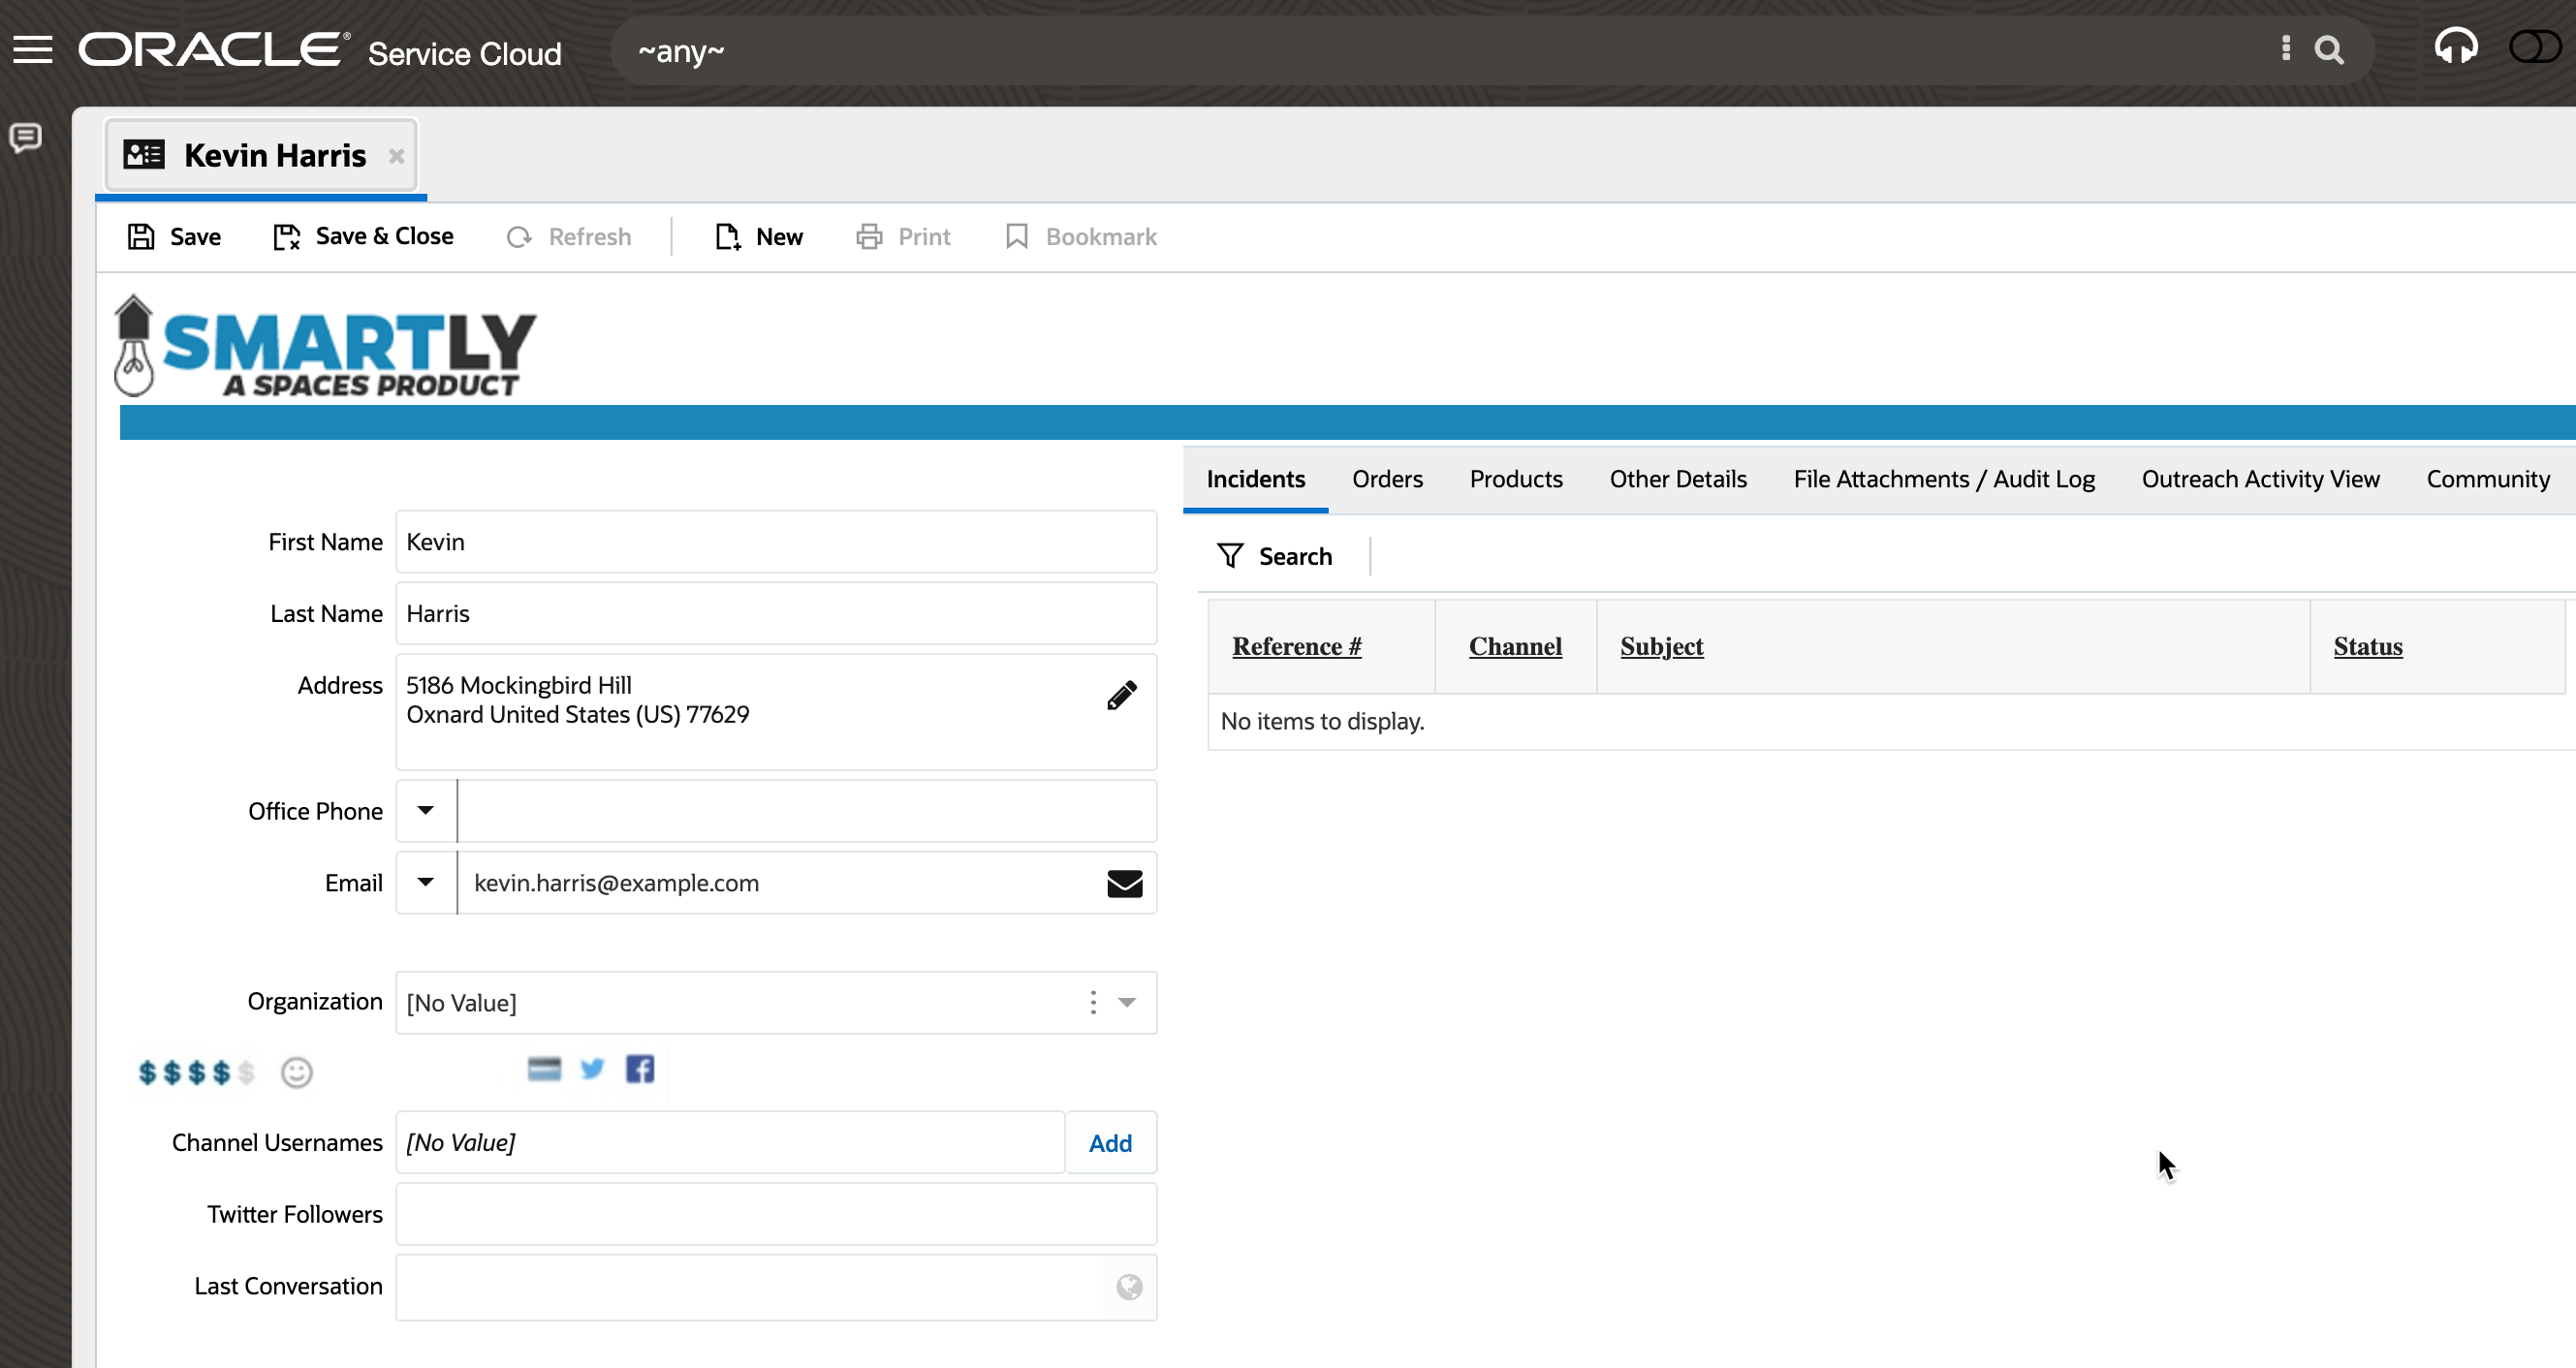
Step 6: Create Contact
Creating a contact within the CRM is our last step. We'll use the data returned to pass information directly into the CRM and create a new contact!
The Create Contact Activity allows us to create a new contact and pass data into contact fields.
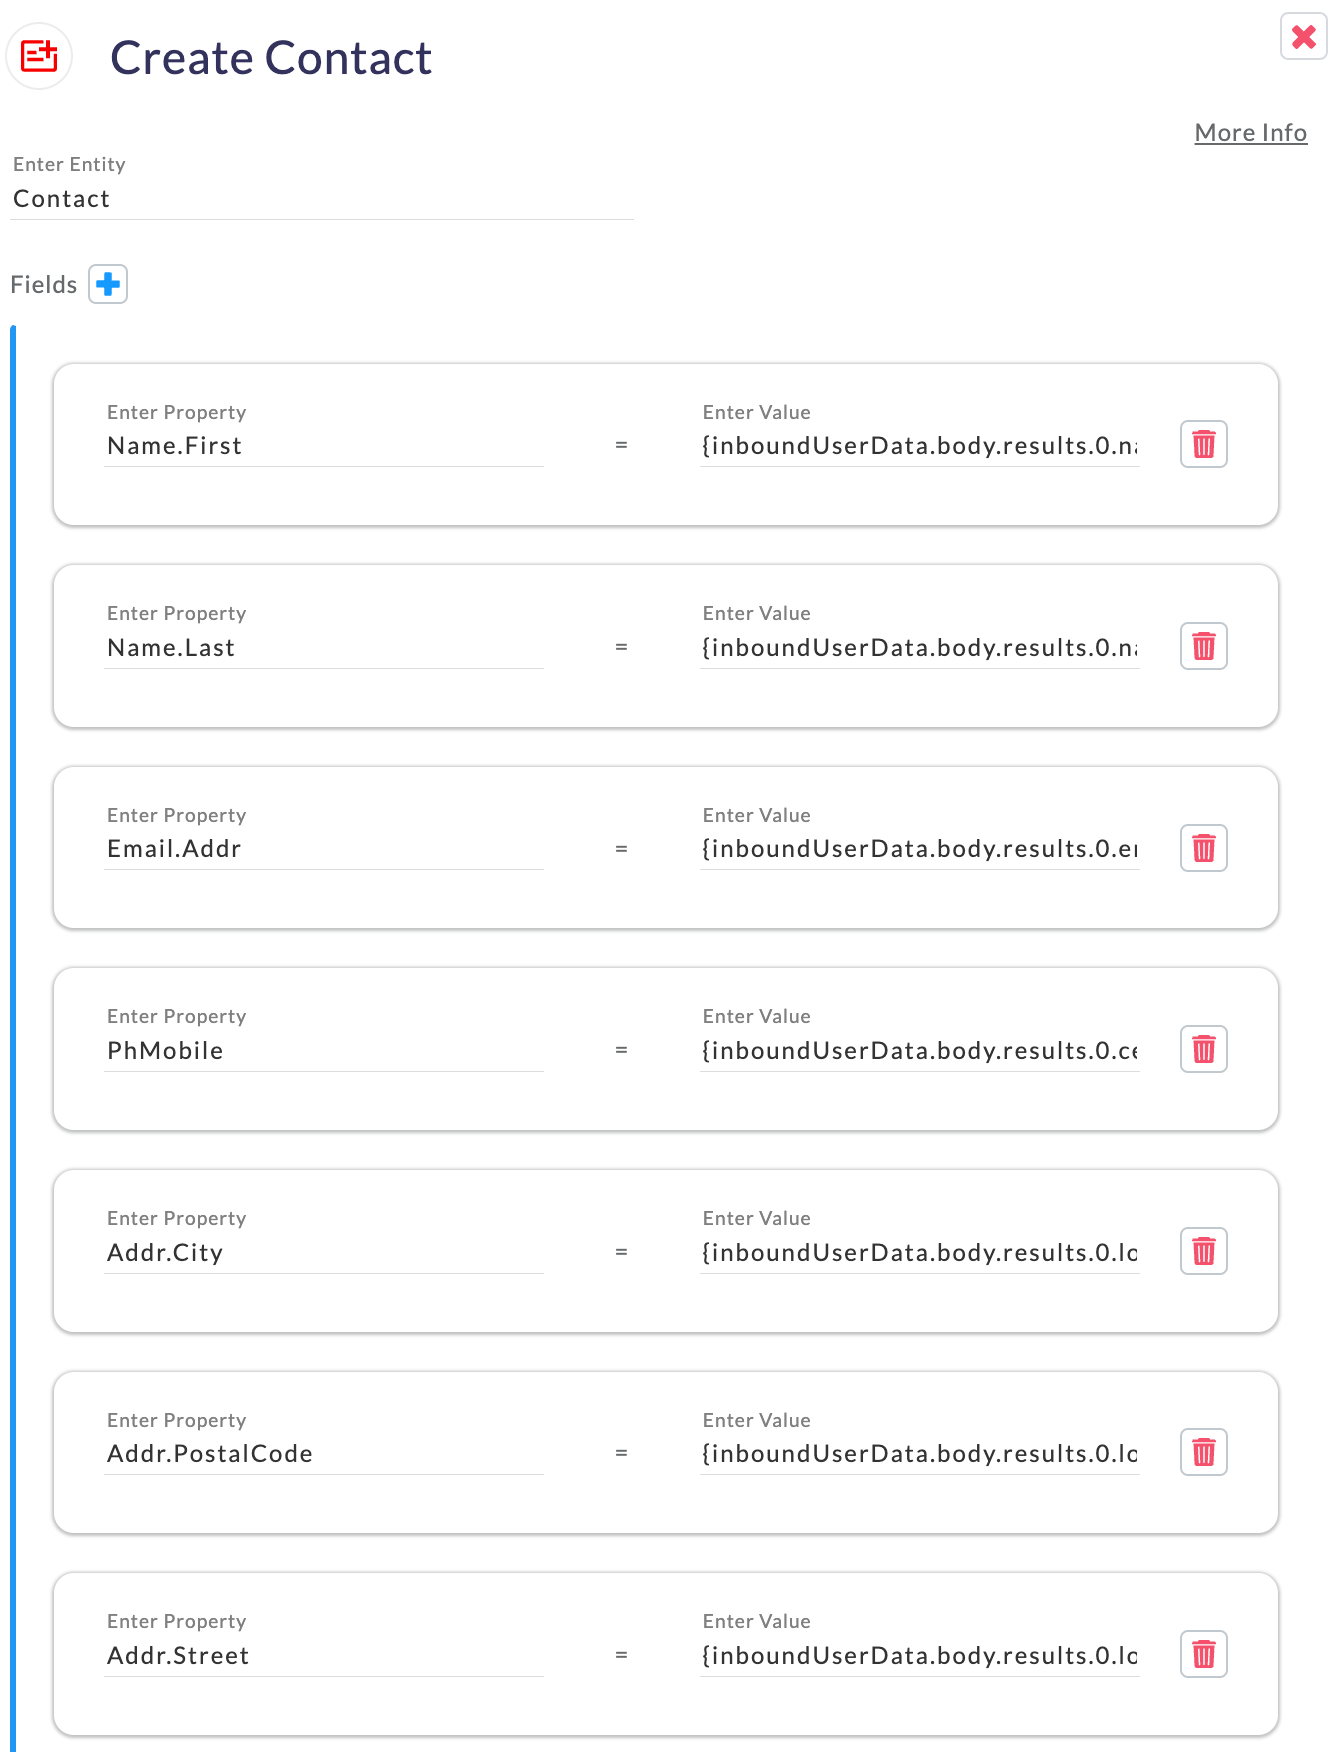
With the data returned in our test/example, we can associate the required information to save into a new contact.
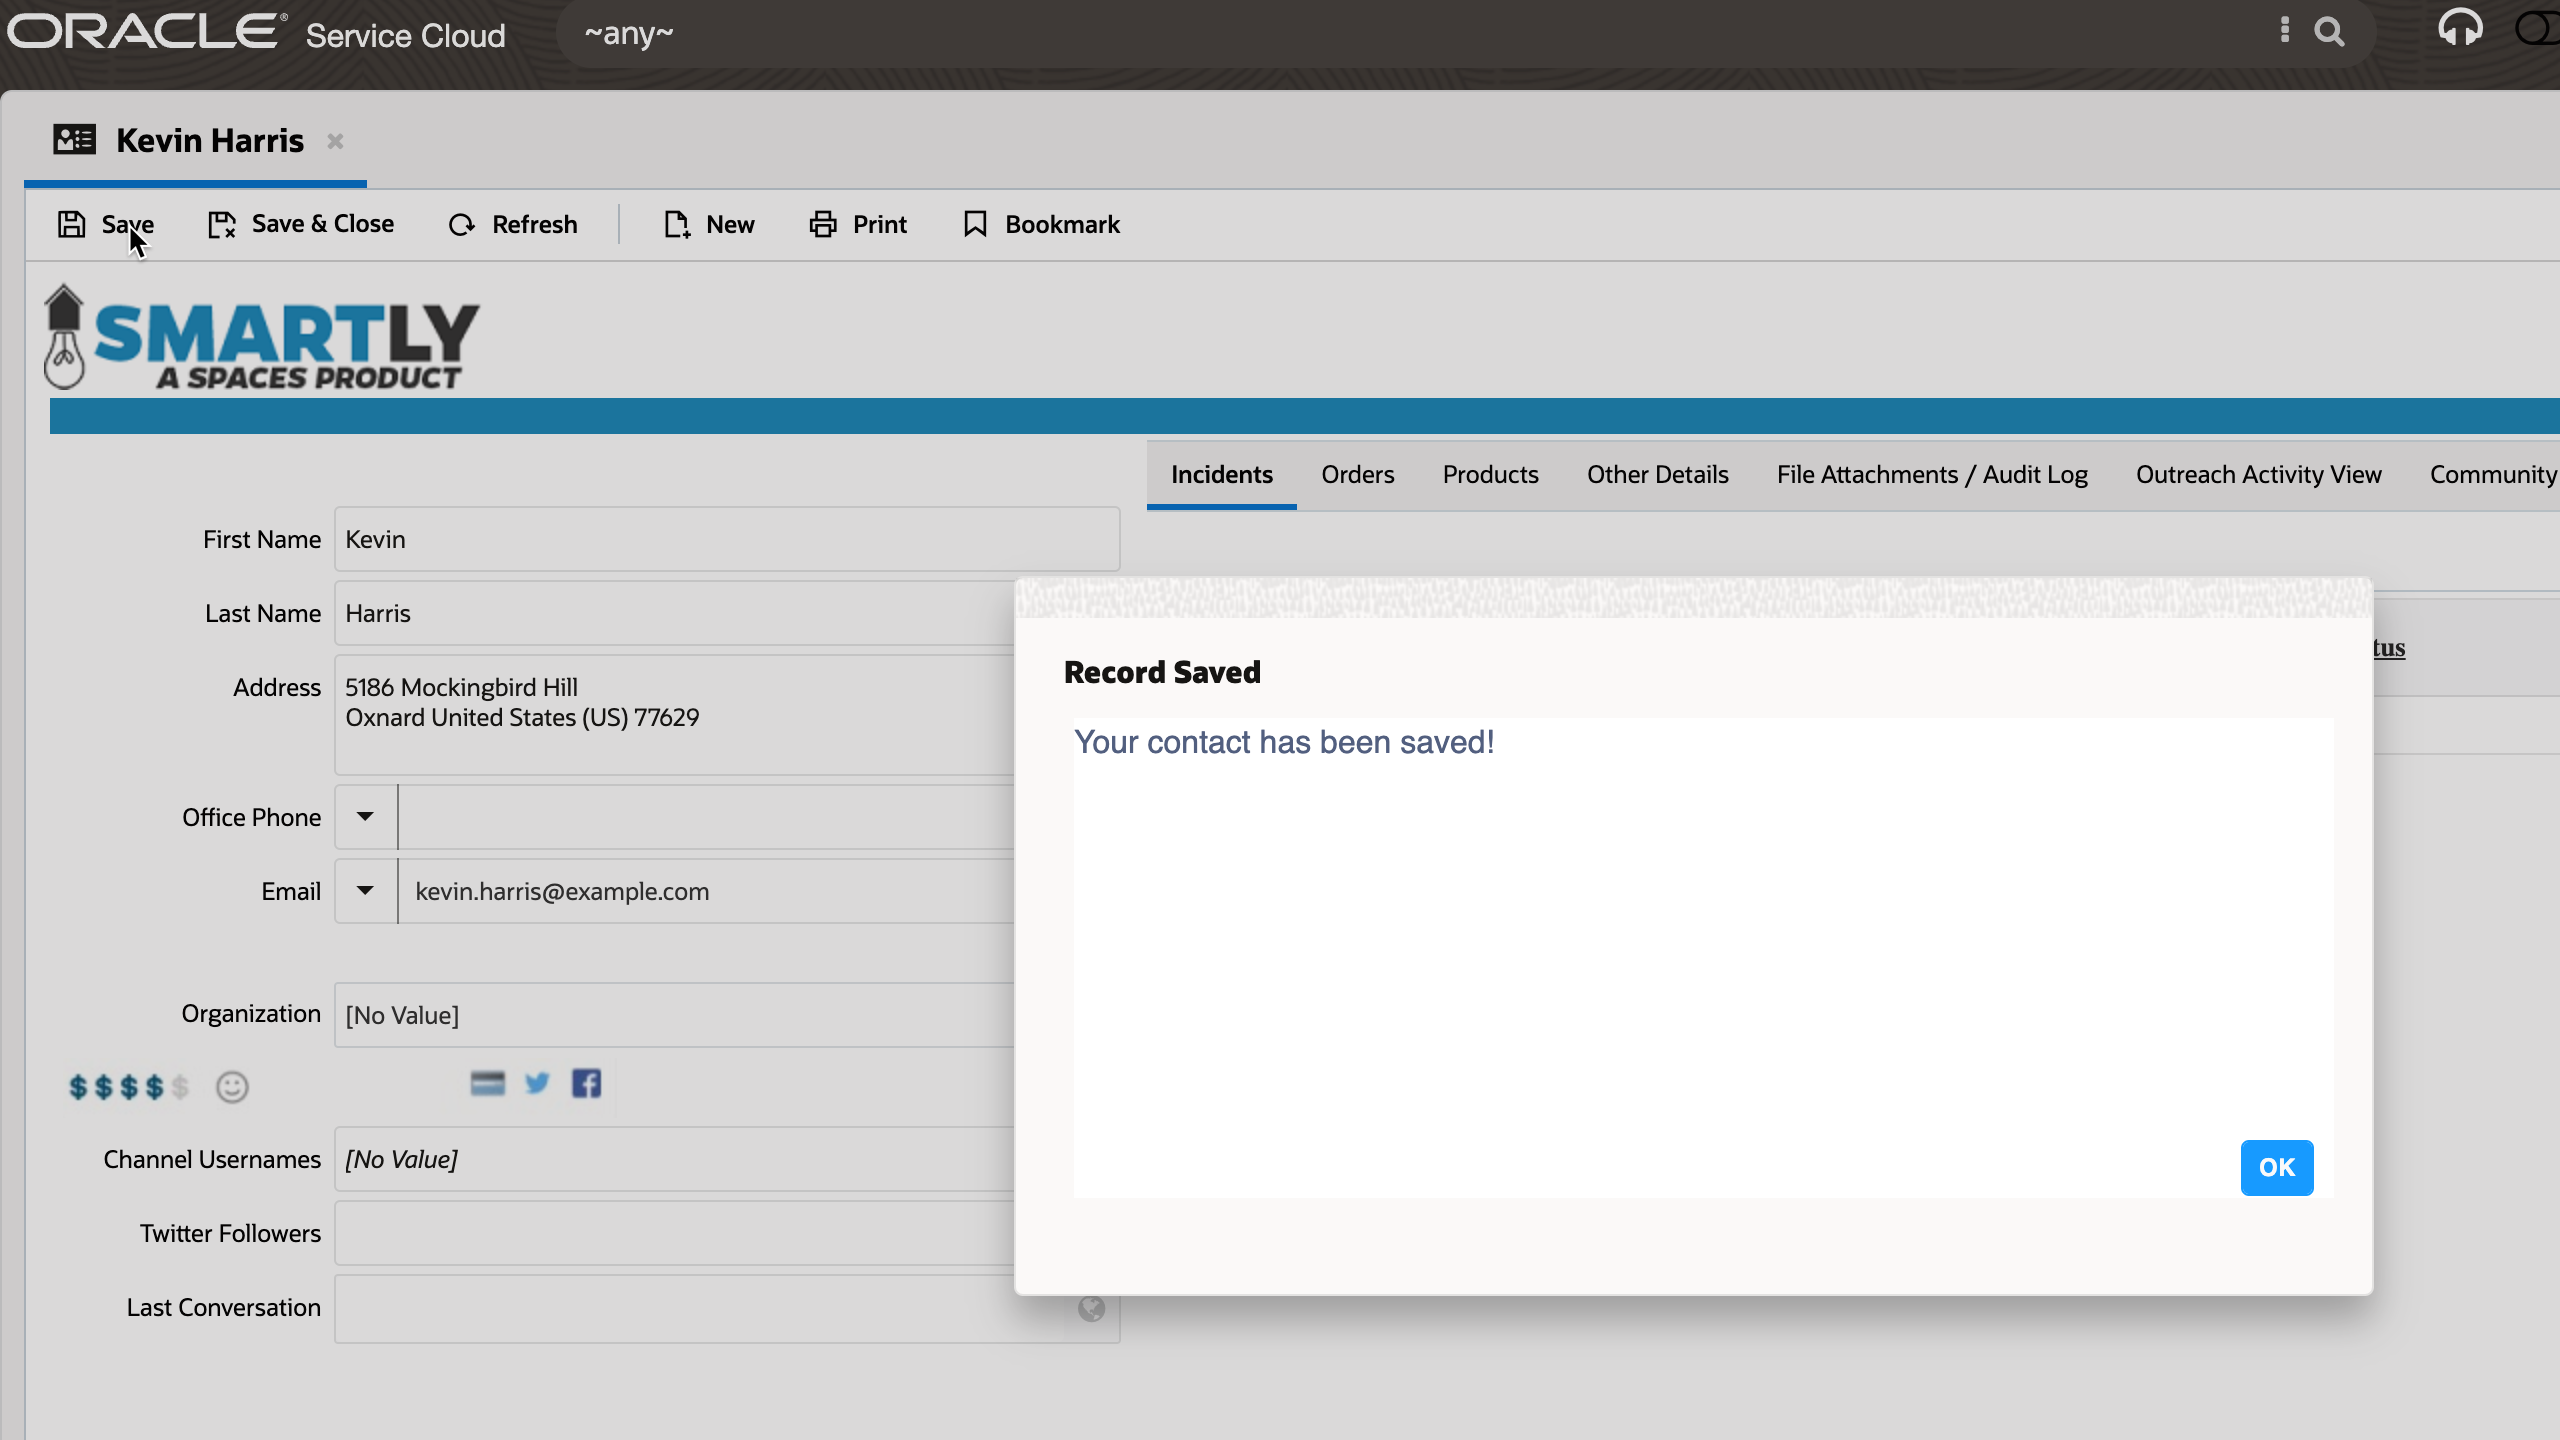
Once we save the information, we can also automate what occurs next: