What is a PopFlow?
PopFlow is a visual interface designer that allows users to build custom agent experiences. PopFlows makes integrating your apps, data, and APIs within your CRM easy.
A PopFlow is a series of activity steps that automate a business process, reduce the time and effort required to complete tasks, and increase productivity.
PopFlows are often triggered by specific events or conditions and can be customized to fit the unique needs of a business or organization.
Activities
⭐ A PopFlow comprises one or more “Activities” and is executed in the order they appear in your Experience Designer. Activities perform a unique task and then move on to the next sequence or step.
Some activities have logic built-in to help with the progression of your PopFlow.
As an example:
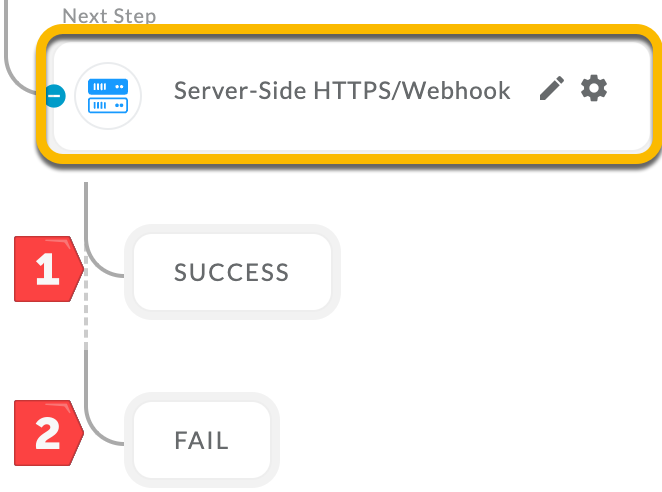
Perform an Activity "Server-Side HTTPS/Webhook
- SUCCESS
- Create another step/activity
- FAIL
- Create another step/activity
Multiple Steps & Activities
Here is an example of a PopFlow with several steps & activities.
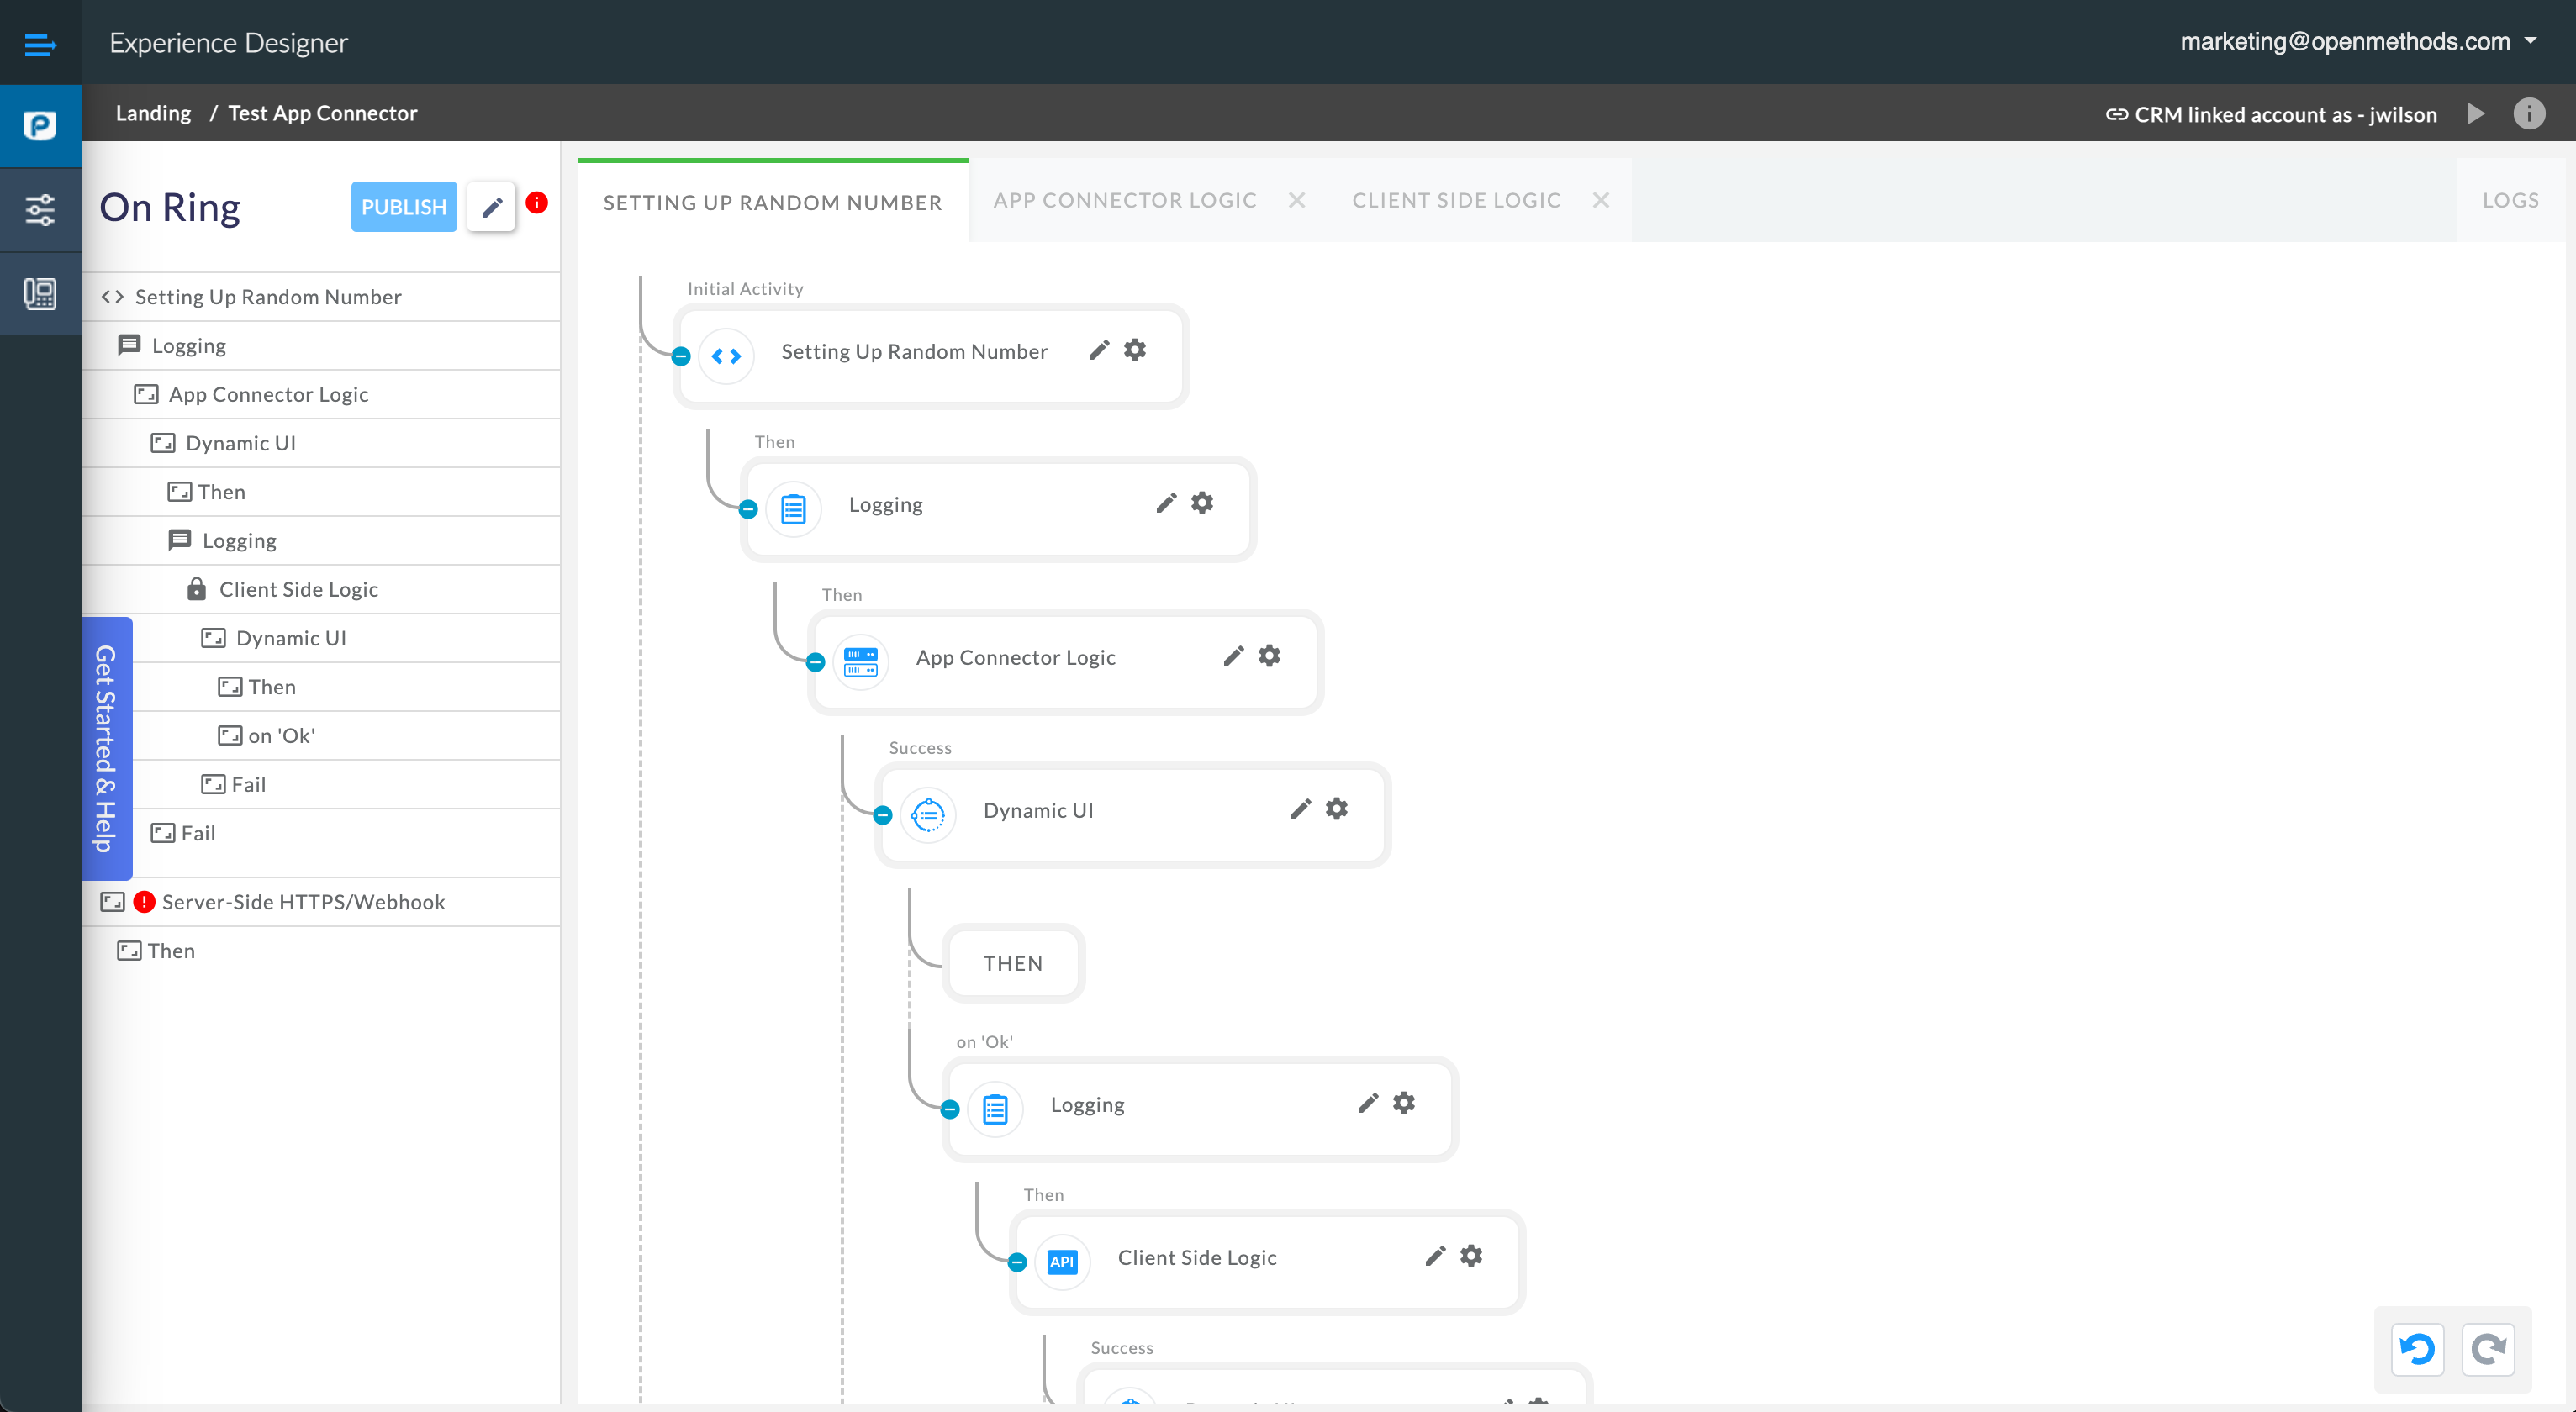
Example progression & flow:
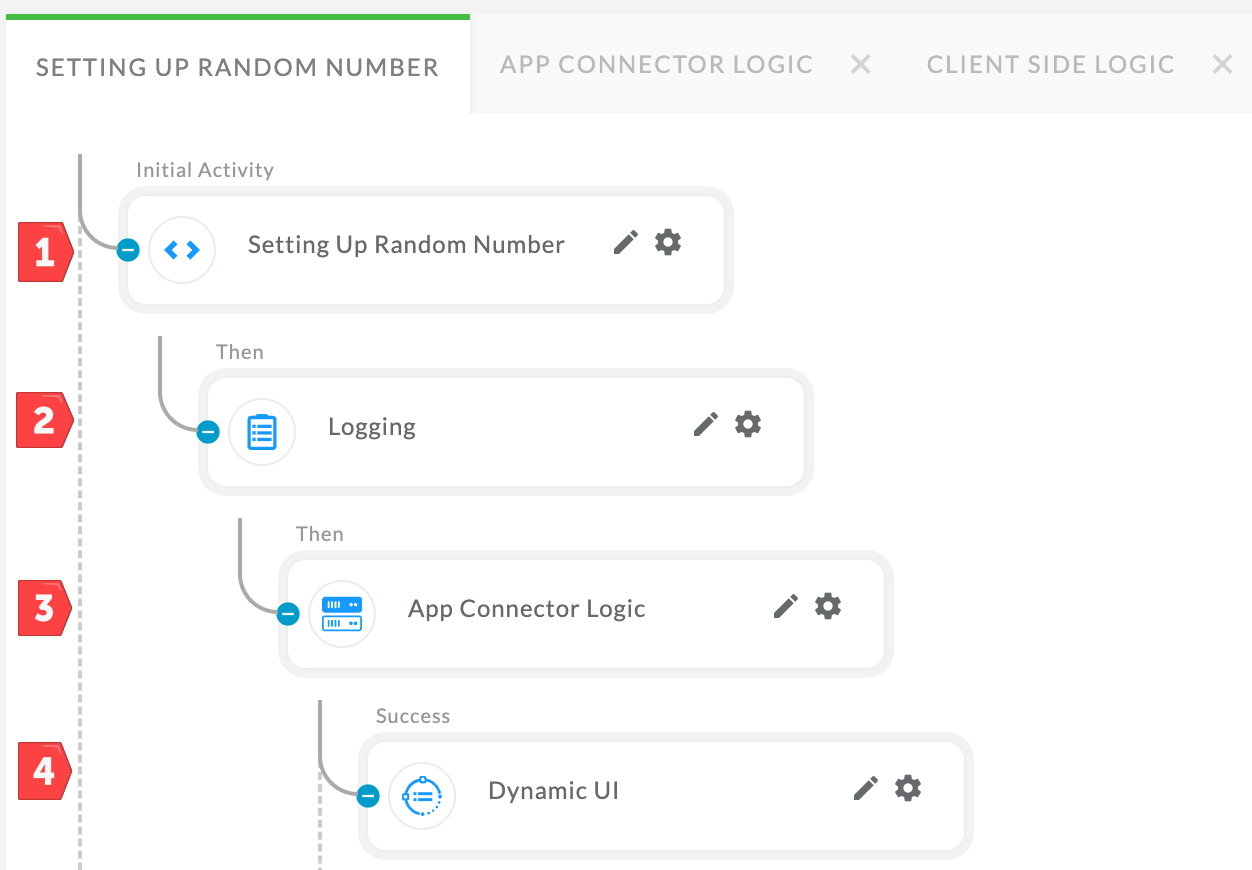
The step above is handled in sequence and order.
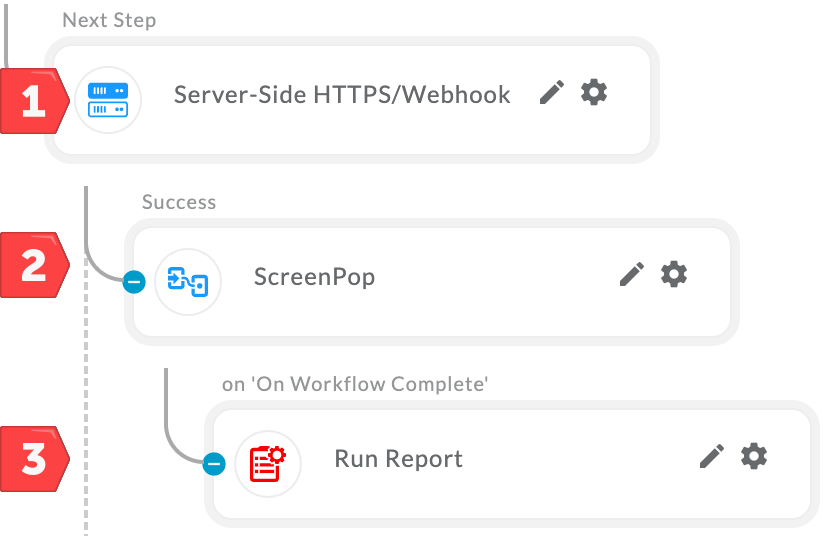
Calling Other PopFlows
You can call other PopFlows within an Activity step and choose to continue the PopFlow or End.
The example below shows:
- Perform a Server-Side HTTPS request Activity
- Call another workflow with the name of “ScreenPop”.
- On Completion of “ScreenPop” workflow continue and start the “Run Report activity”
With PopFlow you can:
- Build custom screen pops based on Interaction data.
- Take full advantage of CTI data and build custom flows.
- Test different call scenarios with different workflows to tune a better customer experience.
- Get, Post, Delete, Put, & Patch data from API endpoints.
- And much more! The flexibility and creativity are all in your hands.
Experience Designer Page
Instance Information & Selection
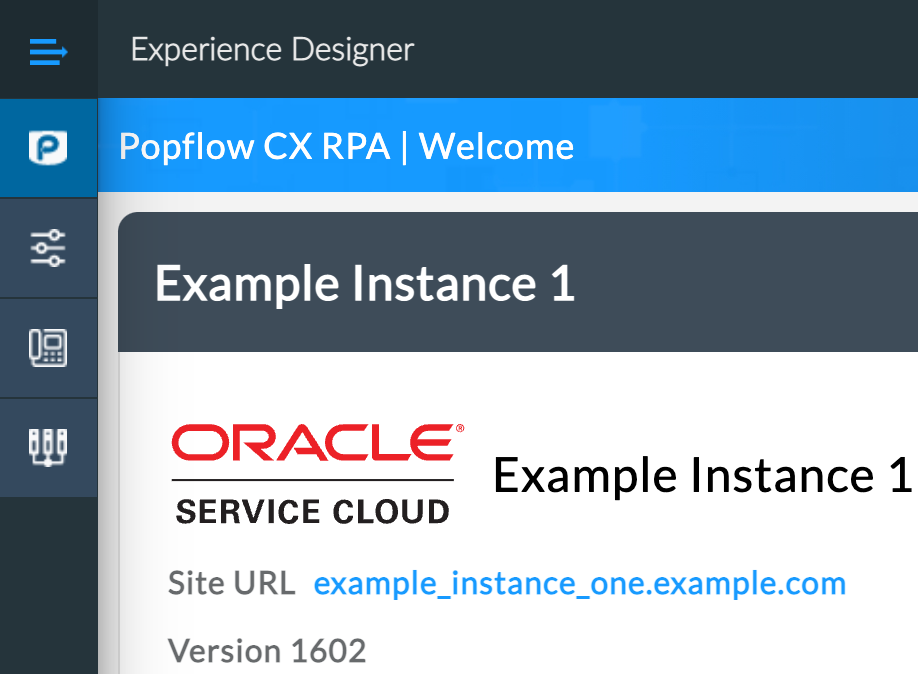
Information about the currently selected instance.

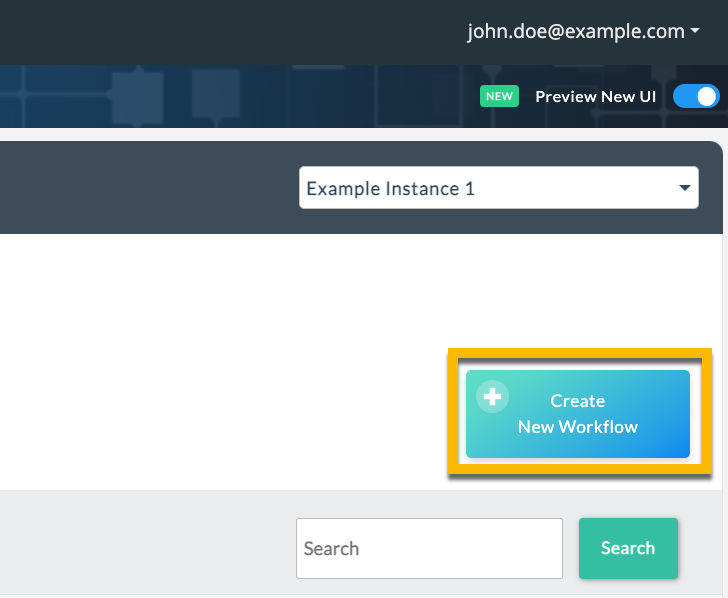
Use the drop-down to navigate between instances.
Searching & Filtering PopFlows

The landing page allows you to sort/search for existing PopFlows. These filtered by the current “Events” section.
Filter Options:
- Events - See “Events” section below.
- Published - Sort by published or non-published workflows.
- Search - Searches the currently selected event focus (See “Events” section below)
Additional sorting options:
PopFlow Workflows can be sorted by: Name, Description, Executions, Updated Last.
Events
Events are the triggers used for executing a published Workflow.
- Events are also used to trigger filtering and sorting options from the PopFlow Workflow Page (Landing)

Events are grouped by “Event” type.
Telephony
-
On Ring
- After the call starts ringing.
-
On Answer
- After the call is answered.
-
On Hold
- After each time, the call is placed on hold.
-
On End
- After the call is ended.
- If disposition is enabled, it will trigger after the disposition is completed instead.
- After the call is ended.
Chat
-
On Ring
- After a pending chat has been received.
-
On Accept
- After a chat has been accepted.
-
On Reject
- After a chat has been rejected.
-
On Chat End
- After a chat has been concluded.
- If disposition is enabled, it will trigger after the disposition is completed instead.
- After a chat has been concluded.
-
Email Ring
- After a pending email has been received.
-
Email Accept
- After an email has been accepted.
-
Email Reject
- After an email has been rejected.
-
Email Close
- After an email has been completed.
- If disposition is enabled, it will trigger after the disposition is completed instead.
- After an email has been completed.
Custom Events
Custom events are used to trigger an Interaction Workflow outside of the scope of the "Out of the box" events.
Custom events can be triggered via OM Connect or OSvC BUI extensions.
To add a Custom Event click “Create New Workflow”
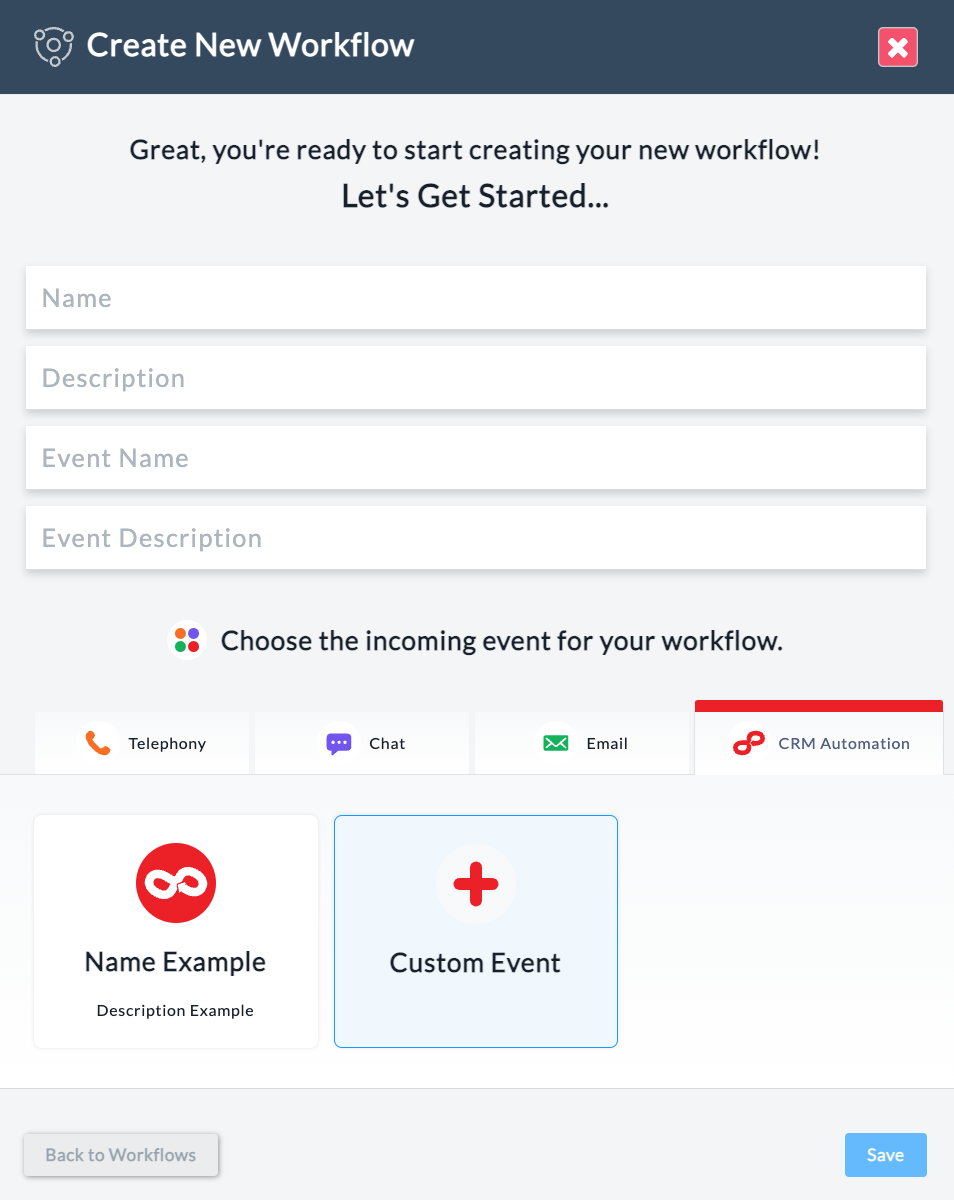
A Modal will appear:
- Select the CRM Automation tab.
- Click Custom Event
- Name (names the event tile such as “Name Example”)
- Description (a note appearing under Tile Name)
- Event Name: Used when triggering the Custom event.
- Event Description: A note to yourself to remind you or other users of the purpose of the Custom Event.
- Save
Actions (Designing Workflows)
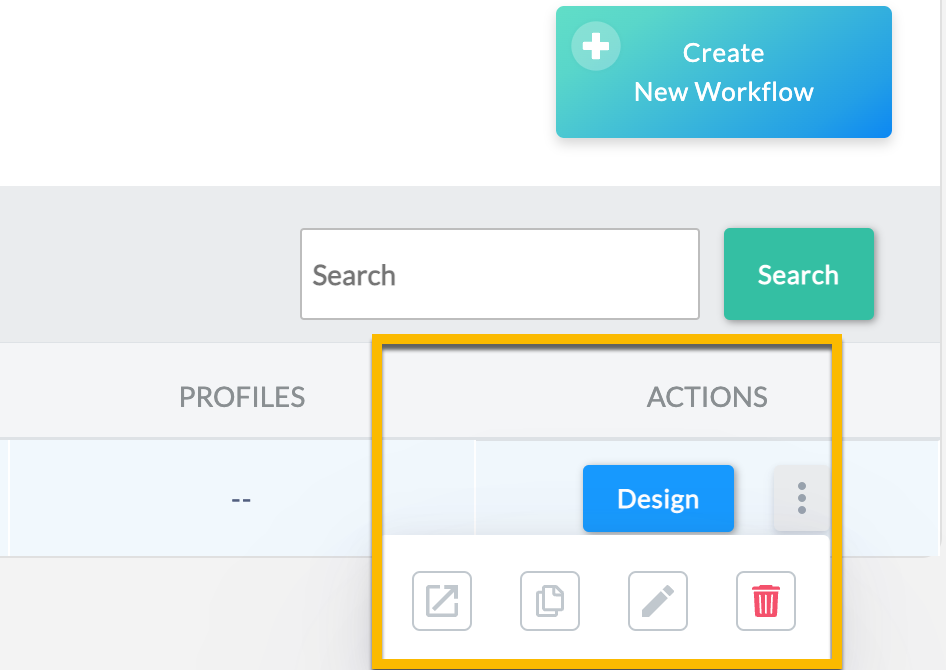
The “Actions” section of the PopFlow Workflows table allows you to:
-
Design
- Edit & design Workflows.
- Additional Workflow Options (Left to Right) :
- Export
- Copy/Duplicate
- Edit
- Delete
- Additional Workflow Options (Left to Right) :
- Edit & design Workflows.