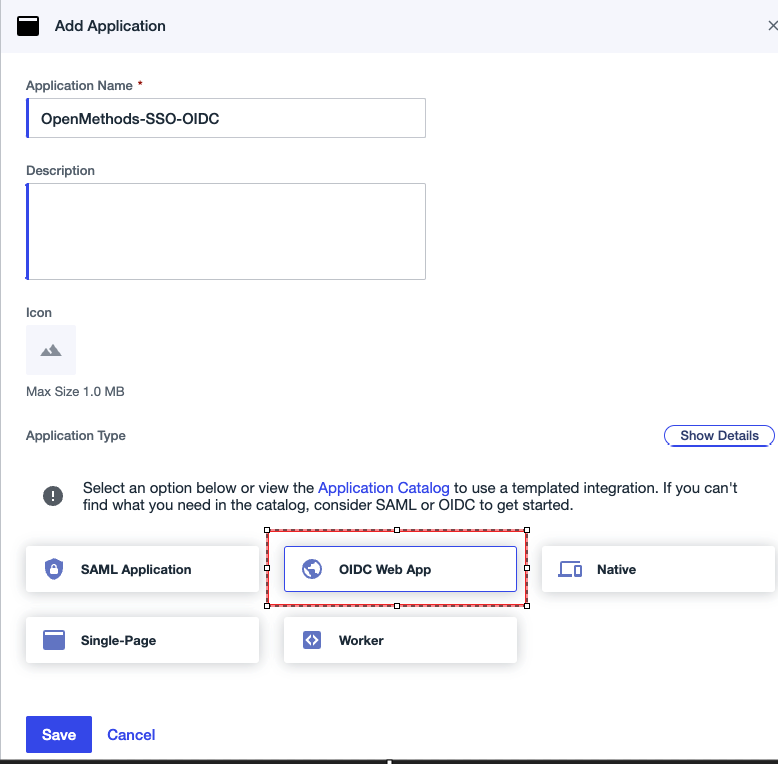
Add Application
- Application → Click + sign.
- Enter Application Name - The suggested Name is OpenMethods-SSO-OIDC
- Enter Description.
- Click Application Type OIDC Web App
- Click the Save button.
Edit configuration
- Select Response Type
- Code, Token, and ID Token
- Grant Type
- Select Authorization Code
- Select PKCE enforcement - S256_REQUIRED
- Select Implicit
- Enter Redirect URI - https://identity.openmethodscloud.com/auth/acs
- Token Endpoint Authentication Method - Client Secret Post
- Enter Signoff URL - https://identity.openmethodscloud.com/auth/logout-callback
- Click Save button
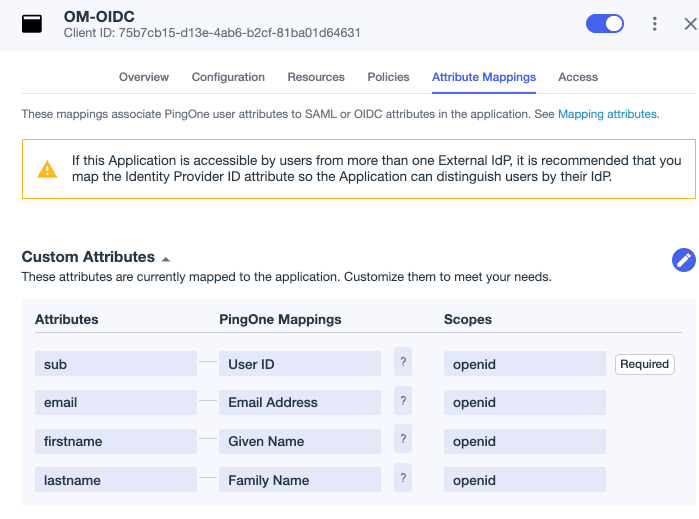
Attribute Mappings
- Add the following custom attributes, which will be included in the response token.
- sub - User ID
- email - Email Address
- firstname - Given Name
- lastname - Family Name
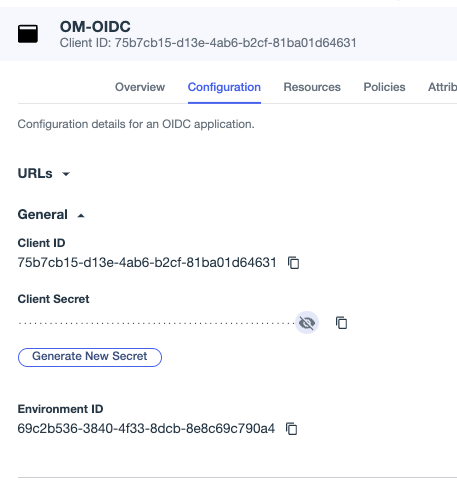
Copy the Required values
- Please copy the following values and paste them temporarily into a notepad. These values will be used in the OpenMethods Experience Cloud SSO configuration page.
- Client ID
- Client Secret
- Environment ID
- Replace the Environment ID with the following URLs,, which will be used in the OpenMethods Experience Designer SSO configuration.
- Authorization Endpoint - https://auth.pingone.com/<Environment ID>/as/authorize
- Token Endpoint - https://auth.pingone.com/<EnvironmentID>/as/token
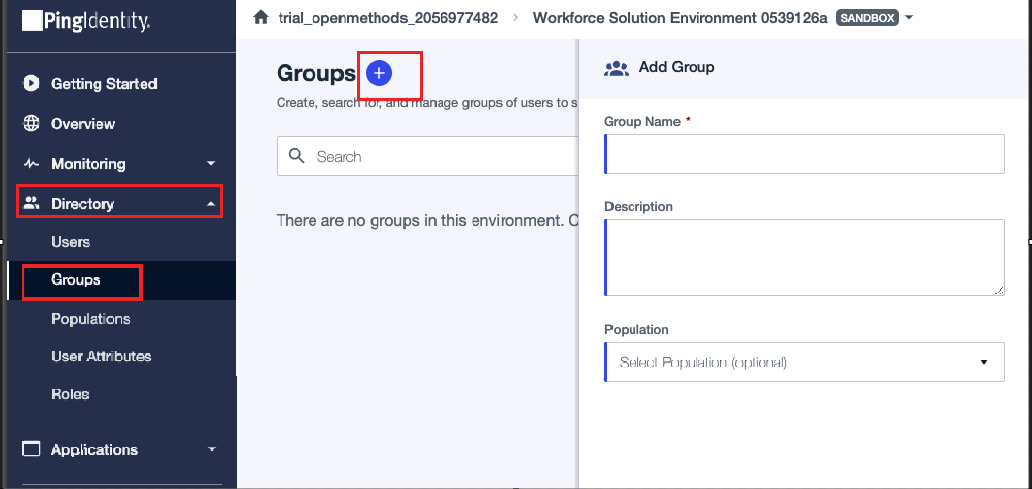
Assign Users
To allow users to access the Application
- It is recommended to create a new group and assign the users who will need the OpenMethods access and then assign the group to the Application.
- If no group is assigned to the Application then, be default, all the users will have access the Application.
- In the Overview page, Click Directory on the left side navigations section
- Click Groups
- Click + sign to add a new Group.
- Enter new Group Name - suggested Name is OM_ACCESS.
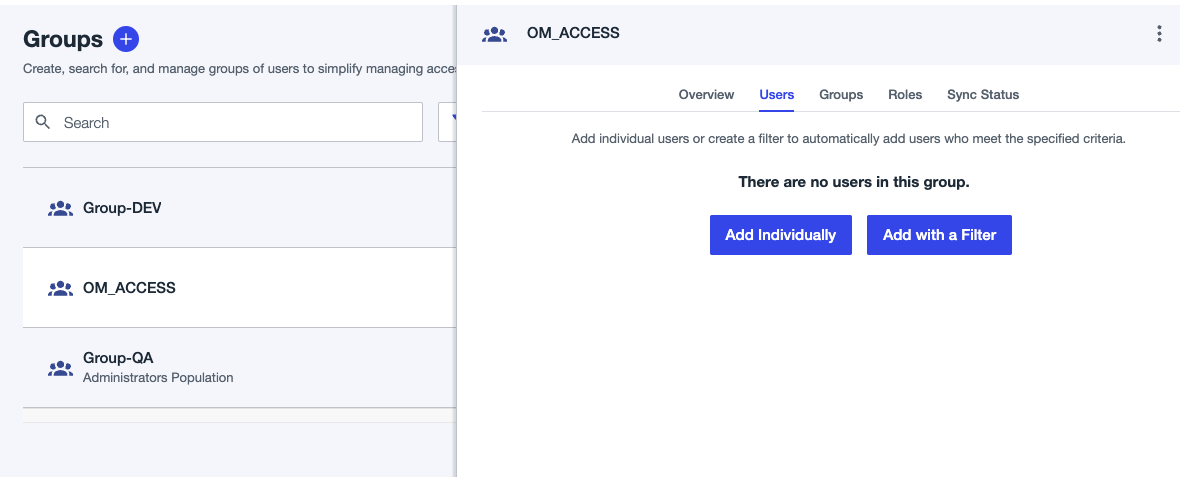
- Assign users to the Group.
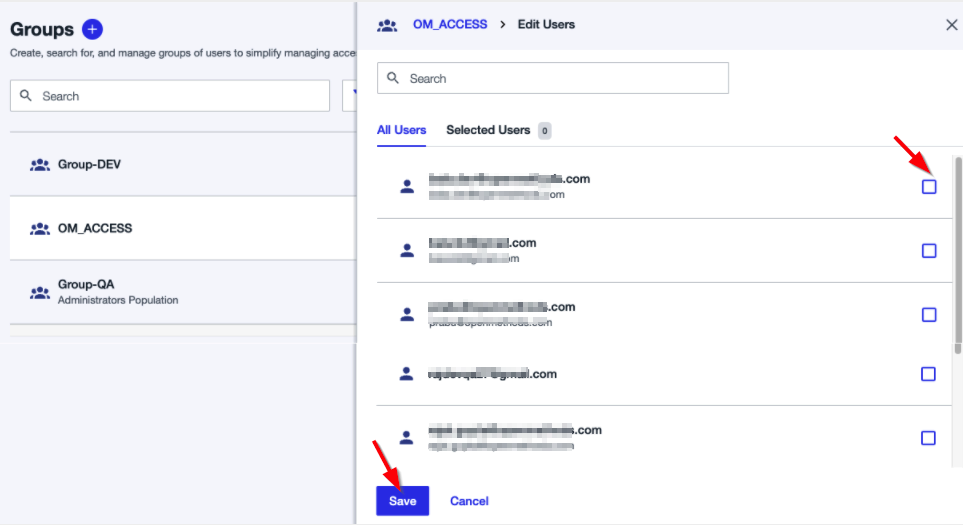
- Click Users tab and Add Users by using Add Individually or Add with a Filter option.
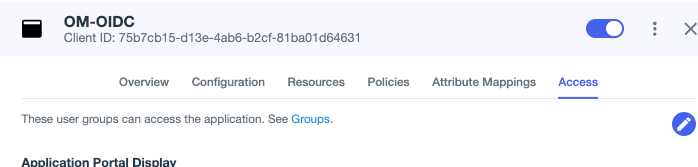
- Open the Application and click the Access tab.
- Click the Edit icon.
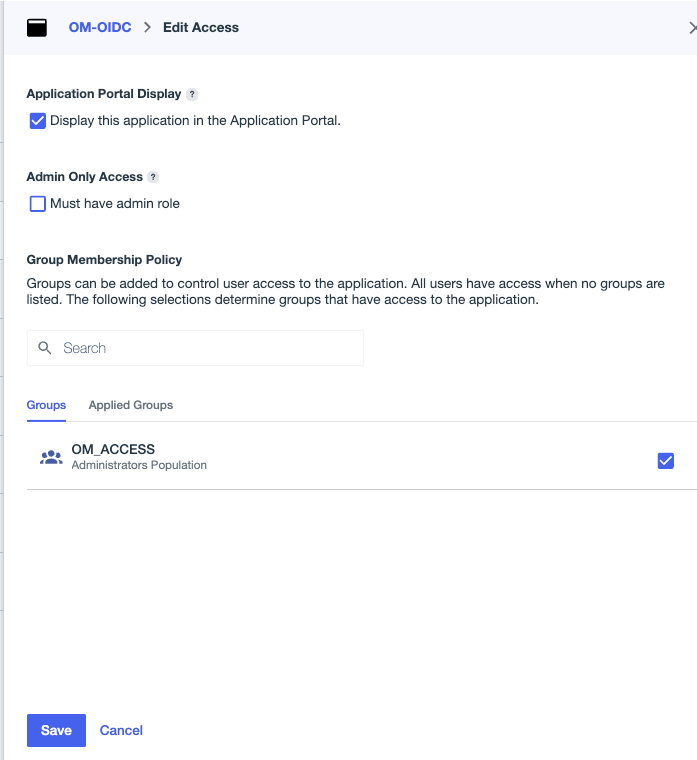
- Select the Group from the group list.
Enable Application
- To enable the application to be used, click the radio button at the top right of the page, as highlighted in the image, to allow the application to be in use.
