Requirements
The following information is accessed through the Security Admin role.
Supported Providers
The following providers are supported, and here are the links to the setup documentation:
- ADFS
- Auth0
- Azure
- Okta
- PingOne
Supported Authentication Types
- OpenID Connect (OIDC)
- SAML2
Note:
- One provider must be set as default to use Single Sign-On (SSO).
- Multiple providers can be enabled, but the default provider will be used.
- If SSO is enabled, the default provider cannot be deleted.
- Users must be manually added individually, and their email ID must match their provider login.
- SSO must be enabled for users to use External Provider's authentication.
Manage External Identity Providers (IdP)
- Login to the Experience Designer.
- Click Single Sign-On Configuration under System Settings.
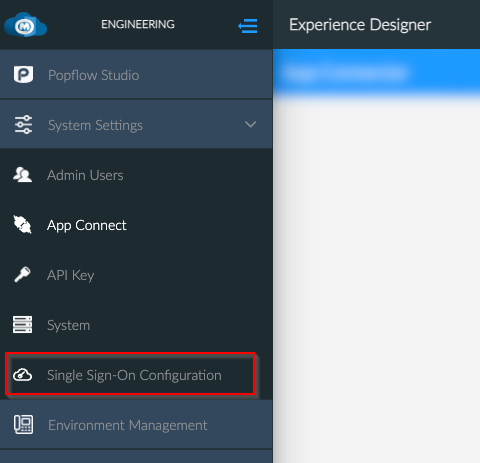
- The New Experience Designer page will be opened in the new tab in the same browser window.
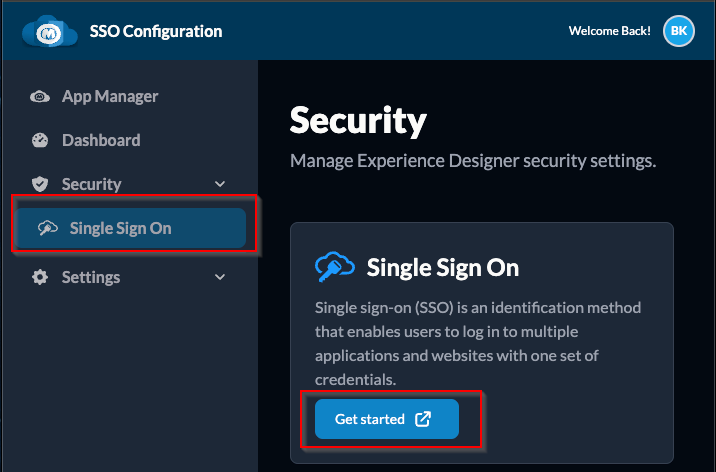
- Click Single Sign On under the Security menu.
- Click the Get Started button, and the Manage SSO Settings page will open.
Providers
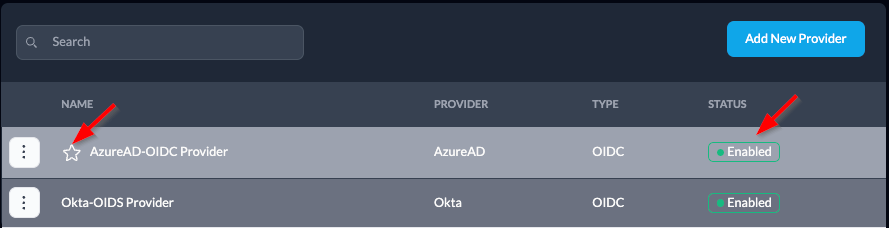
The star icon indicates that the provider is set as the default and enabled.
In the example above, the second provider is listed as enabled, but it is not being used because it is not set as the default.
It is important to remember that we can add any number of providers, regardless of whether they are enabled. However, only the provider set as the default will be used.
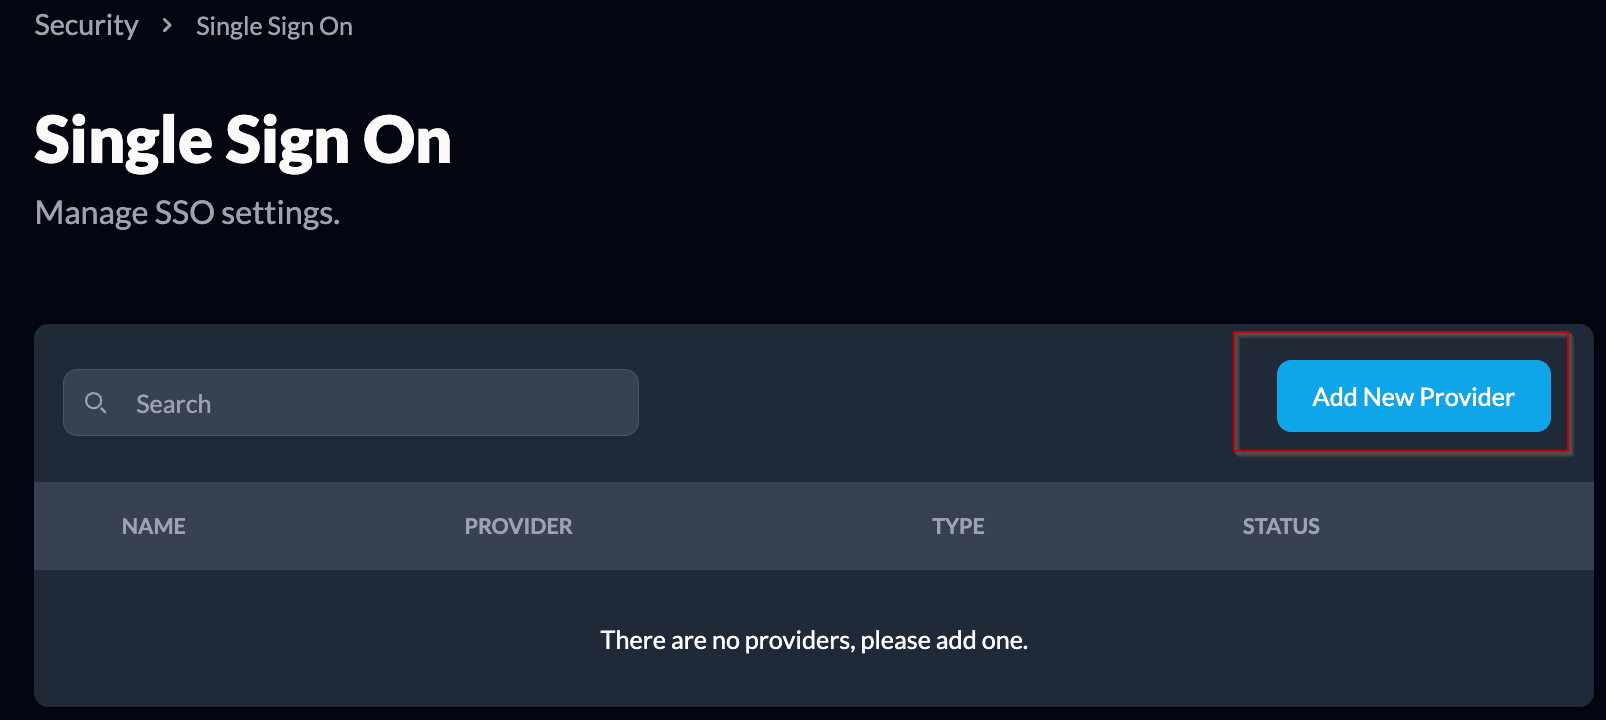
Adding Provider
 |
 |
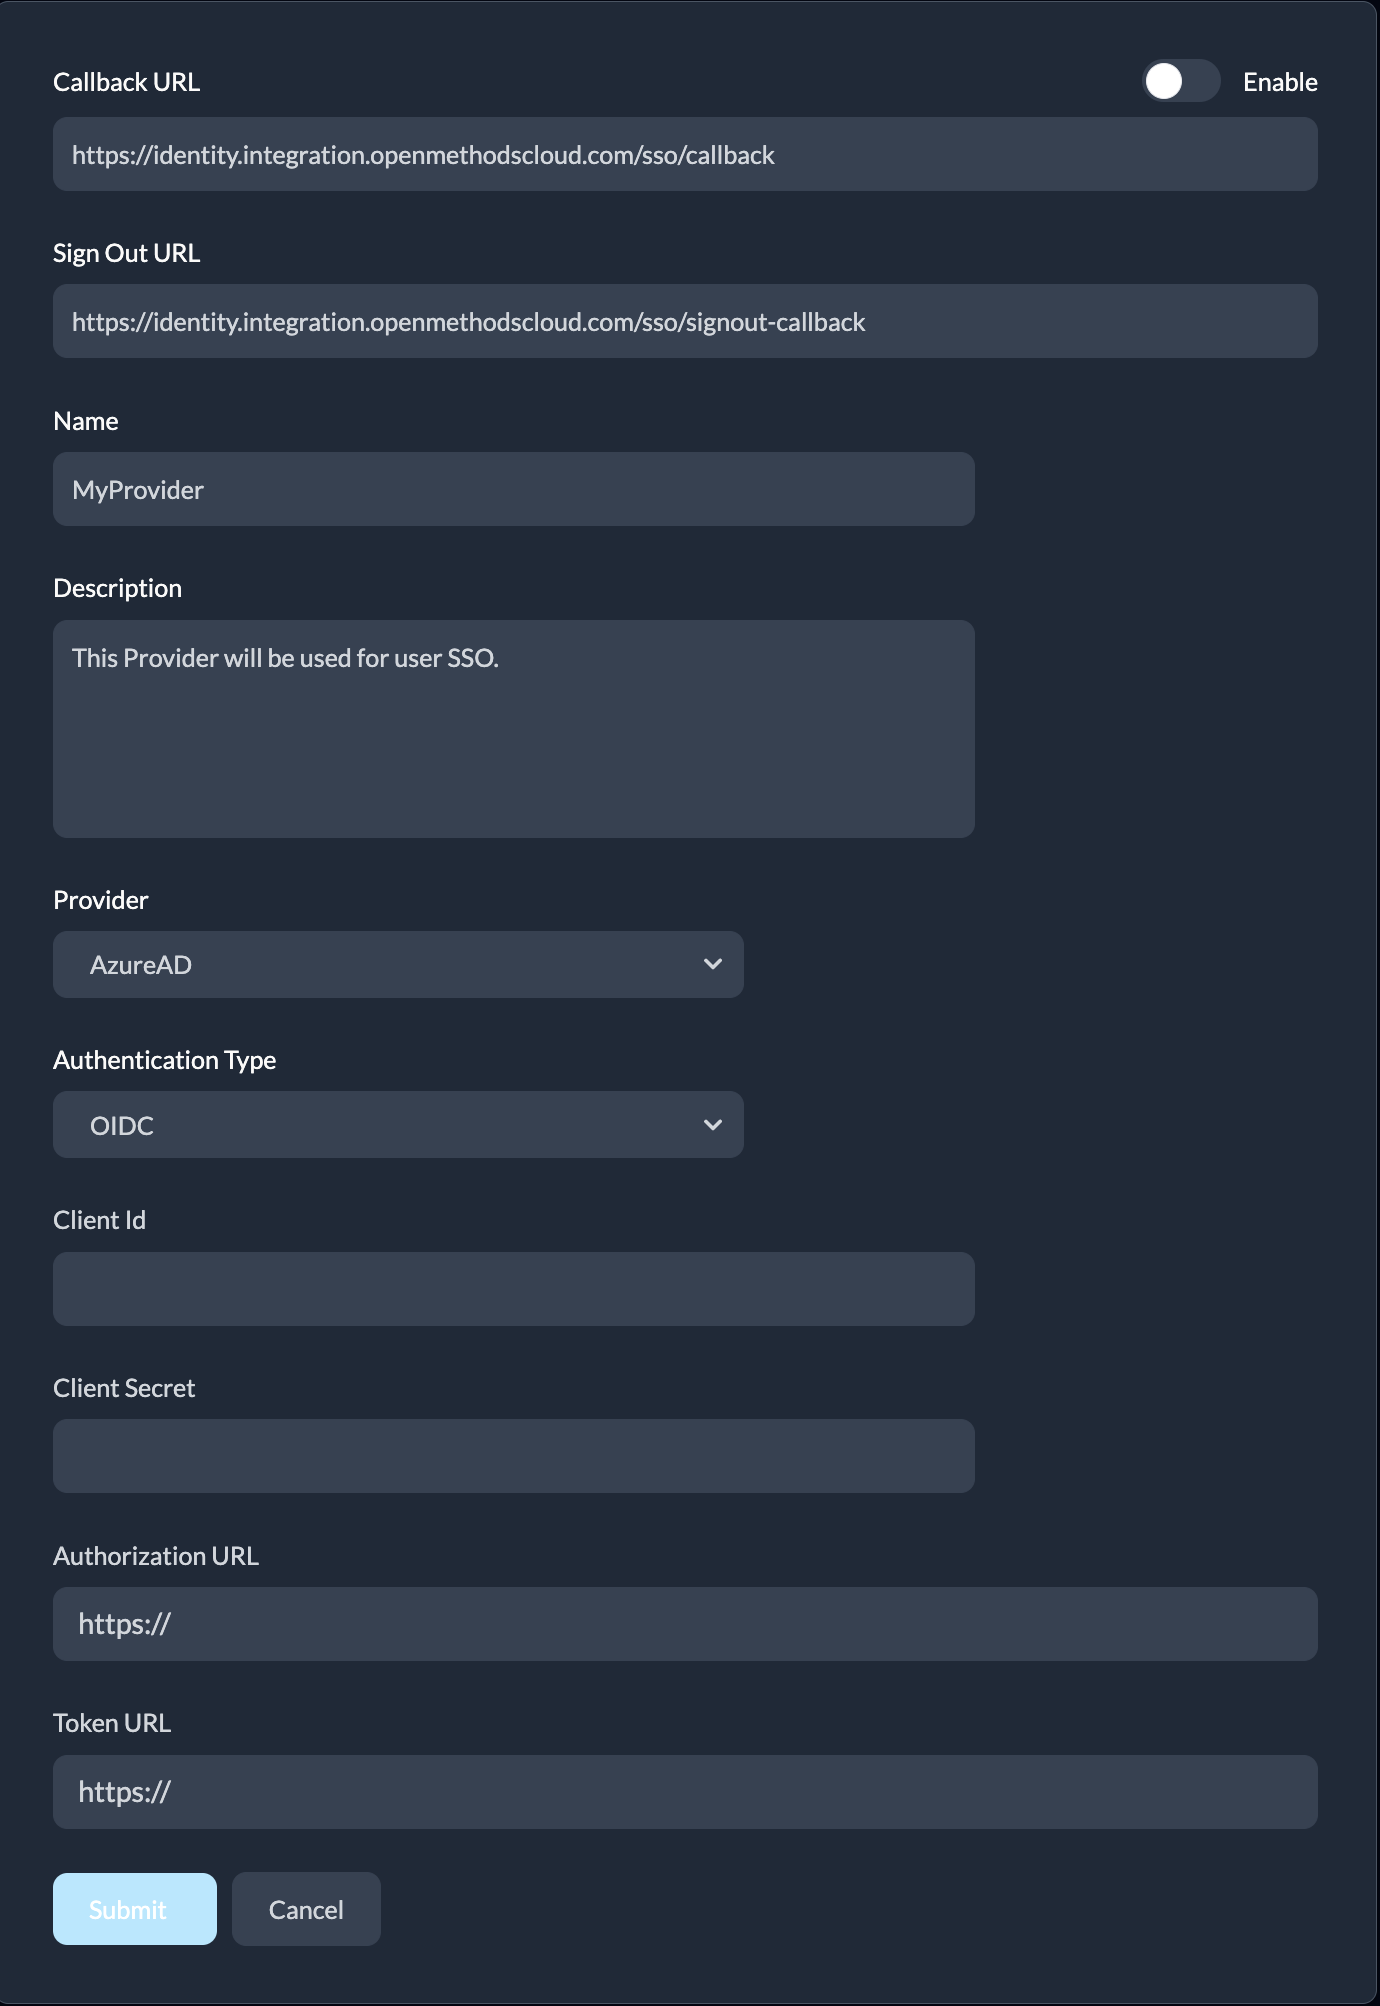
- Click the Add New Provider to add a new IdP provider.
- The Callback URL and Sign Out Callback URL are displayed in the top section of the page.
- Copy these URLs and configure them in the IDP application.
- Enter Name
- Enter Description (Optional)
- Select Provider
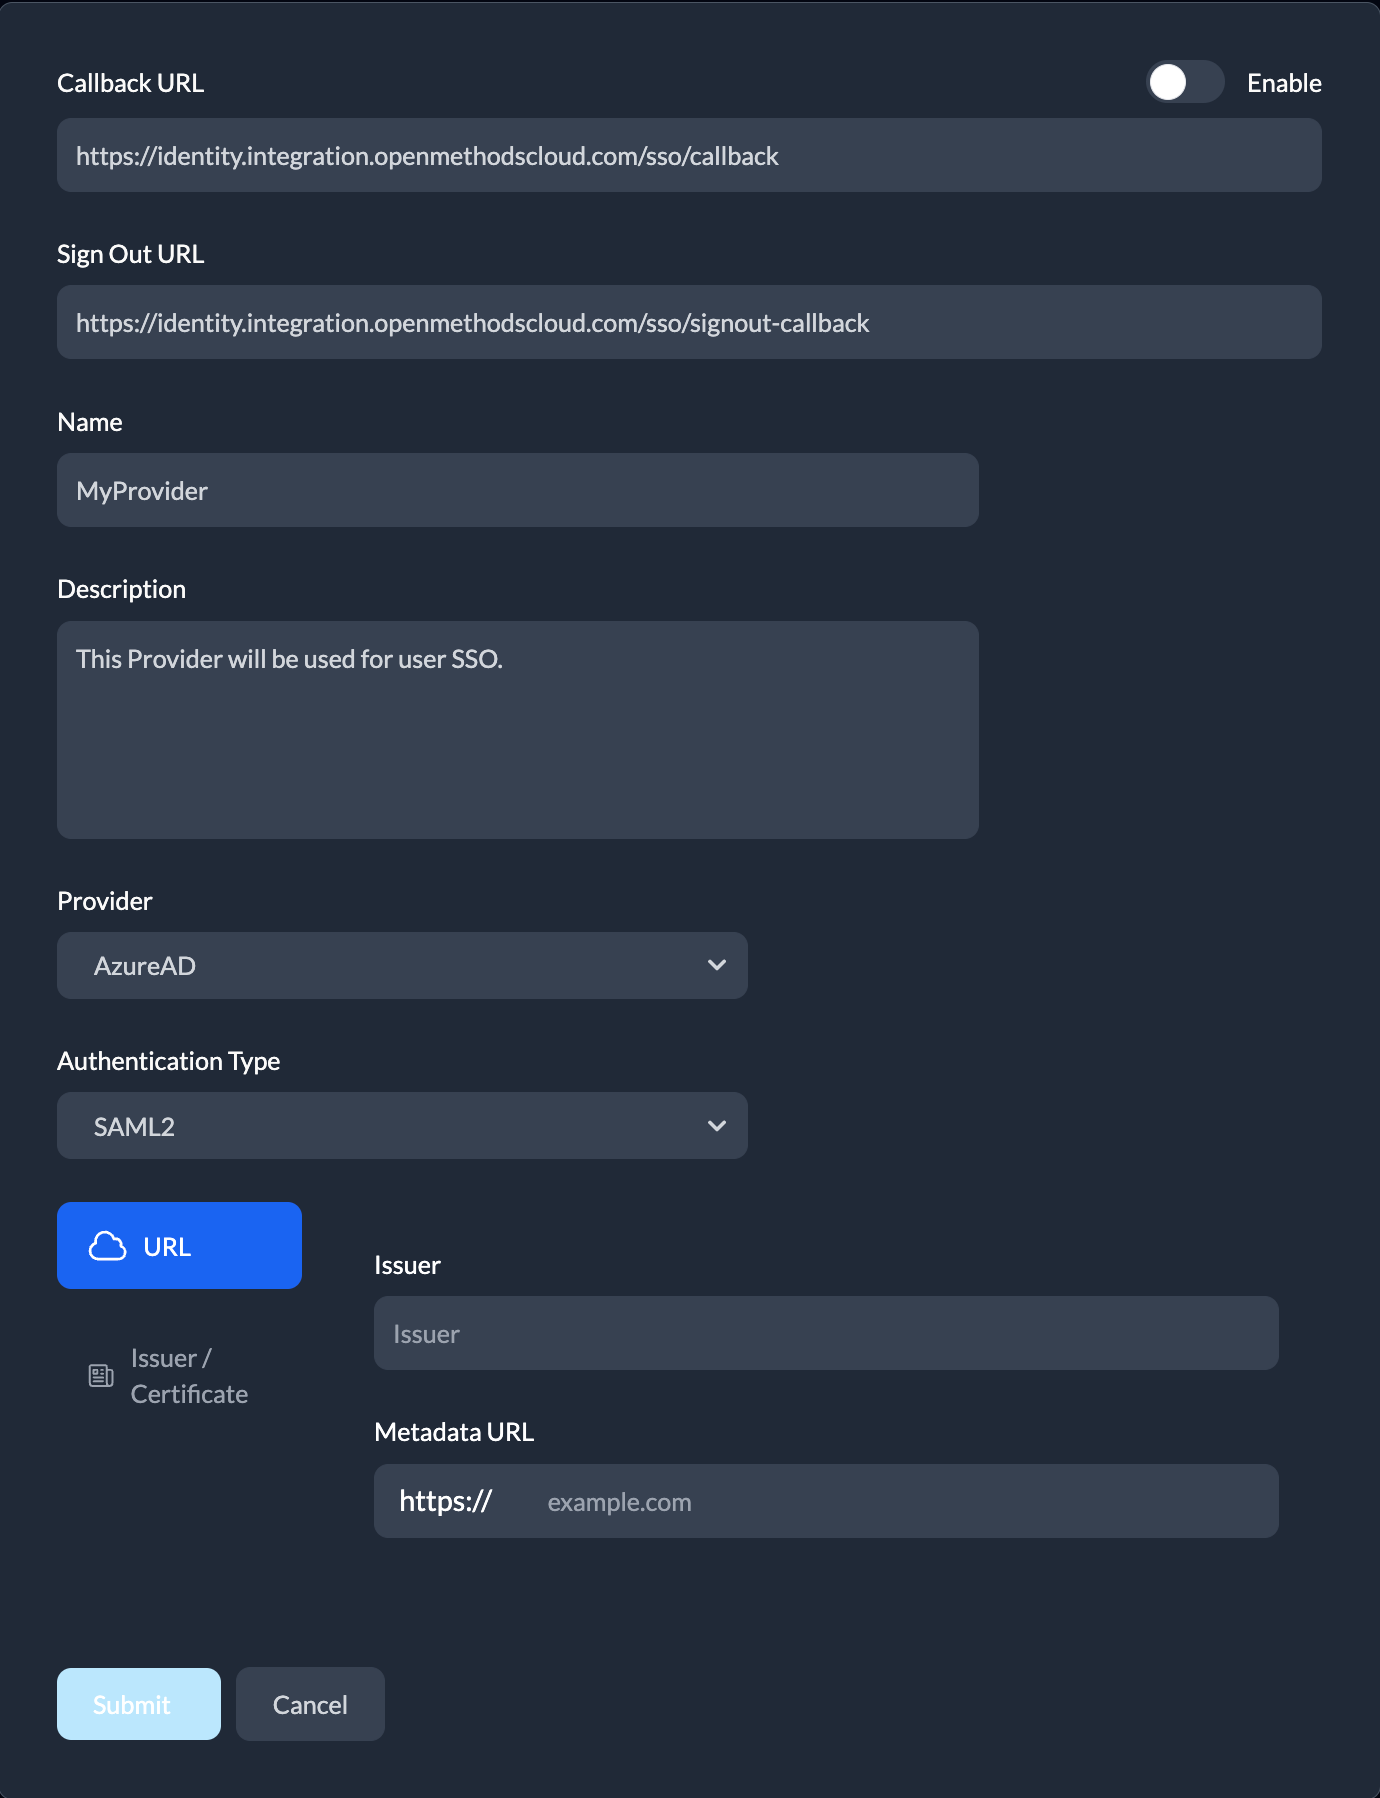
- Select Authentication Type
- Mandatory fields are needed if the authentication type selected is OIDC.
- Client Id
- Client Secret
- Authorization URL
- Token URL
- Mandatory fields, if the Authentication Type selected is SAML2.
- We can provide either a Metadata URL or a Certificate
- URL
- Issuer
- Metadata URL
- URL will be validated after entering the URL and moving the focus out of the text box.
- Issuer/Certificate
- Issuer
- Certificate
- Sign In URL
- Sign Out URL
- URL
- It is recommended to provide the Metadata URL over the Certificate
- For the ADFS provider, it is required to provide a Certificate.
- Metadata URL is not recommended.
- We can provide either a Metadata URL or a Certificate
- Click the Submit button to save the provider configuration.
- Note: Instructions for getting the values for the above-mentioned fields are available in a separate document for each Provider.
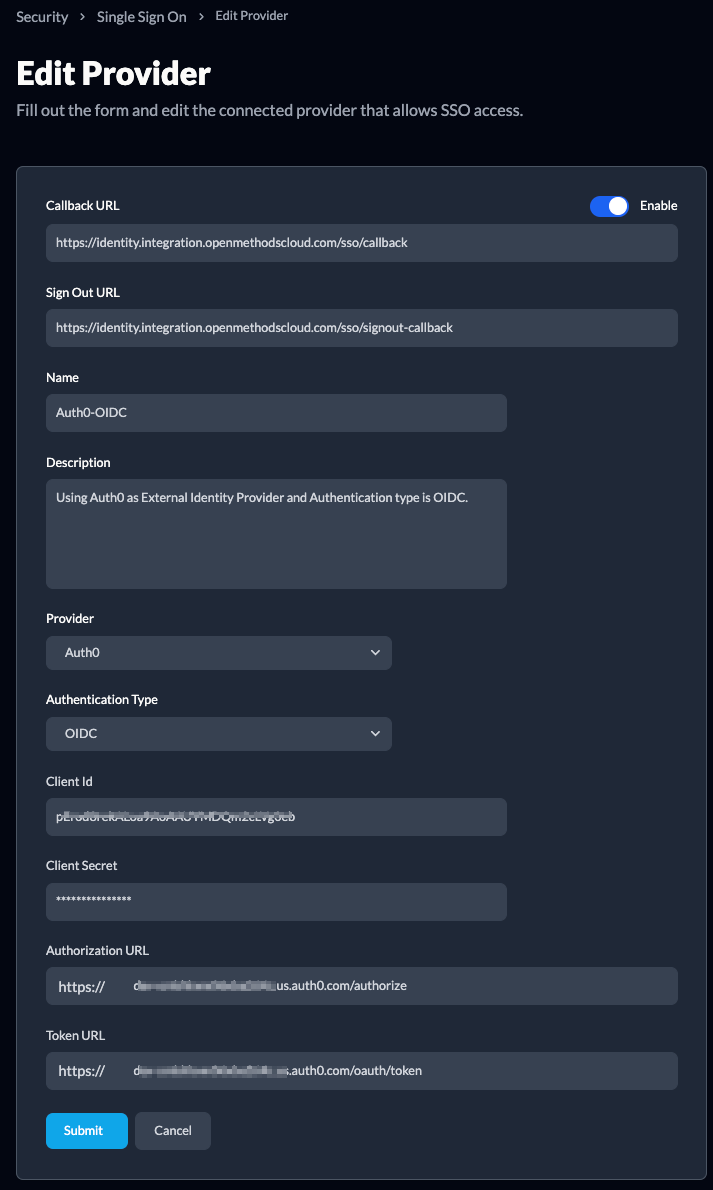
Updating Provider
Modify Provider details

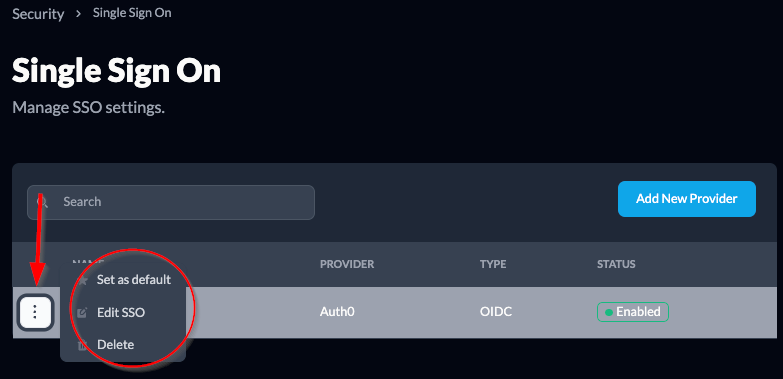
- Click the three dots button and Click the Edit SSO link.
- Make changes to any of the fields and click the Submit button.
Set Default Provider
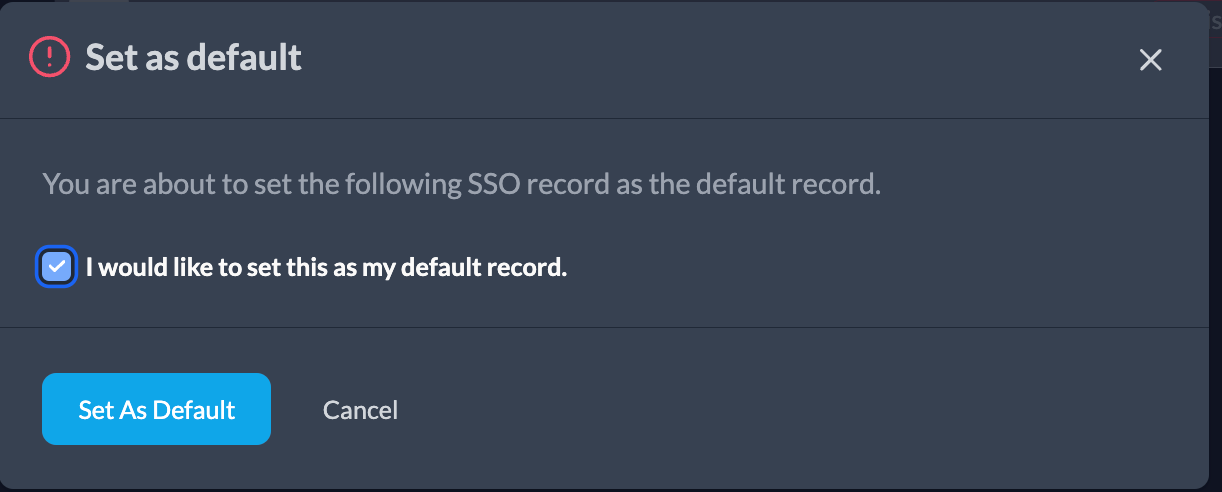
- Click the Set as default link from the three dots button to make the selected provider the default.
- Click the check box in front of I would like to set this as my default record.
- Click the Set as Default button.
- A star image will displayed in the provider row.

Delete Provider
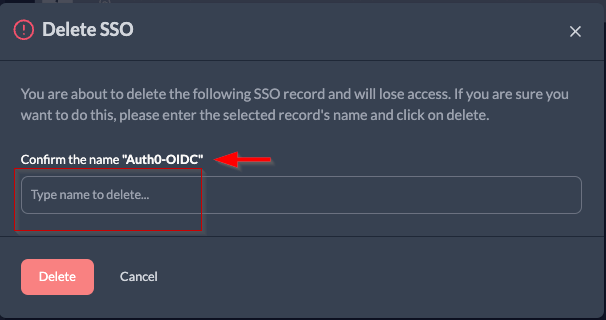
- Click the Delete link from the three dots button to delete the selected provider.
- Enter the provider Name in the text box and click the Delete button.
Enable or Disable Provider
- Click the three dots button and click Edit SSO to disable a Provider.
- Toggle the Enable button on the top right and click Submit at the bottom of the page.
Enable a user to use Single Sign-On
- Users who are all required to access Experience Designer should have already been added to the Users list.
- The user's emailemail ID is the login user ID. The Email ID should match the user login username in the IDP.
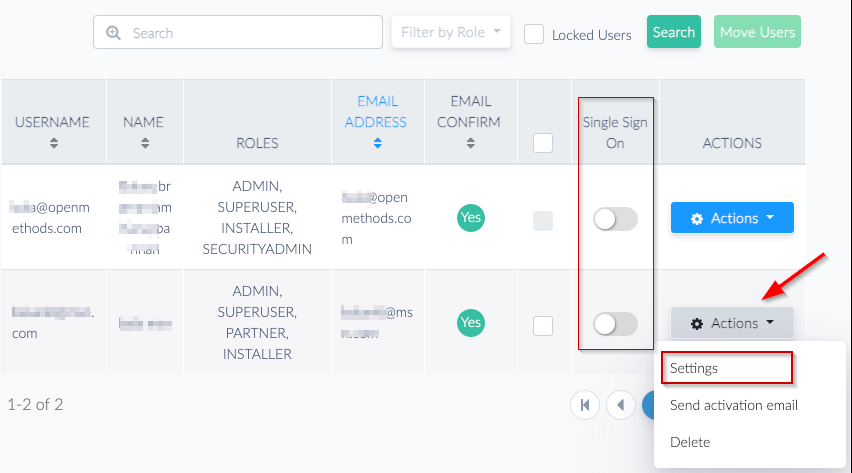
- Go to the Manage Users page, click the Actions button, and click the Settings link.
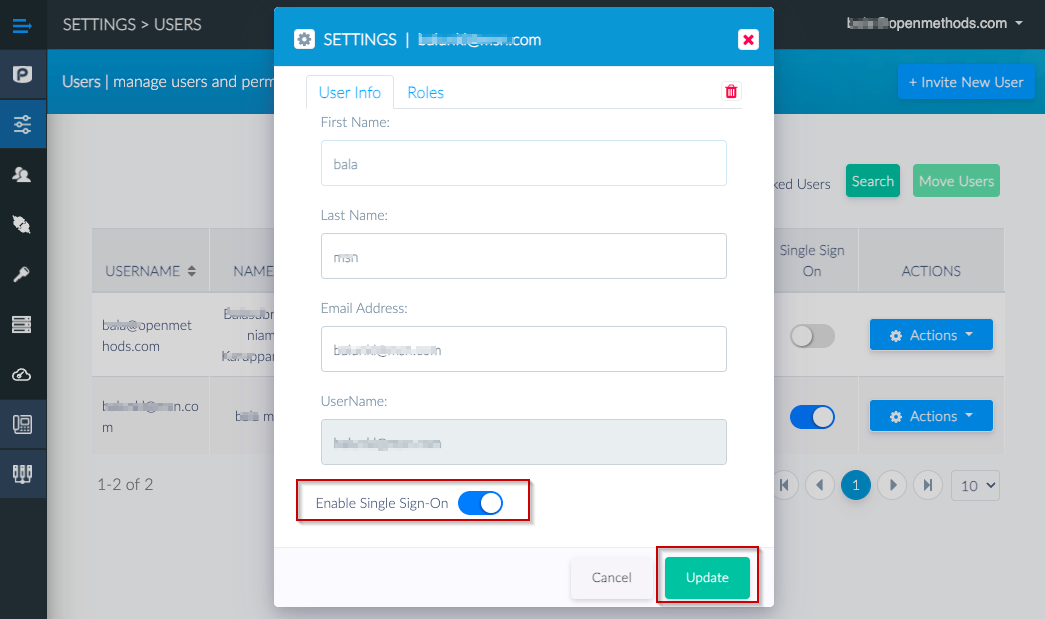
- On the Settings page, click the button next to Enable Single Sign-On in the User Info tab.
- Click the Update button to save the changes.
 |
 |
- Upon attempting to log in to the Experience Designer, users will be automatically redirected to the login page of the configured external provider.
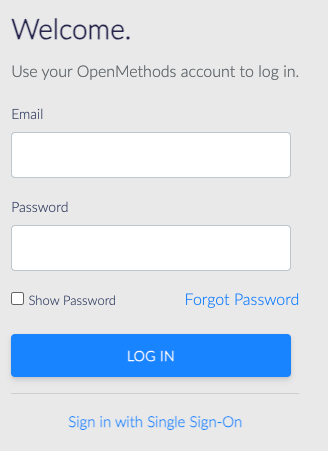
Experience Cloud login
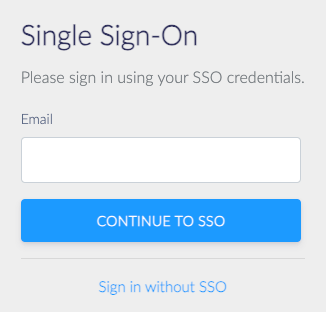
- Click the Sign in with Single Sign On link at the bottom of the login page.
- Enter your Email Id that is registered in the External IdP, then click the CONTINUE TO SSO button.
 |
 |
- If the user is enabled to use SSO, he will be redirected to the External Cloud login page.
- The user's email ID is pre-populated on the External login page and should not be changed.
- After successful login with an external provider, the user will be redirected back to Experience Designer.
- In case of external login failure, the user will be directed back to the Experience Cloud login screen with the reason for the failure.