"Click-to-Dial" functionality automatically dials a telephone number through an agent's Harmony Client to initiate an outbound call, eliminating the need for an agent to manually dial via the Harmony Client's Dial Pad. Administrators can configure Click-to-Dial functionality to be available on an agent's Workspace or as a part of logic within a PopFlow Interaction Workflow.
There are two types of Click-to-Dial functionality:
- Dial without confirmation: the configured number is dialed with no agent intervention
- Dial with confirmation: the configured number is placed into the Harmony Client's Dial Pad editor box, and the agent must confirm the action before the number is dialed.
How it works
Click-to-Dial functionality is enabled through the use of a custom "OM Dial" extension, used in conjunction with a "Custom Event" and the "Place Outbound Call" Activity within PopFlow Studio. When properly configured, these components will create the following chain of events:
- The agent clicks a configured button within their Oracle Workspace (e.x. "Call Me")
- The clicked button will fire a Named Event to trigger the "OM Dial" Extension
- The "OM Dial" Extension will capture the number to be dialed (optional) and trigger a Custom Event within PopFlow Studio
- The Custom Event will trigger any Published Interaction Workflows to be executed for the logged-in agent.
- If one of the Published Interaction Workflows contains the "Place Outbound Call" Activity, the Activity will process the request through the Harmony Client using any telephone number provided.
How to implement
1. Upload the "OM Dial" Extension
- Download one of the “om_dial_confirm.html” (for dialing with confirmation) or “om_dial.html” (for dialing with no confirmation) Incident Extension files, depending upon the desired use case, located at the end of this article.
- Login to the desired Oracle B2C Service Instance to upload the Extension into Add-In Manager.
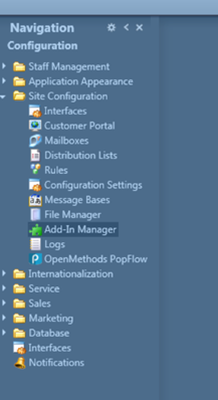
- Choose Configuration => Site Configuration => Add-In Manager
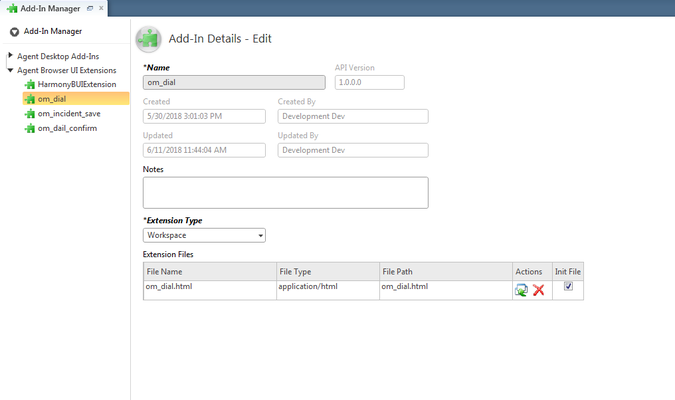
- In the Ribbon Bar select New => Agent Browser UI Extension and select the downloaded OM Dial Extension.
- Update the "*Name" field as desired. Note that the Extension may be named anything desired, however, the instructions below reference the name as om_dial.
2. Assign the Extension to Profiles
a) Choose Configuration => Staff Management => Profiles and open any Profile for which the Click-To-Dial functionality should be enabled".

b) Select the "Agent Browser UI Extensions" tab and click the checkbox next to the “om_dial” or "om_dial_confirm" Extension, and save the changes.
After enabling the Extension, select the "Workspaces/Workflows" tab and locate the "Incident" Editor item. Note that the Extension must be added to this Workspace to enable Click-to-Dial functionality.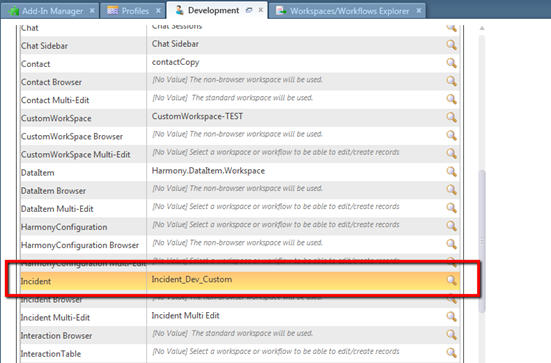
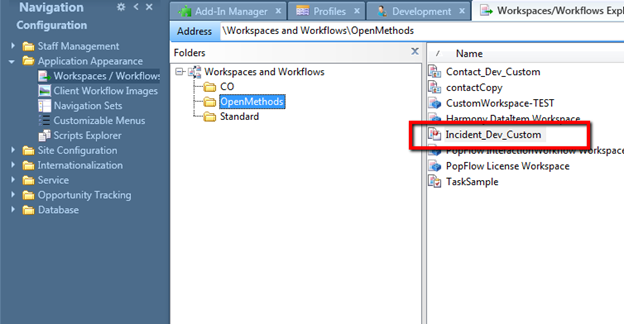
- Click on the "Search" icon to find where that Incident is saved.
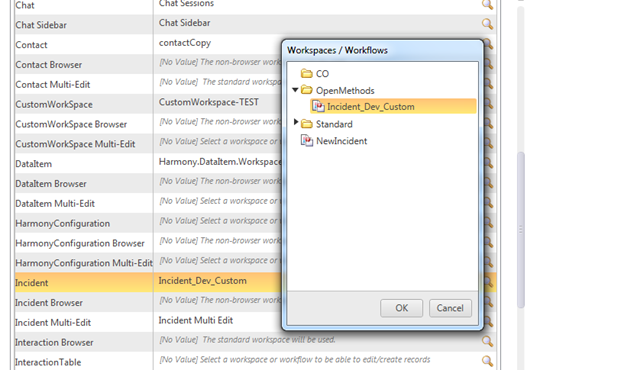
- Choose Configuration => Application Appearance => Workspaces/Workflows
- Navigate to the path discovered in the above step and edit the Incident.
- Select the “Insert Control” menu item and locate the “om_dial” or "om_dial_confirm" Extension from the "Agent Browser UI Extensions" ribbon List.
- Drag and drop either extension into the Incident and save the Workspace. Note that the location of the Extension within the Workspace is not critical, as it will be hidden from the user's view when in use (it will not appear on the Workspace).
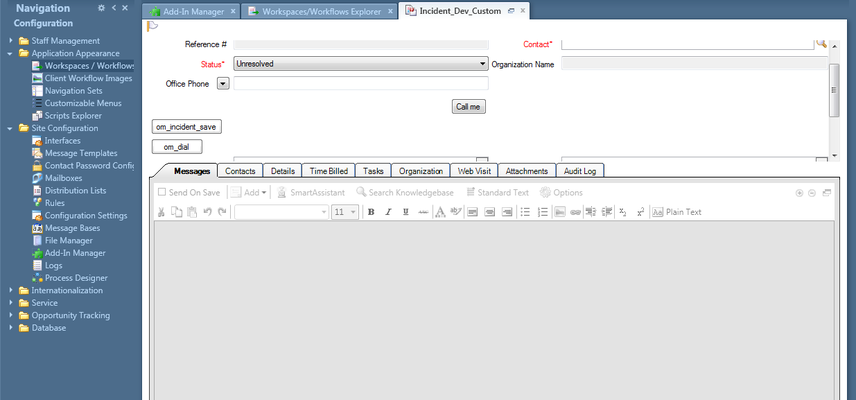
- Now insert a "Button" control into the Workspace and change the "Text" of the Button to "Call me" (any text can be used but, for this example, the Button will be called "Call me") .
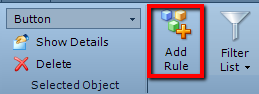
- Select that Button, navigate to the "Rules" Menu, and click the "Add Rule" Ribbon button.
- Step 1: Add a trigger for "A button is clicked".
- Step 2: Click the "button" link and select the "Call me" Button.
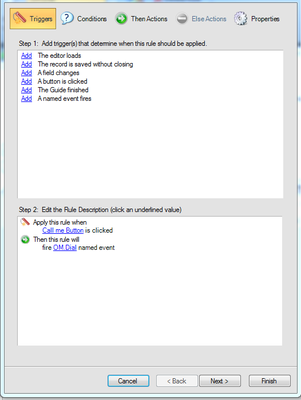
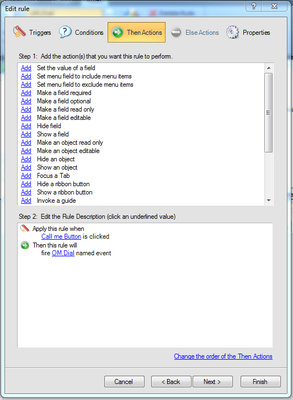
- Navigate to the "Then Actions" tab
- Step 1: Add an Action for "Fire a named event"
- Step 2: Click the "named event" link and enter OM.Dial
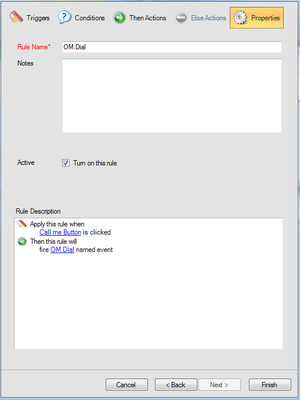
- Navigate to the "Properties" tab and name the rule with any name desired. click "Finish"
- After adding the Rule, it will be displayed in the "Rules" Menu within the "Rules List" Ribbon area, as shown below:

- This completes the setup of the Extension for Click-to-Dial functionality.
- The Extension is ready to be used as a part of a "Custom Event" Interaction Workflow within PopFlow Studio using the "Place Outbound Call" Activity.