Integration Specific Information
The information in this article is specific to the Oracle CRM.
Extension Use
The WebBUI MediaBar has no direct relation with Oracle Service Cloud to communicate or to interact with an incident . OpenMethods has created a way to interact or to get any input from the OSC incident.
This also exposes the events below to PopFlow.
How it works
The extension is placed on the incident workspace and exposes the following events:
- Incident Load
- Incident Closing
- Incident Saved
- Incident Tab Selected
Also, it hides the Accept/Reject buttons from the incident.
How to install it
Assumptions:
- Web applications are deployed.
- Config Server has been provisioned.
- The customer has been added to App Manager/Config server.
- Harmony Integration Server and QueueAdapter are deployed and configured.
- Windows Firewall setting must be enabled for required ports.
- SSL certificates have been installed for the Config server, QueueAdapter, and Deployed applications.
- Desktops can connect to the internet.
- WebBUI extension has been uploaded to the Oracle service cloud.
If a proxy needs to be enabled, open access to:
- Europe :
- *.openmethods-eu.com
- US:
- *.openmethods.com
Provisioning.
- Download the “om_incident_save.html” Incident Extension file to upload in the Oracle service cloud.
- Log in to the Oracle service cloud and upload the Incident Extension (Add-Ins) under Add-In Manager.
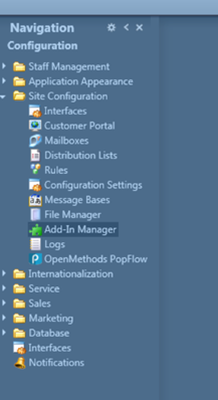
- Choose Configuration => Site Configuration => Add-In Manager
4. To Upload the Incident Extension (Add-Ins), click on the New button on the top ribbon menu.
5. Update the details per the customer to set the *Name.

6. Assign the extension to profiles.
a) To assign the extension to the profiles, select any profile that needs to assign the extension and double-click on it. It will open the profile interfaces. 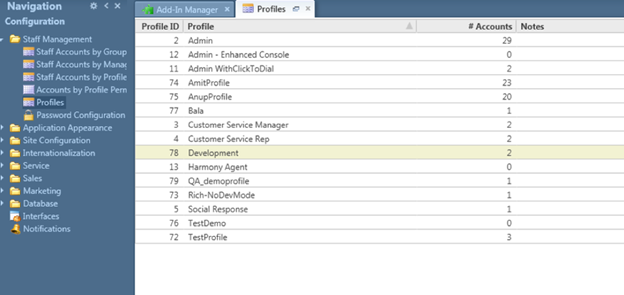
b) Select the Agent Browser UI Extensions tab and select the checkmark as “om_incident_save” to enable the incident extension to terminate, save, load, and tab-selection events. And save the changes. 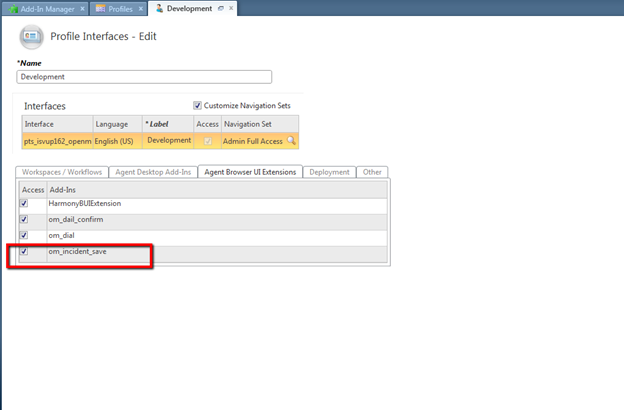
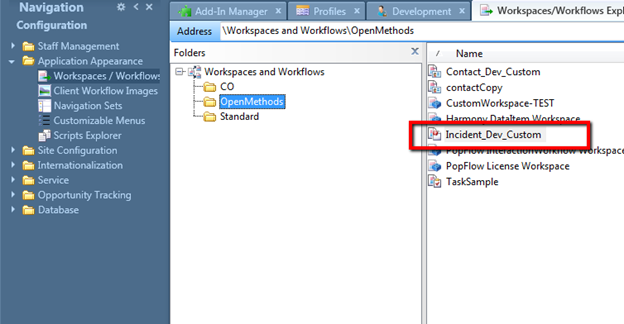
c) After selecting the Add-Ins, select the Workspaces/Workflows tab and check the Incident editor to find the created Incident Workspaces/Workflows. 
d) Click on the search icon to find the location of that incident saved. See below image 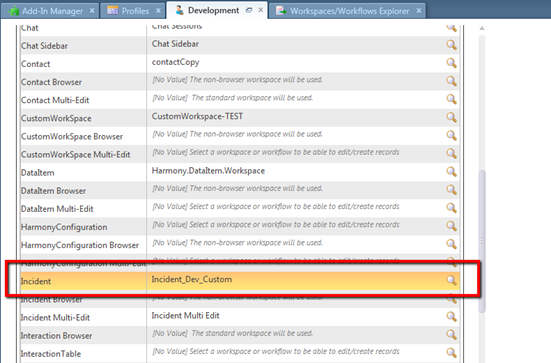
7. Go to the below path to open Workspaces/ Workflows.
a)Choose Configuration => Application Appearance => Workspaces/ Workflows
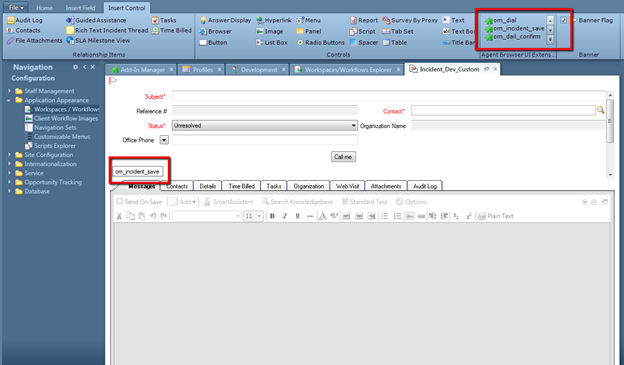
8. Open the incident schema to upload the Add-Ins in the incident.
9. Select the “Insert Control” tab and find the uploaded incident extensions (Add-Ins) drag the “om_incident_save” extension (Add-Ins) and drop in to the incident, as shown below image and save the changes.
Register Events
Now we are ready to request the incident events.
If we need to run an incident event on the PopFlow side, we can add it by clicking add button in PopFlow. 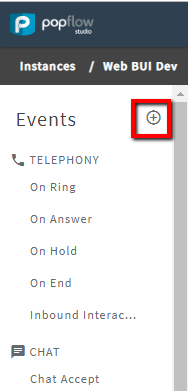
We can select events from drop down or we can add our own event which you want to execute. 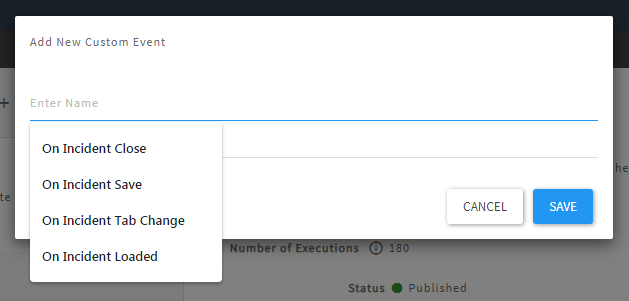
After creating events, we can add different workflows under that event by clicking on the specified event. 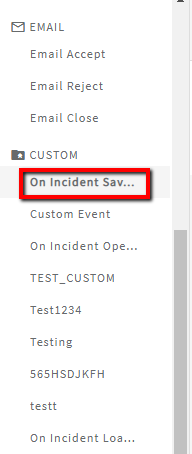
We can add multiple workflows under that event, and after designing that workflow, we can publish one of them. 
Download the Incident Extension Here:
Download om_incident_save Extension