Overview
The Dynamic UI activity allows you to show the dynamic UI in a custom modal or window pop-up inside Oracle Service Cloud. You can configure the 'Dynamic UI' activity in PopFlow Studio.
Configuring the Dynamic UI
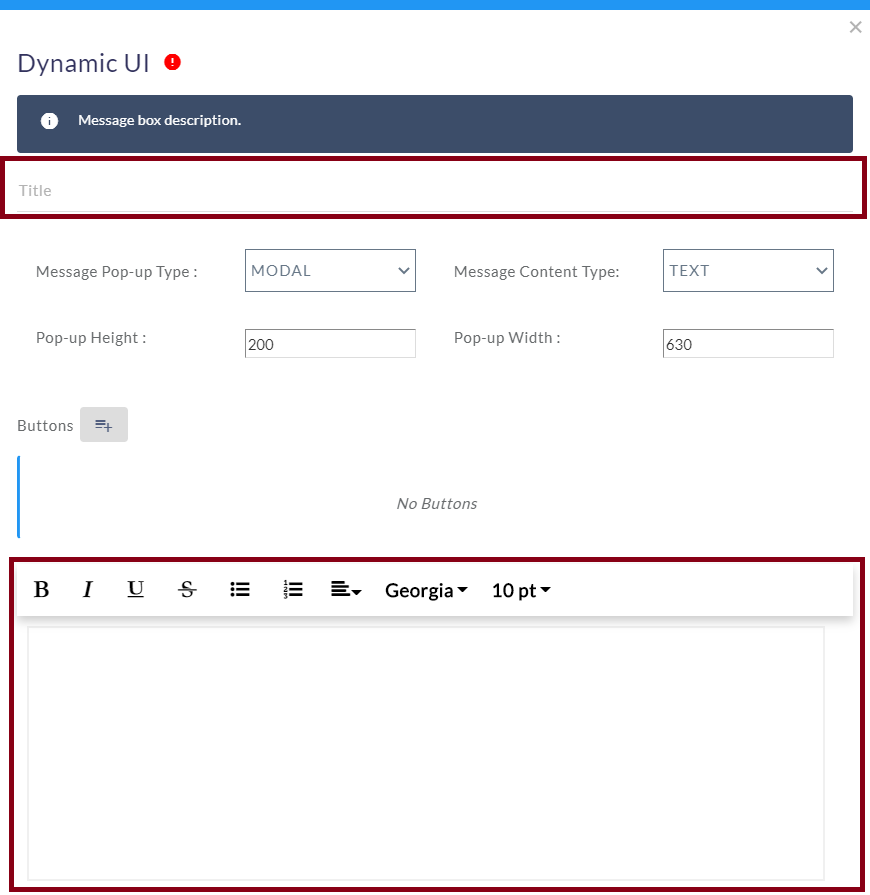
After opening the Dynamic UI activity, you will get the following configuration panel:
Default Configuration Parameters
- Title: The title to be shown in the popup Modal or Window.
- Message Pop-up Type: The popup type to be opened in Oracle.
- Message Content-Type: UI type of Pop-up.
- Pop-up height: The Height of the popup Modal or Window.
- Pop-up Width: The Width of the popup Modal or Window.
- Add Button: Allows you to add buttons to the popup. When the button is clicked, the activities defined in the button definition will be executed.
- Content: Allows you to add your own content in Text, HTML, and URL.
Editor hotkeys
In 6.7, the editor now has IntelliSense. With that, you are now able to use hotkeys as you write code. Here is a comprehensive list of hotkeys you may use:
| Description | Windows/Linux | Mac |
|---|---|---|
| Search | Ctrl + F | Command + F |
| Increase Indent | Tab | Tab |
| Decrease Indent | Shift + Tab | Shift + Tab |
| Comment Out | Ctrl + / | Command + / |
| Comment In | Ctrl + / | Command + / |
| Undo | Ctrl + Z | Command + Z |
| Redo | Ctrl + Y | Shift + Command + Z or Command + Y |
| Increase font size | Ctrl + . | Command + . |
| Decrease font size | Ctrl + , | Command + , |
| Decrease Indent | Ctrl + [ | Command + [ |
| Increase Indent | Ctrl + ] | Command + ] |
| Move the line down | Alt + Down | Alt + Down |
| Move the line up | Alt + Up | Option + Up |
| Replace< | Ctrl + F | Command + Alt + F |
| Select Downward | Ctrl + A | Command + A |
| Select right | Shift + Right | Shift + Right |
| Select left | Shift + Left | Shift + Left |
| Select upward | Shift + Up | Shift + Up |
| Select to the end | Alt + Shift + Right | Command + Shift + Right |
| Select to the start | Alt + Shift + Left | Command + Shift + Left |
| Align text right | Ctrl + Shift + Right | Option + Right |
| Align text left | Ctrl + Shift + Left | Option + Left |
| Add multi-cursor above | Ctrl + Alt + Up | Command + Alt + Up |
| Add multi-cursor below | Ctrl + Alt + Down | Command + Alt + Down |
| Move multi-cursor from current line to the line below | Ctrl + Alt + Shift + Down | Command + Alt + Shift + Down |
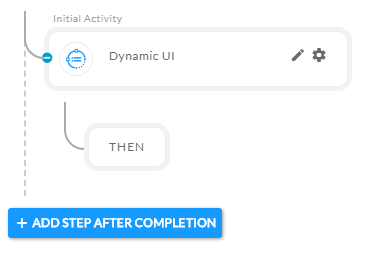
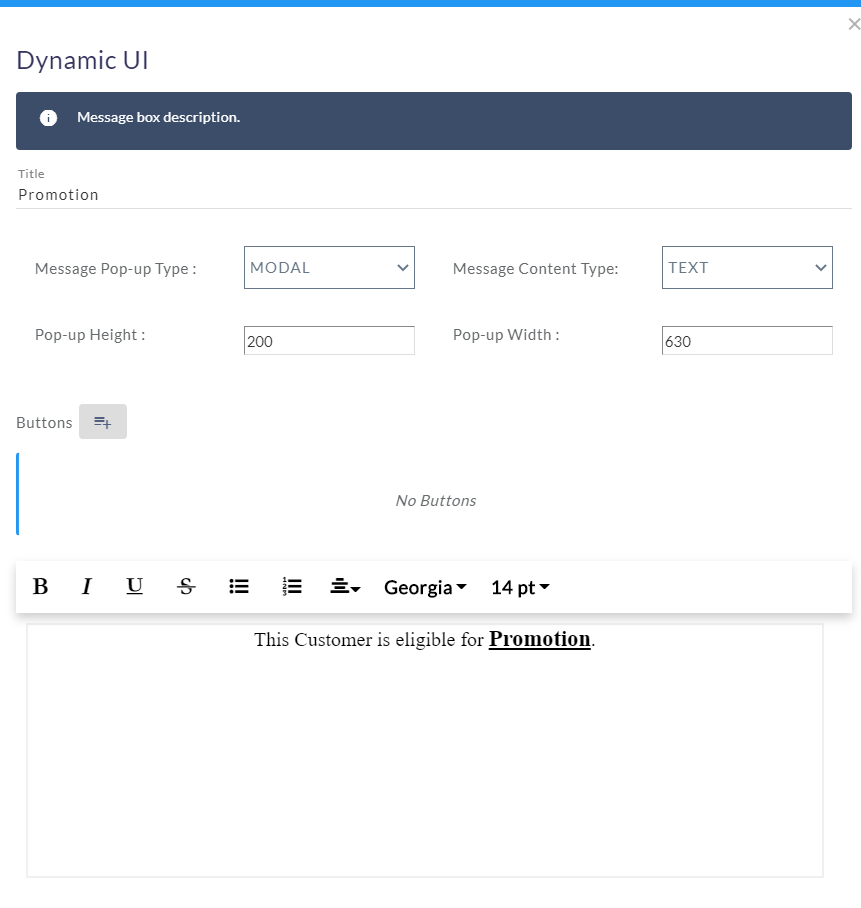
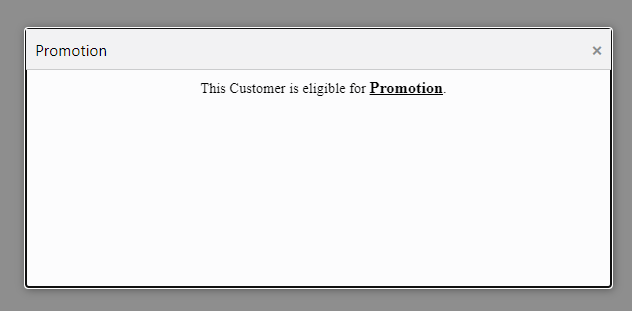
Sample Configuration
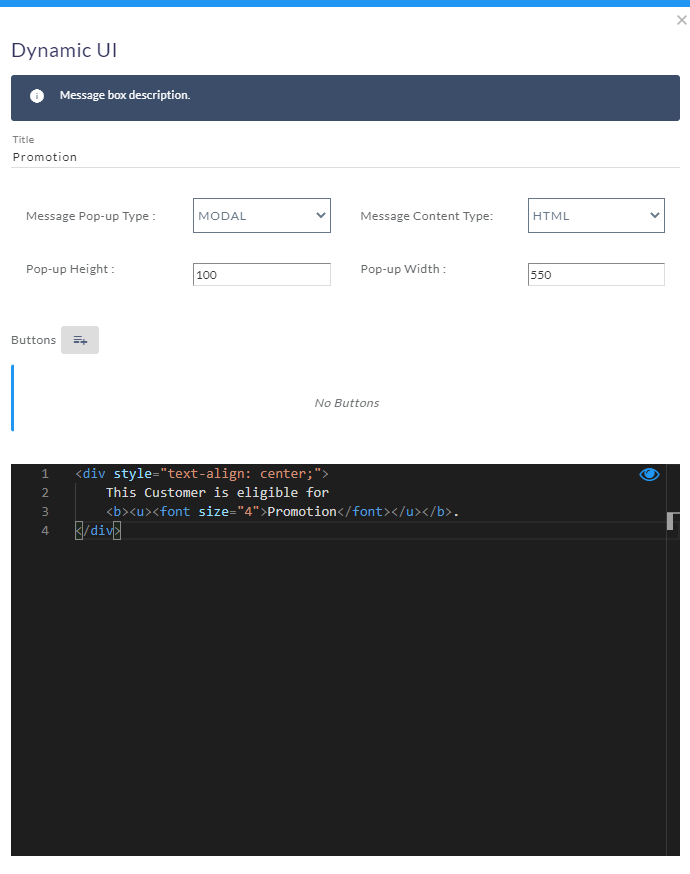
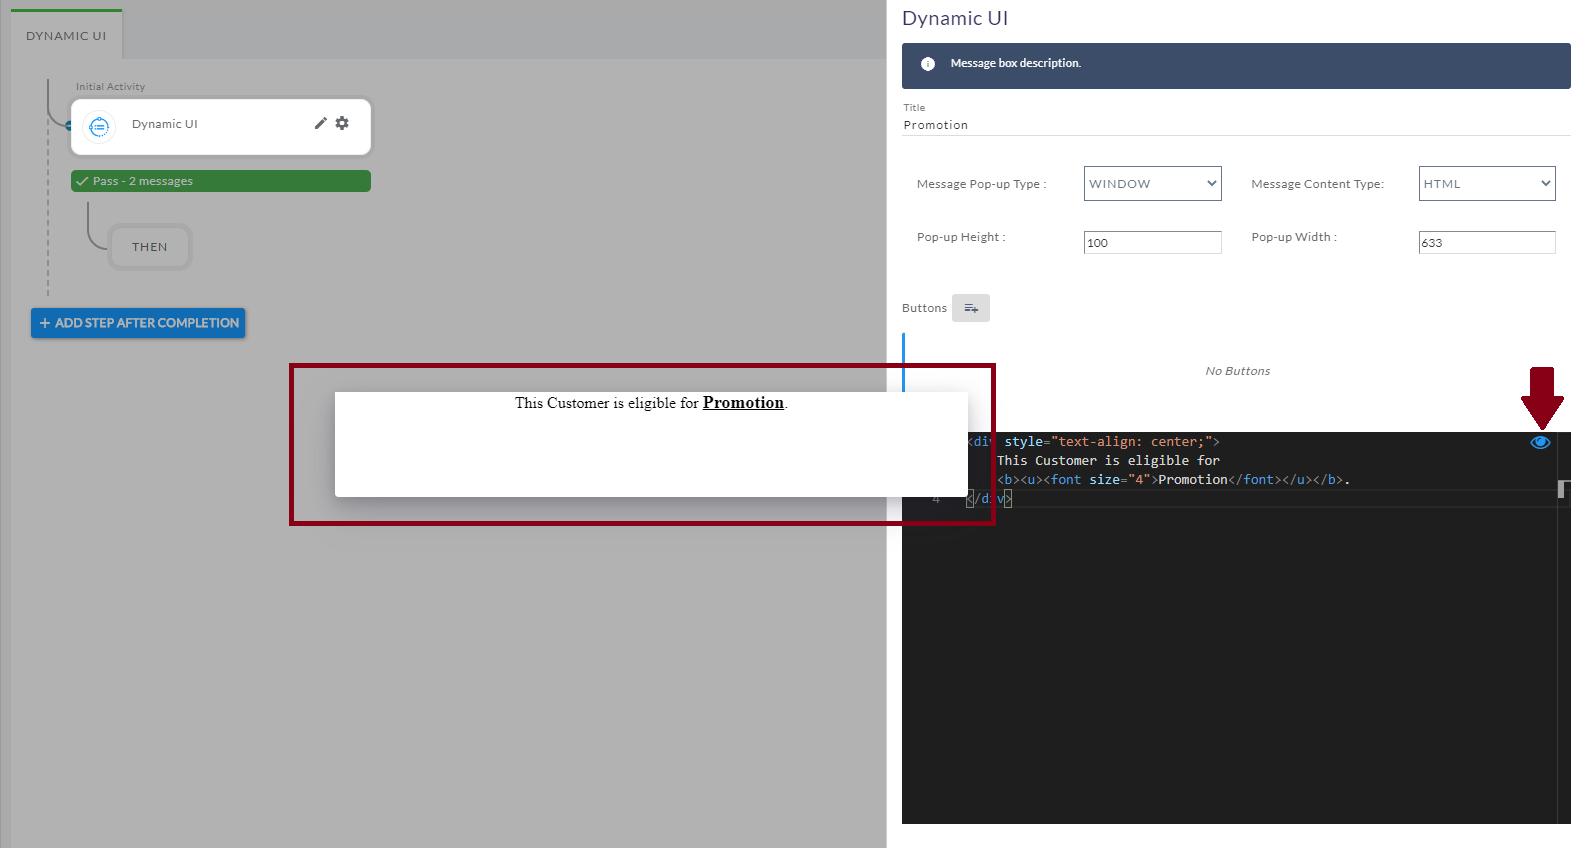
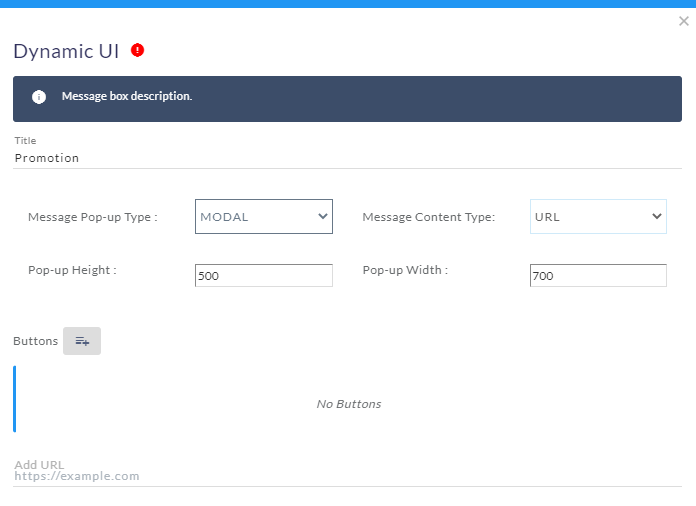
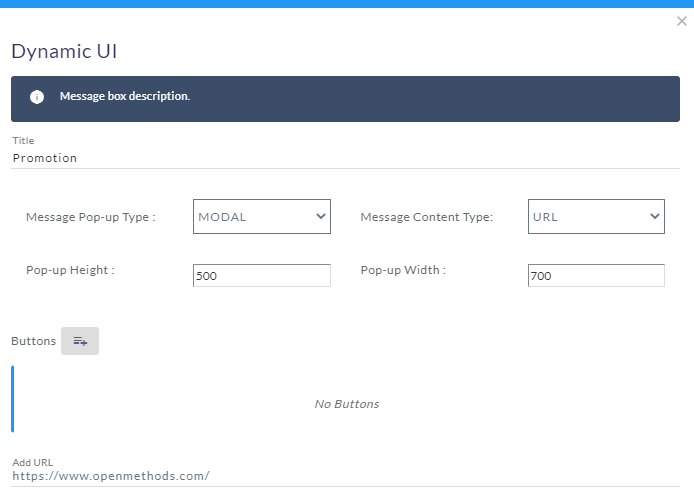
The following is a sample configuration of the Dynamic UI activity in PopFlow Studio.
|
 |
|
 |
|
 |
|
 |
|
 |
|
 |
|
 |
Editor features
Learn about the different features of the editor.


Pop-up height and width
Sets the height and width of a Modal or Window which will open in OSvC.

Buttons
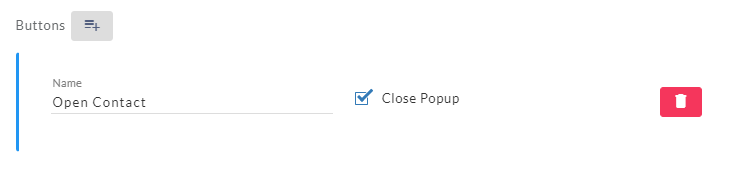
- To add the Custom button, click on the 'Button' icon to create the buttons.
- After clicking on the button, you will see a field name as 'Name' and a checkbox name as 'Close Popup'.
- Enter the Button name inside the field and click on the checkbox if you want to close the pop-up after clicking on the button in the Oracle Service Cloud. Multiple buttons can be created.
- Once the buttons are created, the designer page will change under the 'Dynamic UI'. The same path(button) is created which was created inside the 'Dynamic UI' activity. Multiple activities can be added on the new path to perform several tasks on a button click.
Dynamic data
- You can use dynamic data in Dynamic UI activity.
- Use the variable name inside a curly bracket {}. I.E.:
{contact.lookupName}will show the contact name. - You can use Javascript and CSS code as well inside a HTML editor.
EXAMPLE:
- Suppose we have a variable name as
ContactsInfowhich is of type object. - Use the variable in our Dynamic UI activity to preview the dynamic data.
- You can use the variable name inside the curly bracket as shown below:
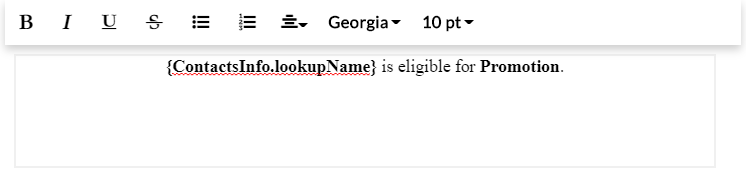
- You can use the dynamic data in TEXT, HTML and URL type.
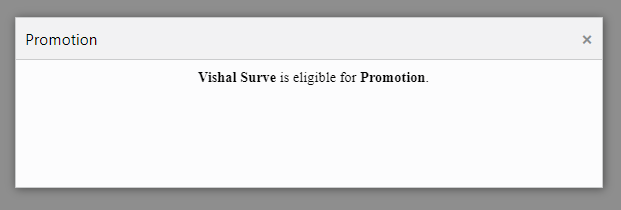
- Execute the activity it will show the value inside the
ContactsInfo.lookupNameas shown below:
Global Variable Example
- In this example we will use the global dynamic ui variable to manipulate the dom on button click.
- In Dynamic UI we have a global variable name as dynamicUiContext which points to our current DOM.
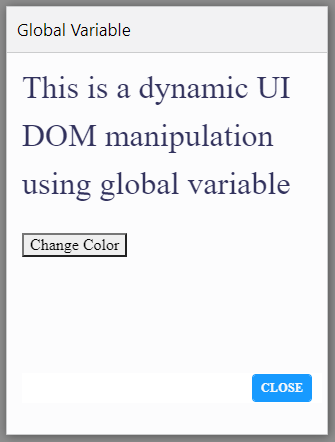
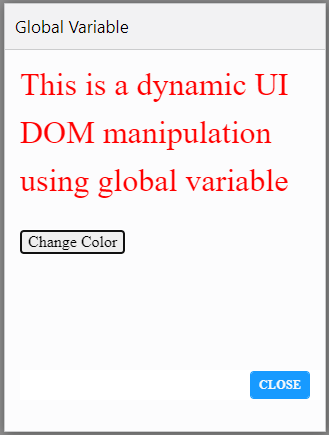
- Using this global variable we will change color of text on button click.
- In the below example, we have created a function name as myFunction we are invoking it on button click. Once myFunction is called then it will get the element with id globalVar and change the text color to red.
<!DOCTYPE html>
<html>
<body>
<h2 id="globalVar">This is a dynamic UI DOM manipulation using global variable</h2>
<button type="button" onclick="myFunction()">Change Color</button>
<script>
function myFunction() {
dynamicUiContext.getElementById("globalVar").style.color = "red";
}
</script>
</body>
</body>
</html>
- Execute the activity and click on the button it will change the text color as shown below.
 |
 |
Update Popflow state using Dynamic UI variable Example
- In this example, we will use the dynamic UI function (updateTempData()) to update the Popflow state.
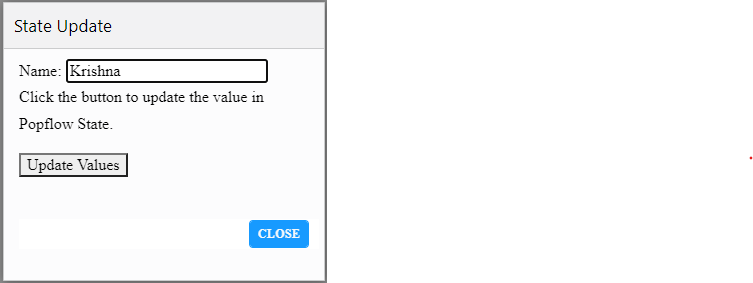
- We will create a text field and on a button click, we will save the text field values in the Popflow state.
- We will use the dynamic UI global variable to get the text field value as shown below.
<!DOCTYPE html>
<html>
<body>
Name: <input type="text" id="myText" value="">
<p>Click the button to update the value in Popflow State.</p>
<button onclick="getName()">Update Values </button>
<script>
function getName() {
//getting text-field values using global variable
let name = dynamicUiContext.getElementById("myText").value;
//Adding values to the state
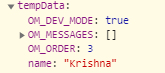
state.tempData.name = name;
//Updating the Popflow state
updateTempData();
}
</script>
</body>
</html>
- Once you click on the Update Values button it will update the text field value in Popflow state as shown below.
 |
 |