Overview
The 'Update Data' activity allows you to update important data into the entity table. In the PopFlow Studio, you can configure the 'Update Data' activity. You can select the fields where you want to make an update.
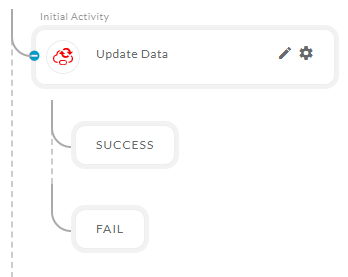
After opening the 'Update Data' activity, you will get the below configuration panel.
Default Configuration Parameters:
- Enter Entity : Entity name to update the data into.
- Entity Id : Selected 'Entity' id to make the update.
- Save Result In : All the data will be stored in this.
Fields: You can add multiple fields and value to update the data into the selected entity.
How it works:
A Simple Example to configure the 'Update Data' activity in PopFlow Studio.
- Select the 'Update data' activity from 'Activity Sidebar'.
- Click on 'Update data' activity to open and configure the 'Update data' activity.
- Click on the 'Enter Entity' field to enter the 'Entity' name.
- After selecting the entity, enter its valid 'id' into the 'Entity id' field to make the update on correct fields.
- In this example, we are updating the 'contact' entity.
- Once the 'entity' and its 'id' is set, you can add the fields to make the update on selected fields.
- Click on the Fields button to add multiple fields.
- After clicking on the field button it will create a panel with the 'Enter property' and 'Enter Value' fields as shown below.
- Click on the 'Enter Property' fields to open the selected entity 'property' list as shown below.
- Select one property and insert its value to 'Enter Value' fields.
- Set all the fields you need to update with the values. After setting the fields it will look like as shown below.
Example to update the data into 'InteractionTable' :
- Suppose we have an active call interaction, so many of the data will be inserted into the selected 'Entity' table using the 'post data' activity when agent accept the call, but data like 'Hold time','End time', call duration' etc. cannot be calculated and inserted into the entity table at the time of on Answer. To insert all the data into the entity we will use the currently created entity 'id' by 'Post data' to insert the remaining data into the selected 'entity' id when the call is ended.
- For this example first, You need to first create a 'Post data' activity and set its interaction data using the 'Set interaction Data' activity. You can refer to the 'Post data' activity and 'Set Interaction data' activity documents to configure the 'Post data'. Below is the example of how it will look after creating 'Post Data'.
- You need to configure the 'Post data' inside the 'on Answer' Event. so if the agent accepts the call 'post data' activity will execute and post the data into the selected entity. Once the entity record is created we can use its 'id' to update the remaining data when the call is ended.
- Once the configuration of 'on Answer' event is completed, we need to configure the 'update data' into the 'on End' event.
- Below are the events available for the 'Telephony'.
- Once we get the 'Entity id' we can configure the 'Update Data' activity as shown below to update the remaining data of active interaction.
- After configuring the activity click outside the activity panel to 'save and close' the activity configuration.